Introdução
If the side trim panel on your 2013–2017 Honda Accord (9th gen Sedan/Coupe, including Sport, LX, EX, and EX-L trims) is loose or misaligned, this guide shows how to replace the worn mounting clips.
Over time, daily use can damage the clips, causing the panel to sit unevenly or come loose. Replacing them restores proper alignment and a secure fit.
Follow these steps to remove the trim panel safely and install the correct replacement clips. Using the wrong size clips will prevent the panel from fitting properly.
Caution: Use only a plastic trim removal tool when removing the trim panel. Metal tools, such as screwdrivers, can scratch or dent the trim panel and center console.
Avoid applying excessive force when pulling the trim panel away from the console frame, as this may break the panel.
Ferramentas
Peças
-
-
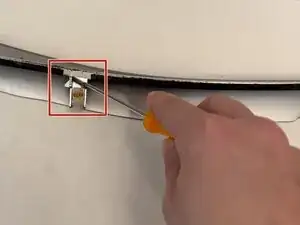
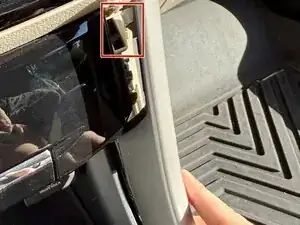
Insert the plastic trim removal tool between the trim panel and the main panel, starting from the side closest to the cup holders.
-
Pry upward to release the first mounting clip on the trim panel.
-
-
-
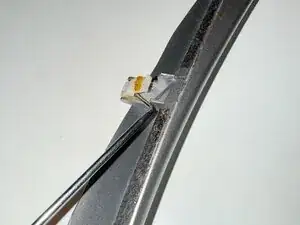
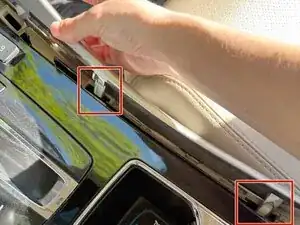
Insert the trim tool on the opposite side, closest to the seat.
-
Pry the tool upwards to further release the trim panel from the center console.
-
-
-
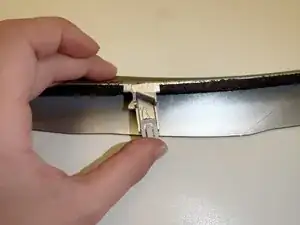
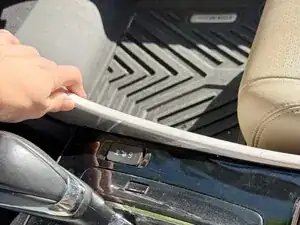
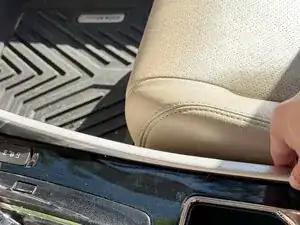
Use your hands to push upwards along the length of the trim panel to release the trim from the center console completely.
-
-
-
Use a cloth and a cleaning solution (if needed) to clean the trim panel and the area where the trim was removed.
-
-
-
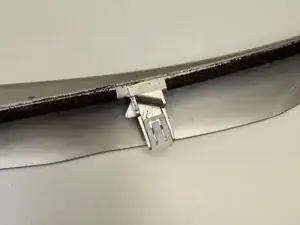
Identify the damaged mounting clips on the trim panel.
-
Insert the precision hook at the top of the mounting clip and pull downwards to release the clip from the tab attached to the trim panel.
-
-
-
Align the new mounting clip between the raised sides of the clip slot on the trim panel.
-
Push upwards on the mounting clip.
-


To reassemble your device, follow these instructions in reverse order.