Introdução
A wobbly gooseneck faucet can make even the most advanced kitchen feel unfinished. But fixing it is easier than you think.
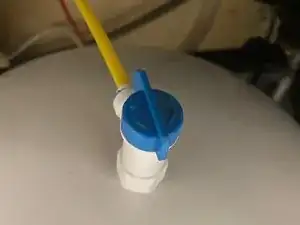
A gooseneck faucet is typically held in place by a mounting nut or bracket located beneath the sink. Over time, regular use or improper installation can cause this hardware to loosen, resulting in instability and potential leaks at the base of the faucet. A loose faucet may also lead to additional strain on water lines and increase the risk of long-term internal damage.
Before beginning this guide, check for other symptoms such as leaking at the faucet base or reduced water flow. Make sure to turn off the water supply valves and disconnect the faucet from any power source if your model includes electronic or touch-activated features. Be cautious of tight spaces under the sink and ensure the area is dry to prevent electrical hazards.
No special skills are required for this guide, but you may need a basin wrench or adjustable wrench to reach and tighten the mounting nut under the sink. Once complete, your faucet will be securely mounted, preventing wobbling and minimizing the risk of leaks.
Grab your tools and follow along; you'll have your faucet feeling secured in no time!
-
-
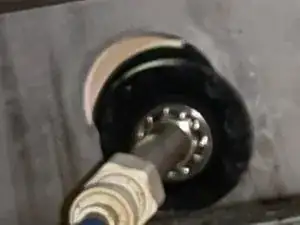
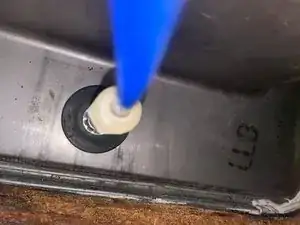
On the bottom of the sink, you will see a water tank.
-
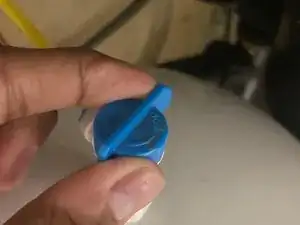
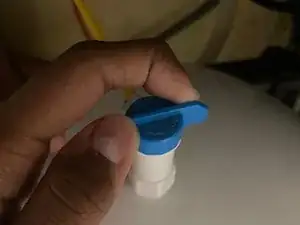
The next step is to close the vault. Slowly turn the vault to the right side.
-
-
-
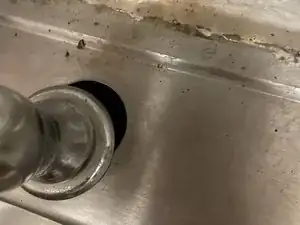
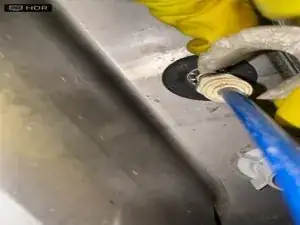
Due to the loose neck, water is leaking from the sink.
-
The leakage can cause damage in the future, so, it is necessary to tighten the loose neck of the water dispenser.
-
-
-
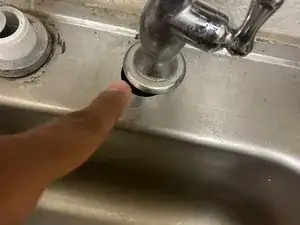
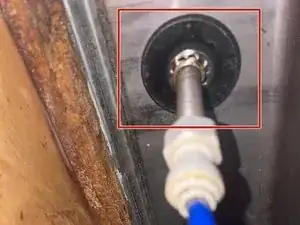
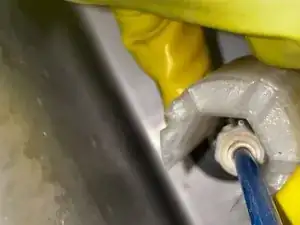
Readjust the pipe to the way it was originally.
-
Make sure the realignment is properly done and that there are no gaps in it.
-
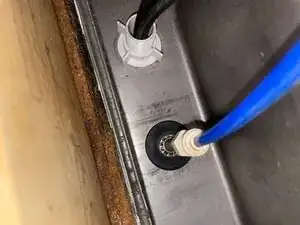
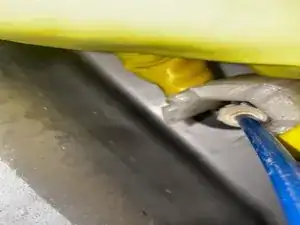
After, check the realignment from all sides so there are no places from where it can leak.
-
To reassemble your device, follow these instructions in reverse order.