Introdução
With dinosaur fossils becoming increasingly available and affordable on the online market, damage and breaks are inevitable as million-year-old specimens are shipped through the post in packages or padded envelopes. Before you throw away a broken specimen to buy a new one, consider repairing the fossil in the same way museums do if their fossils break.
This guide will help a new fossil collector repair a broken dinosaur tooth using the archival plastic resin, Butvar (polyvinyl butyral) B-76. This is not a guide on restoring sections of teeth that have gone missing or damaged beyond simple gluing.
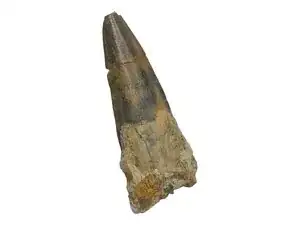
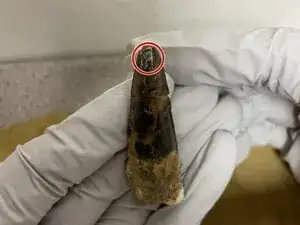
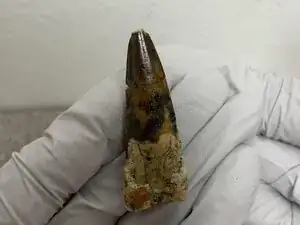
A broken Spinosaurus (or Sigilmassasaurus) tooth will be used in this step-by-step guide that demonstrates the process of using Butvar B-76 mixed with acetone for stabilization and repair.
This guide is compatible with medium to large theropod dinosaurs, including Tyrannosaurus, Nanotyrannus, Timurlengia, Carcharodontosaurus, Eocarcharia, Allosaurus, Suchomimus, Afrovenator, and Majungasaurus. The method also works for smaller theropods (e.g. Acheroraptor, Troodon, Rugops), as well as sauropods (e.g. Diplodocus, Camarasaurus, Rebbachisaurus, Jobaria) and ornithischian (e.g. Triceratops, Edmontosaurus, Ouranosaurus). Other reptile teeth—such as crocodyliforms (e.g., Deinosuchus, Elosuchus, Sarcosuchus), mosasaurs (e.g., Mosasaurus, Thalassotitan, Tylosaurus), pterosaurs, ichthyosaurs, and plesiosaurs (including pliosaurs)—can be repaired using the same techniques, applied more delicately.
Note: This guide is written with the primary intention of repairing the teeth of dinosaurs and other similar-looking reptiles. The Butvar B-76 and acetone ratios provided in this guide may not be sufficient for repairing claws, jaws, osteoderms, and other bones. Please take caution or seek other guides if skeletal elements other than teeth require repair.
Warning: Pure acetone is heavily utilized throughout this repair guide. It can produce a strong, noxious odor and is extremely flammable. Caution should be taken when handling this substance, as well as working in a well-ventilated area and away from any source of flame or heat. The use of masks and nitrile gloves is highly recommended. If you are highly sensitive or allergic to acetone, avoid using this guide.
-
-
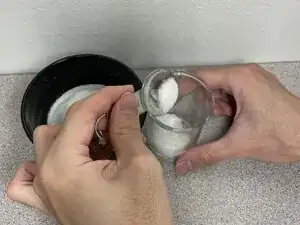
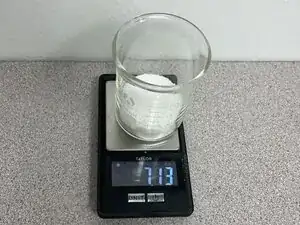
Use a metal measuring spoon to scoop around 7 grams of Butvar B-76 plastic resin into a glass beaker.
-
Use a small kitchen scale to weight the Butvar B-76.
-
-
-
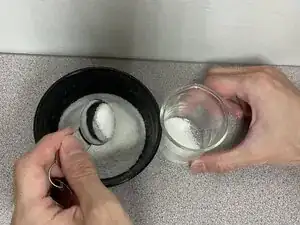
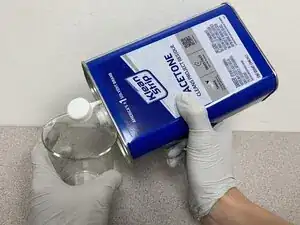
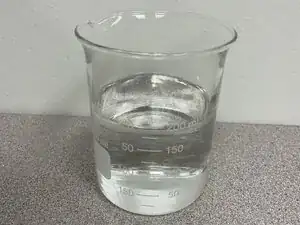
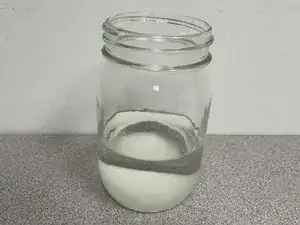
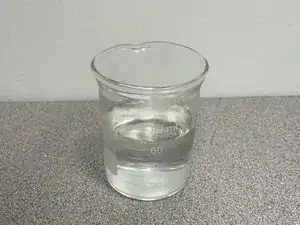
Take the 100% acetone and carefully fill around 200 milliliters of the liquid into a glass beaker.
-
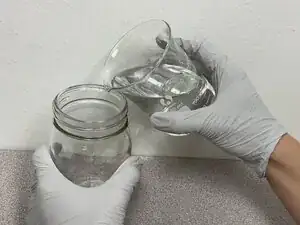
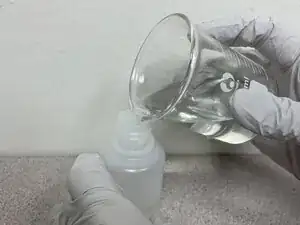
Pour the 200 milliliters of acetone from the glass beaker into a glass jar.
-
-
-
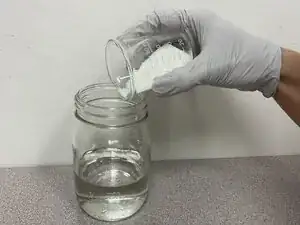
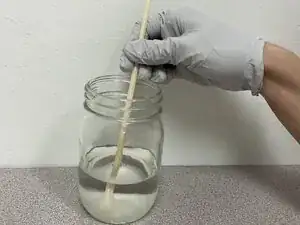
Take the 7 grams of Butvar B-76 and carefully sprinkle the plastic resin into the 200 milliliters of acetone in the jar.
-
-
-
Use a chopstick (or glass stirring rod) and begin mixing the Butvar B-76 and the acetone until the plastic resin has dissolved.
-
-
-
Pour the solution from the glass beaker into a plastic dropper bottle.
-
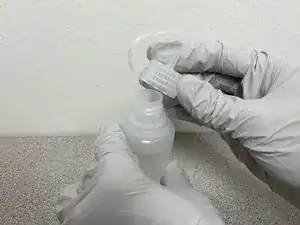
Screw the cap onto the dropper bottle. Make sure it's tightly screwed on.
-
-
-
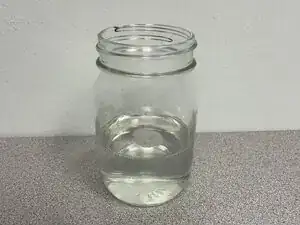
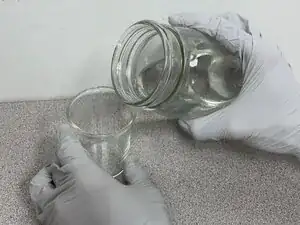
Pour out some of the Butvar B-26 and acetone solution from the glass jar and into a glass beaker
-
-
-
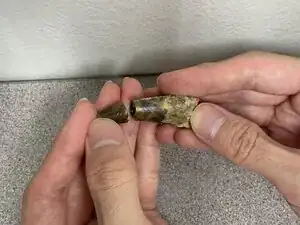
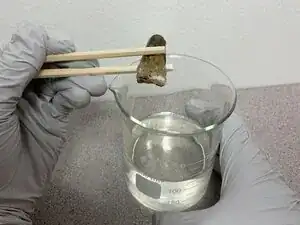
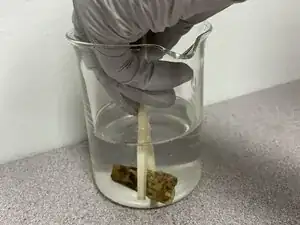
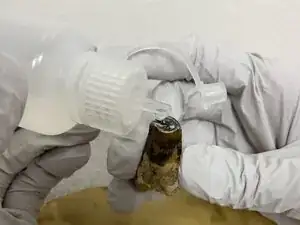
Carefully pick up the fossil with chopsticks (or tweezers).
-
Completely submerge the fossil into the solution. Hold the fossil still in the solution for 30 seconds or until the fossil stops producing bubbles.
-
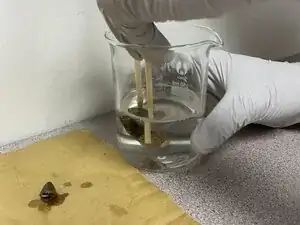
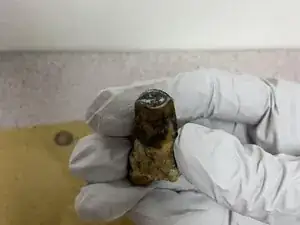
Carefully lift the fossil from the solution and place it on a surface for it to dry.
-
Repeat the step for any additional pieces.
-
Wait for the fossil to dry completely before proceeding.
-
-
-
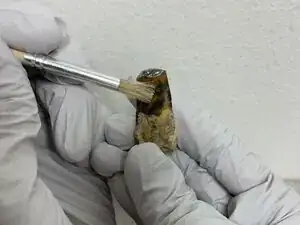
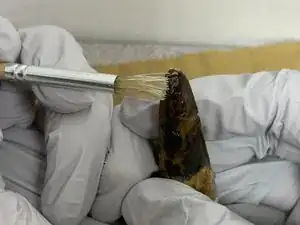
Take an acetone-proof brush and dip it in the Butvar B-76 and acetone solution.
-
Gently brush the solution onto the fossil. Make sure to brush the solution on the entire fossil and any broken pieces from the fossil.
-
Wait for the fossil to dry completely before moving on to the next step.
-
-
-
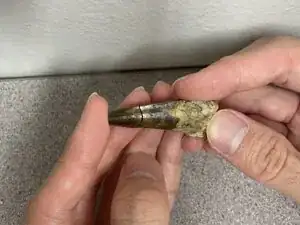
Hold one fragment of the fossil firmly in one hand.
-
Take the dropper bottle with the solution and drip one drop onto the fossil.
-
-
-
Take the second piece of the fossil and place it onto the first piece. Make sure that both pieces align.
-
Hold both pieces together firmly.
-
Wait 30 seconds to a minute for the solution to completely dry.
-
-
-
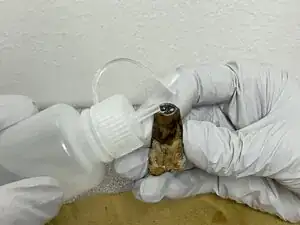
Take the 100% acetone and pour some into a glass beaker.
-
Take a acetone-proof brush. Gently brush acetone onto the frost-like film to remove it.
-
Once it's removed, wait for the fossil to dry.
-

The process can be reversed by submerging the specimen in 100% acetone. For fragile or crumbly specimens, this may be difficult or ill-advised.
The Butvar B-76 plastic resin within the solution will last indefinitely for future use, though the acetone itself may evaporate over time even with the lid on and may require occasional refilling. Refer to Step 6 of the guide to re-dissolve the plastic resin if it has solidified from over evaporation.