Introdução
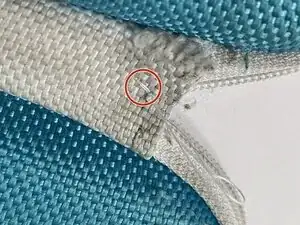
It is common to damage the fabric around zippers. When it comes to earphone cases, this problem may happen if you retrieve an audio device from the container without opening the zipper all the way. Over time, this puts stress in the fabric attachments, and eventually the fabric separates from the hard shell of the case.
Use this guide if your Daiso earphone case or a similar product has a ripped fabric hinge. This guide will teach you to make simple stitches and reattach the hinge.
For you to perform this repair without risking further damage, the three layers should naturally sit on top of each other without you forcing them together. If the hinge has torn too far beyond the area covered in this guide, you will either need to use a different sewing method or replace the hinge entirely.
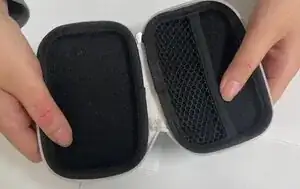
The fabric hinge is made up of three layers.
- the outermost layer – thick, uneven, textured
- the innermost layer – smooth and silky
- the zipper ends – sandwiched between both layers
Because the Daiso product comes with the fabric hinge sewn into the hard shell of the case, this fix provides more access by securing the three layers of the hinge together. The hinge is softer, so a needle passes through with ease. By the end, you should have a stronger and more durable earphone case.
Whenever we refer to the fabric hinge, we will use the words "fabric hinge," "hinge," and "spine."
This guide uses a straight, thin hand needle, around 1.5 inches in length, so as not to leave large holes in the fabric, while allowing the thread to fit easily into the eye.
Polyester thread will provide a stronger attachment; however, any all-purpose thread will work.
Ferramentas
-
-
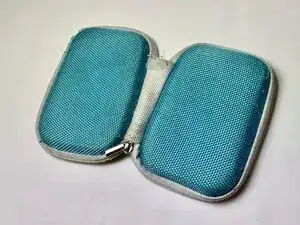
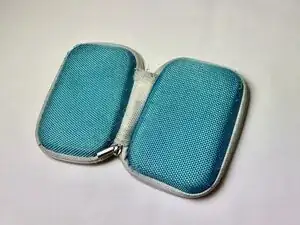
Unzip the case and lay it flat.
-
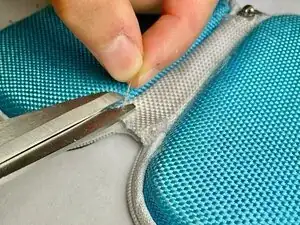
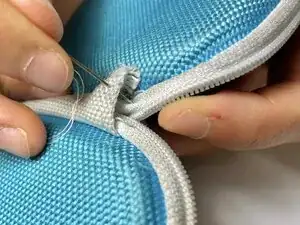
Use scissors to cut off any unraveled fabric or stray threads.
-
-
-
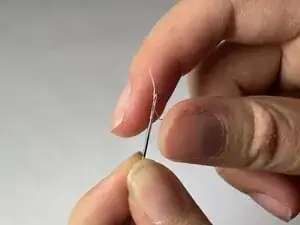
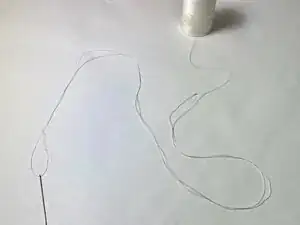
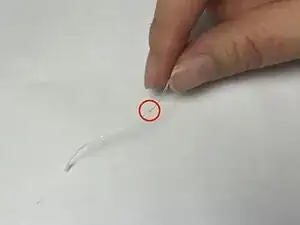
Unravel the thread from the spool.
-
Double up the thread as you unravel. Continue unraveling until you have about 15-20 inches in total.
-
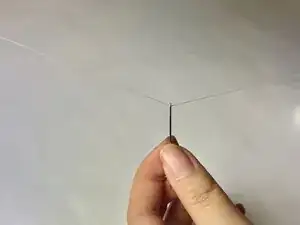
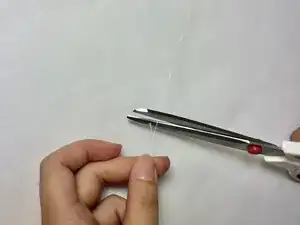
Cut the thread where the ends meet.
-
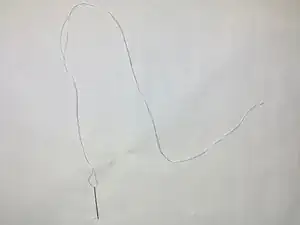
Adjust the folded thread until both sides are as equal as possible.
-
-
-
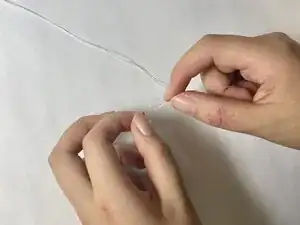
Align the three layers exactly as they’d be if the layers were intact.
-
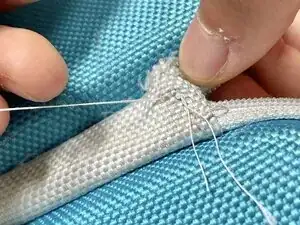
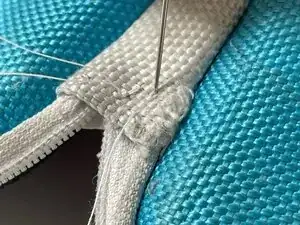
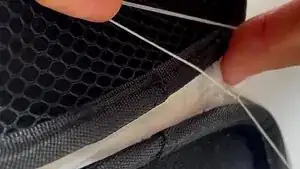
Position the needle to estimate how the needle will enter. Before inserting, the needle should keep a centimeter distance from the edge of the damaged fabric hinge. After inserting, it should intercept the fabric that runs parallel to the zipper teeth.
-
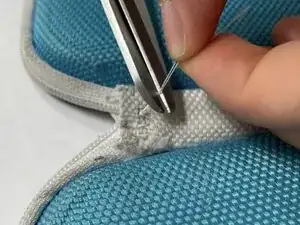
Pull the needle through all three layers of the hinge until the end knot stops against the fabric.
-
-
-
If the zipper is torn, tuck the zipper back where it belongs. Hold the three layers in place.
-
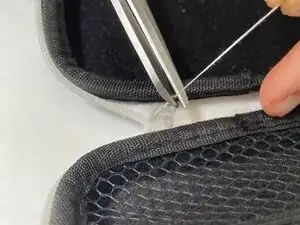
Shift the needle down the spine, toward the center of the case, vertically aligned with your previous pass.
-
Make sure the needle will pass through all three layers of fabric.
-
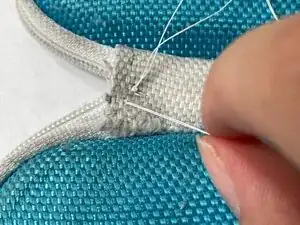
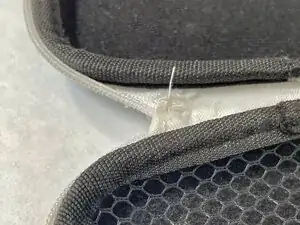
Pass the needle through the layers of fabric until the thread is tight without bunching the fabric. This is your first stitch.
-
-
-
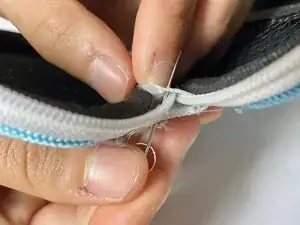
Position the needle at the spot where you made the first pass. It's the first entry point (farther from the center of the spine).
-
Pull the needle through until the thread is tight.
-
-
-
Move the needle perpendicular to the stitch you made, going towards the black fabric of the case.
-
Repeat steps 5-8, making rows of stitches until the fabric is secure.
-
-
-
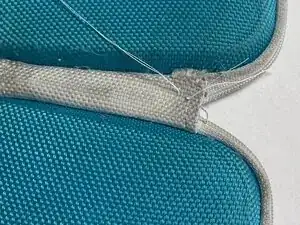
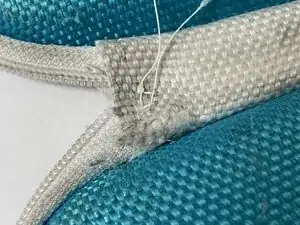
The final stitches will look like this. There will be a row of singular stitches on both sides.
-
Make sure you pull the final stitch so that the thread that is interwoven into the spine is firm and snug.
-
-
-
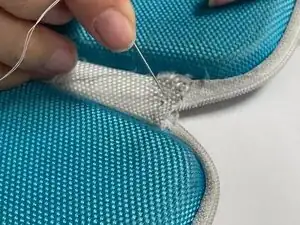
Make a knot to secure the stitches. The knot should be as close to the exit point as possible.
-
Use your finger or the needle to keep the thread flat as you close and tighten the knot.
-
-
-
Cut off the excess thread on both sides of the earphone case. You may leave a small amount if you'd like.
-
-
-
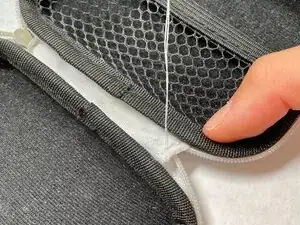
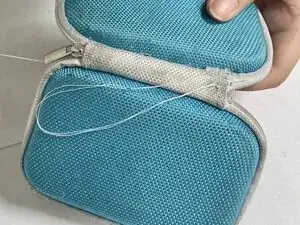
The final case should zip up with ease. The fabric hinge should be secure.
-
Gently pull the two sides away from each other to test the strength of the hinge.
-