Introdução

If the sole of your Converse shoe is falling apart, this iFixit guide will provide a relatively beginner-friendly way to repair its tear and extend the lifetime of your favorite sneakers! To do so, we will first glue the outsoles (the sides and bottom of your shoe) together using rubber glue and then reinforce the tear by hand using whip stitches and strong thread. Note that this guide is best suited for those who already have some basic hand-sewing knowledge but can be done even as a beginner—it may just take some extra time. You must have a thimble for this repair due to the nature of the materials this guide works with. You may injure yourself otherwise.

  1. WZ32KAUVyCZSCyJq
    • Untie and fully remove both shoelaces from the destroyed shoe. Put them off to the side to re-lace once the shoe is repaired.

    • Make sure the tongue of the shoe stays tucked inside.

  2. pYmPLk1PMllITDPx
    pYmPLk1PMllITDPx
    6CZ6VfRioLWJLf3S
    OeZxiacNow2yQwbD
    • Brush away dirt, dust, or grime and wipe at the tear with a dry cloth.

    • Caution: Do not sand or scrape the shoe aggressively, and do not soak the shoe in water. This can damage the leather.

  3. UURRTrTieAGNZtBC
    UURRTrTieAGNZtBC
    LFeaFuiDYOMRPxfI
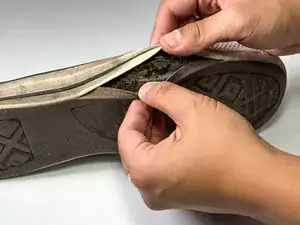
    • Apply a thin layer of rubber glue inside the separation between the leather and the sole.

    • Use a small tool, like a needle or toothpick, to spread the glue evenly.

    • Avoid getting glue on the outer layer of leather.

  4. u521AaDIGHJWDg5a
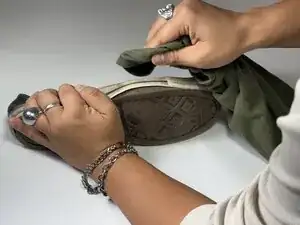
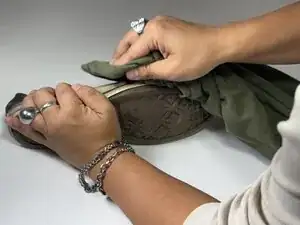
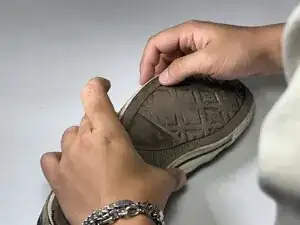
    • Press the rubber sole and the leather upper firmly together and hold for at least two minutes.

    • A clamp, rubber bands, or a heavy book can help clamp the shoe together with even pressure.

  5. CgiqLEoeWMxAWa33
    CgiqLEoeWMxAWa33
    heQPebPnMlhGtgxJ
    • Pull the thread through the needle and create a small knot at the end of the thread.

    • CAUTION: Use a thimble, as the leather and rubber are particularly thick materials. Without a thimble, the eye of the needle may pierce your finger.

  6. xQcnpDkUEw5kBXPI
    xQcnpDkUEw5kBXPI
    GV5sJEcByRIesEGS
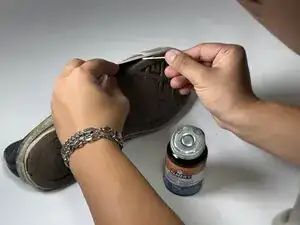
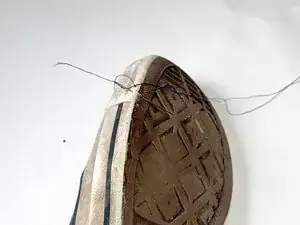
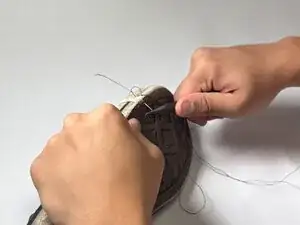
    • Add whip stitches to reinforce the shoe.

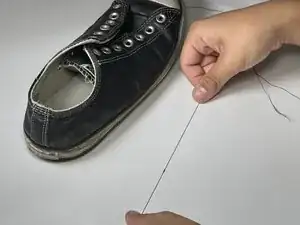
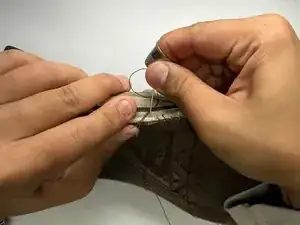
    • Insert the needle through the rubber sole so that it enters on the shoe's side and exits on the shoe's bottom.

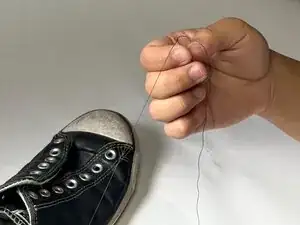
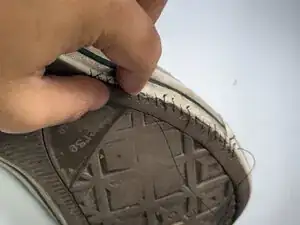
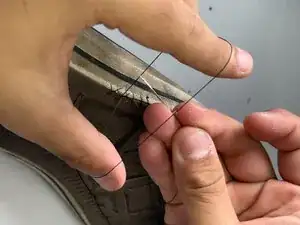
    • Pull the needle all the way through with pliers to complete one stitch. Repeat as necessary.

    • Make sure the thread goes through smoothly to prevent knotting at each stitch.

  7. AhgDyOfSKXuXeuhh
    AhgDyOfSKXuXeuhh
    pKiyOCOTLHsD64mO
    sHcqkOQjgRBMJgmG
    • Optional: You may add extra stitches going the opposite direction of your original stitching for even more reinforcement, as seen in the next step.

    • Loop the needle through the last stitch and secure it with a small knot.

  8. 4GykRdDBUAbiCR6W
    • Cut off any excess thread after you've made the knot.

    • CAUTION: Keep flame away from the leather if you use a lighter.

Milan Lee

Membro desde: 04/11/25

187 Reputação

0 comentários