Introdução
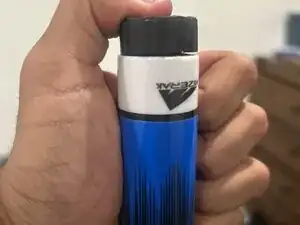
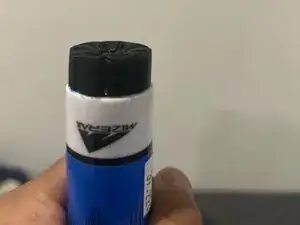
This guide will show you how to fix the butt of a pool cue or cue stick that's broken near the collar. It could break from dropping the stick, improper storage or shipping, or being too rough with it.
Repairing your pool cue is a simple way to restore it while also saving money.
It's important to work in a well-ventilated area so that the cue stick can dry. Handle the tools with care and avoid messing around. Also, follow the glue manufacturer's drying instructions to ensure the repair is successful. This guide is for anyone looking to fix their cue stick efficiently, effectively, and safely.
Ferramentas
-
-
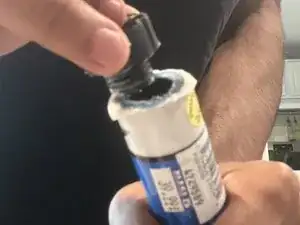
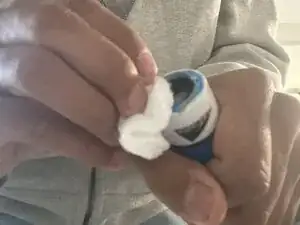
Clean both broken surfaces to remove any dust, splinters, or old glue.
-
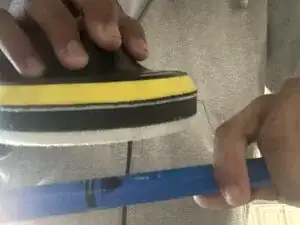
If the cue stick is chipped or uneven, use 80–100 grit sandpaper to lightly sand the area and smooth the surface out before continuing.
-
-
-
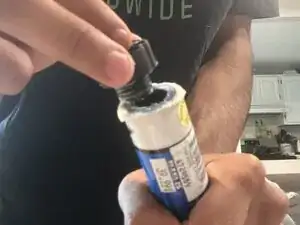
Apply a thin, even layer of wood glue to one of the broken surfaces.
-
Spread the glue using something small and disposable, such as a brush, old gift card, cotton ball, or your finger.
-
-
-
Fit the broken pieces together tightly.
-
Apply firm but controlled pressure so the joint seats fully without shifting.
-
-
-
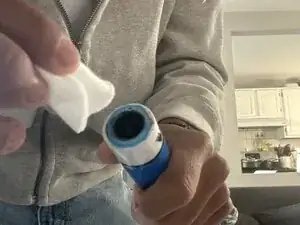
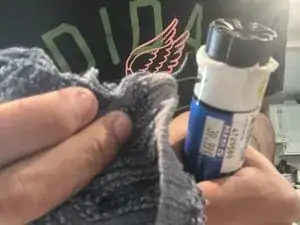
Use a cloth or cotton pad to gently wipe away any glue squeezing out from the seam.
-
Hold the two pieces together with steady, even pressure for about 20 minutes, or until the glue begins to set.
-
-
-
Place the cue stick in a safe location and let the glue to dry fully based on the manufacturer’s instructions.
-
-
-
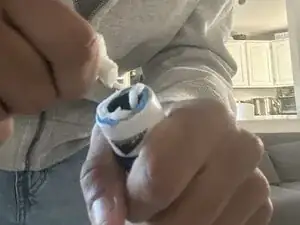
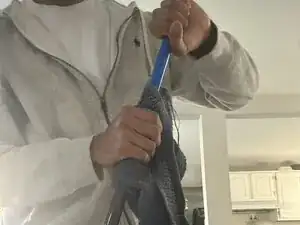
Use a clean rag to polish the repaired area and blend it with the rest of the cue. Rub in small, even motions until the finish looks smooth and consistent.
-
Wipe down the entire cue with the rag one final time to remove any excess oil and reveal the restored finish.
-
Once the glue dries completely, your cue stick should be restored and ready for use.