Introdução
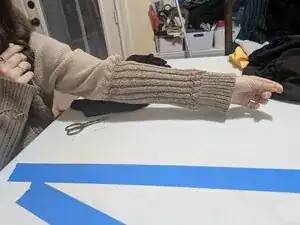
Repair ripped seams on your liquid knit garments. Liquid knit is slightly different from other, more common knit fabrics, and as such must be handled in its own way. This guide aims to help people with no sewing knowledge fix their clothes with relative ease and minimal, cost-effective supplies. The estimated time required for the guide varies widely depending on the length of the seam to be mended.
Ferramentas
-
-
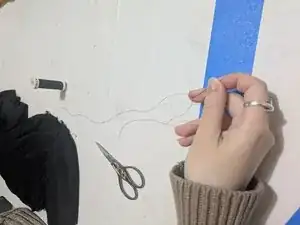
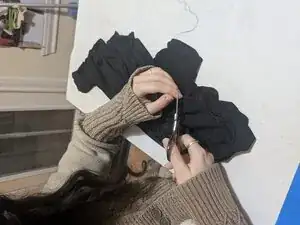
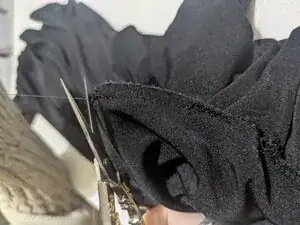
Measure the thread.
-
Thread the needle. Keep length ratio of either side of the thread to about 2:1.
-
-
-
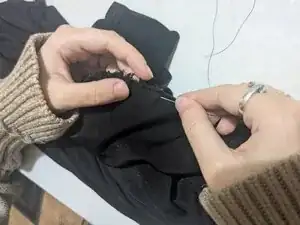
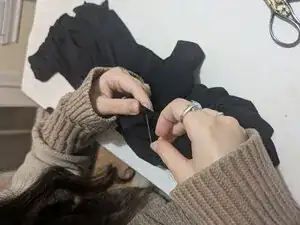
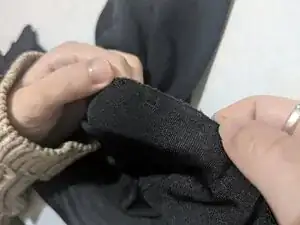
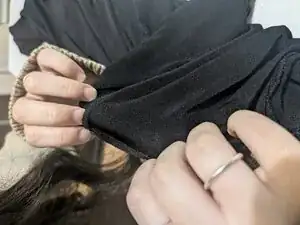
Pinch both sides of the fabric together and run the needle through with a 1inch length stitch and pull the thread loosely through, keeping the edges of the fabric straight.
-
Repeat the previous step until the stitch runs the length of the ripped seam.
-
Snip the excess thread.
-
-
-
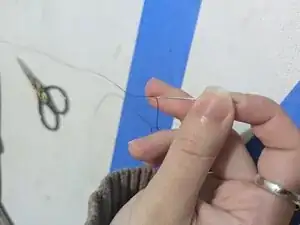
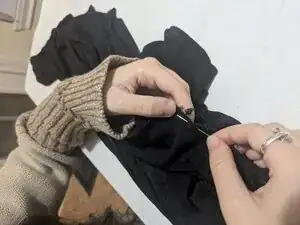
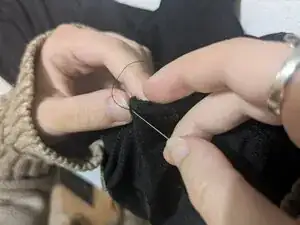
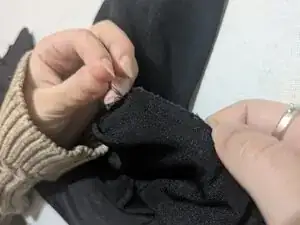
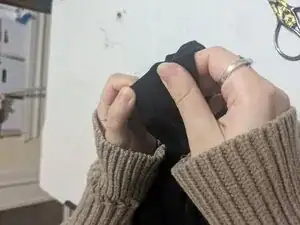
Run the needle through the cloth at about a 1/16inch length. Do this in an area unlikely to be seen, like along the line of where the stable part of the seam ends, just before the rip.
-
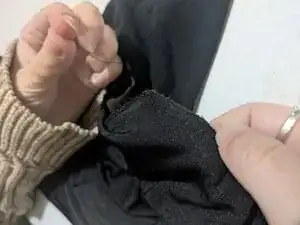
Pull the thread through the fabric just to the end, so that it has about 1/8inch left before it would pull out completely.
-
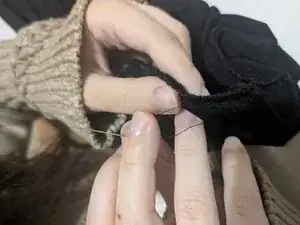
Repeat the stitch over itself by running the needle through in the same point, at the same size, and pulling the thread through.
-
Do the previous step a total of three times.
-
Tug firmly to ensure the thread cannot pull out. This secures the thread for the main stitch.
-
-
-
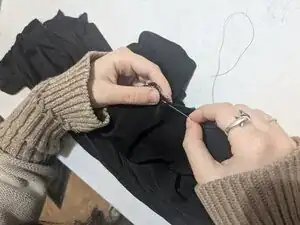
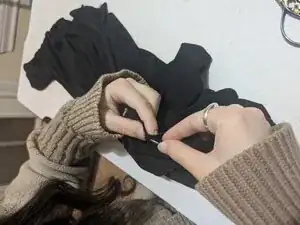
Run the needle straight through both sides of the cloth like on the basting stitch and pull the thread through. This should be about a 1/4inch long.
-
Put the needle half-again back and repeat the previous step from there, so that the new stitch goes through halfway behind the previous stitch and comes out halfway ahead.
-
Repeat the previous step until the seam is fully closed.
-
-
-
Once the length of the ripped seam is fully sewn shut, repeat Step 3 to tie off the thread.
-
Snip the excess close to the fabric.
-
-
-
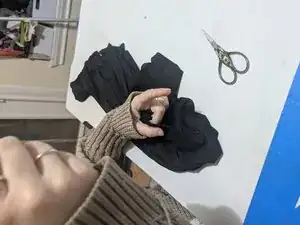
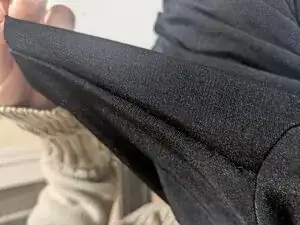
Make sure the seam is straight, or otherwise follows the curve of the garment.
-
Gently but firmly test the strength of the seam. It should be able to withstand fairly strong tugging without gaps or rippling.
-
Test the drape. The garment should drape with a smooth, pucker-free seam.
-
Enjoy wearing beloved clothes for years to come :)