Introdução
By maintaining your sports equipment, you can improve its lifespan by 50%. It's a reliable way to save money and prevent waste simply through proper care.
In this guide, a demonstration on how to repair minor damage on a wooden cricket bat will be shown. It will then teach you how to protect your bat from further damage. It will provide a step-by-step description that will allow seasoned cricketers and beginners alike to use this repair. Make sure to gather the materials under the what you need tab, and let's begin!
-
-
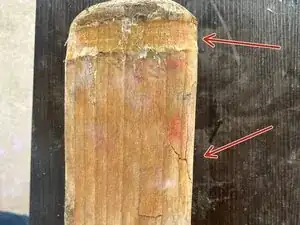
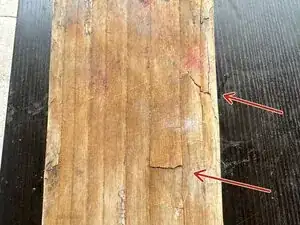
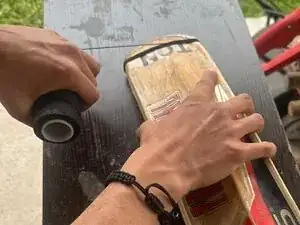
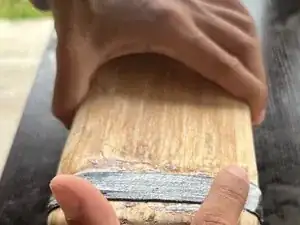
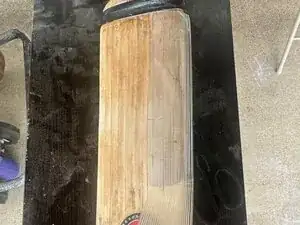
Examine the damage on the bat in the images provided.
-
This guide is aimed at fixing cracks and fractures no bigger than what is shown.
-
-
-
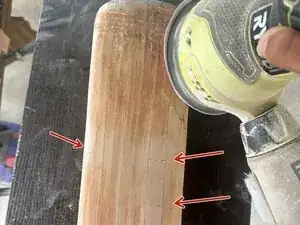
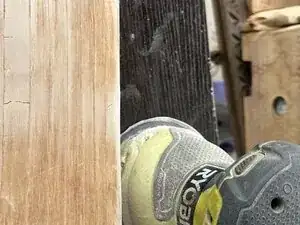
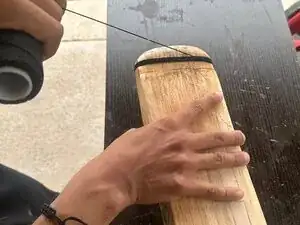
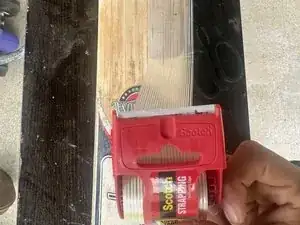
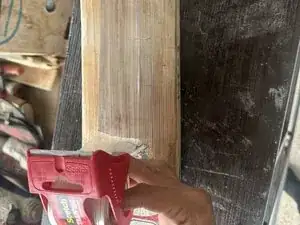
First, you will want to smooth out the cracks and fractures on the front of the bat.
-
Use the palm sander or sandpaper to go over the affected cracks in a circular motion.
-
Run your hand over the sanded area. It should look lighter in color and feel smooth.
-
-
-
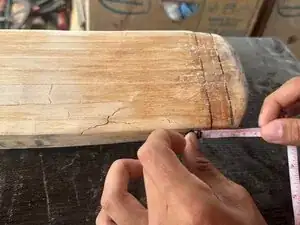
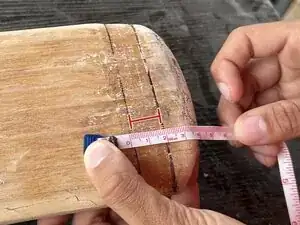
Next, we will need a pen or a pencil to create markings on the bat. We will also need a measuring tape or ruler.
-
Measure 3cm from the bottom of the bat (also known as the "toe".)
-
Draw a straight line across the bat at the 3cm mark.
-
Next, measure 5cm from the bottom of the bat.
-
Draw a straight line across the bat at the 5cm mark.
-
The outcome should be 2 parallel lines, no more than 2cm apart.
-
-
-
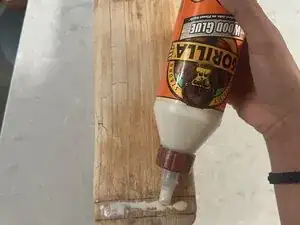
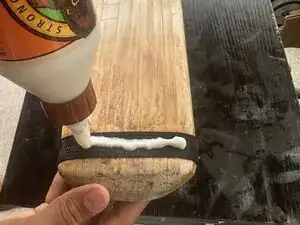
Apply Gorilla Wood Glue between the 2 parallel lines.
-
Spread it out evenly on both the front and back of the bat.
-
Wrap the nylon thread on top of the glue, starting at one parallel line and making your way toward the other line.
-
Be sure to thread the area so it's evenly dispersed.
-
Pull tightly so the nylon thread is snug.
-
-
-
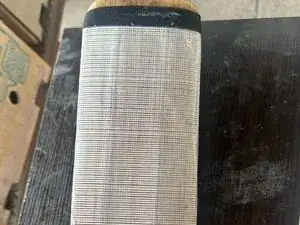
Next, we will need the heavy-duty scotch tape.
-
Mark with your finger where we ended our thread at the 5cm point.
-
From where your finger is, place the edge of the tape beneath the threaded area and continue pulling it down towards the handle.
-
Do this repeatedly until the face of the bat is covered.
-
-
-
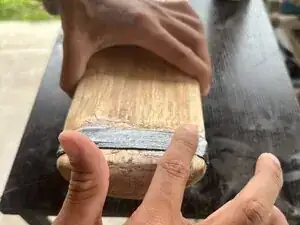
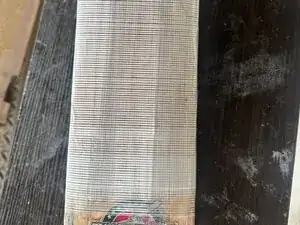
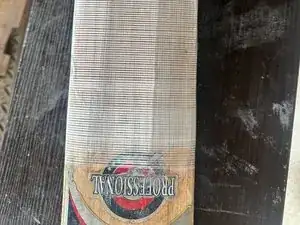
Check your bat for these three flaws: loose nylon thread, overhanging tape, and sharp corners.
-
If there are no flaws, you have successfully repaired the minorly damaged cricket bat.
-

Hopefully, this guide will have helped you maintain the life of your cricket bat for many more games to come!