Introdução

This guide shows how to install the Expansion Card lock screws in your Framework Laptop 12.

The Framework Laptop 12 comes with screws to internally secure all four Expansion Cards. With these screws installed, the cards can't be removed unless you open up the laptop.

You'll encounter some component terms in this guide:

  • The Input Cover is the part that contains the keyboard and trackpad.
  1. rVbPRJRms4MSNMFe
    • Set your Framework Laptop face-down on a clean work surface.

  2. vHxdQ4nutodKmGLo
    vHxdQ4nutodKmGLo
    ScjmV1EpCVL3BZ2l
    OeWFnBZdQLRYxqcv
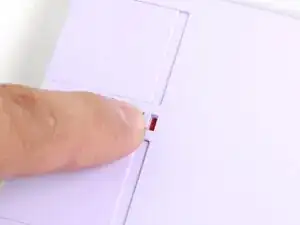
    • Use your fingers to flip both Expansion Card latches to the lock position. The red bar shouldn't show on the latches.

  3. htncoSsQ5lRQxh4B
    htncoSsQ5lRQxh4B
    gKDoJJDiONCqQKHt
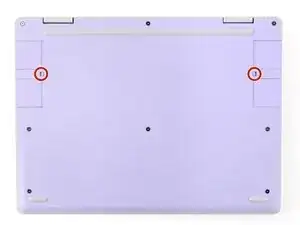
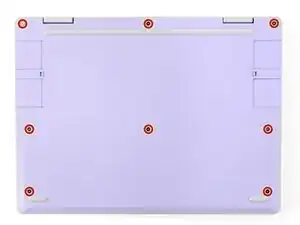
    • Use your Framework Screwdriver to fully loosen the eight captive T5 Torx screws on the bottom of your laptop.

    • Most screws in your Framework Laptop (including these) are captive—they're designed to stay in place after you loosen them.

    • Your laptop comes with a spare set of screws in the frame above the battery. Be careful—the replacement screws aren't captive.

  4. HjSRKARyMbyulDVR
    • Flip your laptop over so it's face-up on your work surface.

  5. IHQvUCWgGwHidYtV
    IHQvUCWgGwHidYtV
    XesmVVMaZpRoCSYR
    • Open the laptop lid so that both the screen and the base lie flat on your work surface.

  6. kqfZBedOtJIGV65n
    kqfZBedOtJIGV65n
    pJbEwCr3gqZX3vlv
    gNlWLId5bSNCI3Is
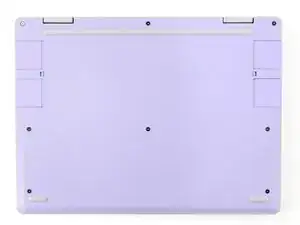
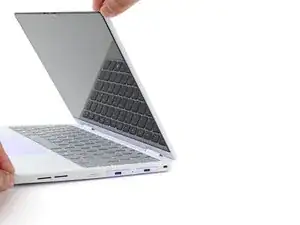
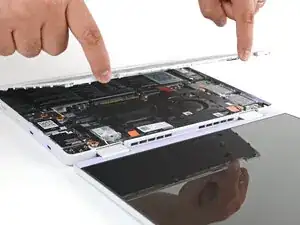
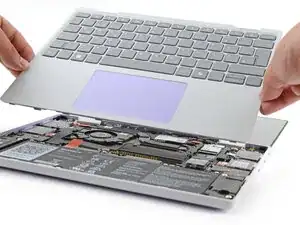
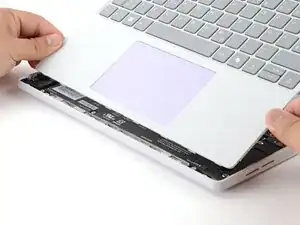
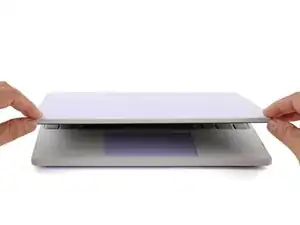
    • Use your fingers to grip the Input Cover in the hinge cutouts.

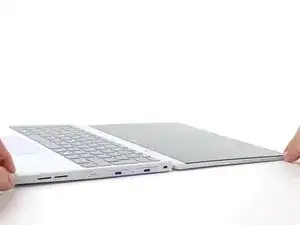
    • Lift upwards to swing the Input Cover up from the base of the laptop.

    • There are magnets holding the Input Cover down, so you'll feel some resistance. If it feels like a lot of force is required, check that you've fully loosened all the screws on the bottom of your laptop.

    • Remove the Input Cover.

  7. niRDSaVpyDarptXZ
    niRDSaVpyDarptXZ
    G6tdcVLNu6p62IDj
    AGHcAyrV13bksSJA
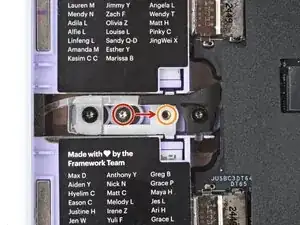
    • For the left side, use your Framework Screwdriver to remove the silver lock screw from its holding post between the Expansion Card slots.

    • This is a 2.9 mm‑long T5 Torx screw.

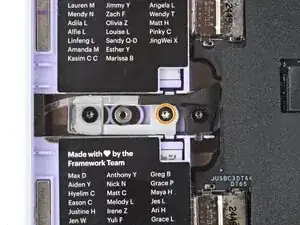
    • Install the screw into the screw hole to the right of the post.

    • This holds the left Expansion Card latch in place, preventing external unlock.

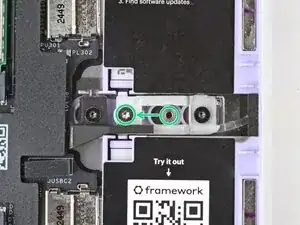
    • Repeat the procedure on the right side to lock the right Expansion Cards.

  8. GFISPDuIsRdKxMhT
    • Congratulations on completing disassembly! The remaining steps will show how to reassemble your Framework Laptop.

  9. HlXOsUPuPR5UTUnF
    HlXOsUPuPR5UTUnF
    euBDDIJMdxks34JT
    DPSECZI1O3LHVTTb
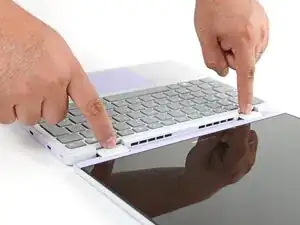
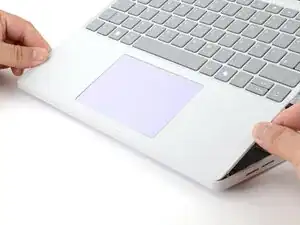
    • Angle the bottom edge of the Input Cover towards the base of the laptop.

    • Align and insert the bottom edge of the Input Cover into the base of the laptop.

    • Make sure the slots along the bottom edge of the Input Cover slide into the tabs in the base.

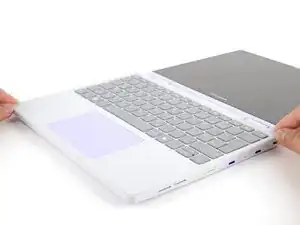
    • Lower the Input Cover's top edge onto the laptop until the magnets snap it in place.

    • Make sure the Input Cover sits neatly within the laptop frame and no corners are popping up.

  10. rk4BwMiYBUtyOqmu
    rk4BwMiYBUtyOqmu
    OKkxrqofAHaEk2Ul
    • Close the laptop lid.

    • Flip your laptop face-down on a clean work surface.

  11. uSiaYQJxHWQEtBTp
    uSiaYQJxHWQEtBTp
    4PYD5BWmLBijnqFr
    • Use your Framework Screwdriver to tighten the eight captive T5 Torx screws on the bottom of your laptop.

    • Tighten the screws until they're snug. Don't over-tighten them, or you may strip the screws.

Conclusão

You finished fixing your Framework Laptop!

If you need help, contact Framework support.

Arthur Shi

Membro desde: 03/01/18

326111 Reputação

0 comentários