
Introdução
If your Keychron M1 mouse is experiencing scroll wheel issues—such as inconsistent scrolling, sticking, squeaking, or no response—this guide can help. These problems are commonly caused by dust buildup, normal wear, or a faulty scroll wheel encoder.
In this guide, you’ll open the mouse to access the scroll wheel and encoder so they can be cleaned, adjusted, or reseated. You can also use this guide if you need to replace the scroll wheel.
The repair is beginner-friendly and requires only a few simple steps, making it a good introduction to mouse repair even if you’re new to fixing electronics.
Be sure the mouse is off before you begin this repair.
Ferramentas
-
-
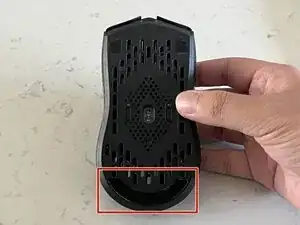
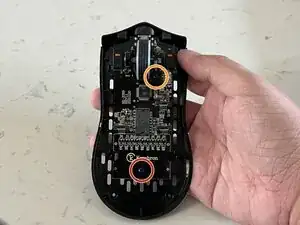
Use a spudger or your fingernail to peel the mouse feet from the bottom of the mouse to reveal two screws.
-
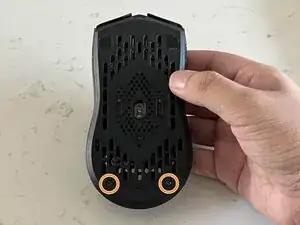
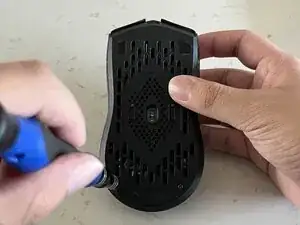
Use a JIS #0 screwdriver to remove the two 6.0 mm screws from the bottom of the mouse.
-
-
-
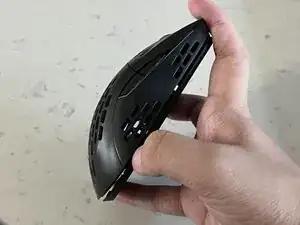
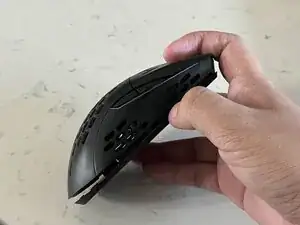
Insert the spudger into the seam at the back of the mouse, between the top and bottom case, to release the clips holding the bottom cover.
-
Start from the back, and slide the spudger to the middle until you reach the front.
-
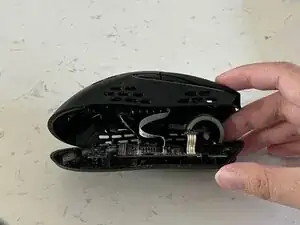
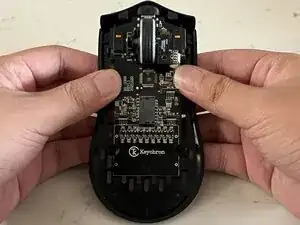
Lift the top until you can see the cables connecting the top and bottom case.
-
-
-
Use the tip of the spudger to push the black plastic locking tab away from the socket—it should only move about 1–2 mm.
-
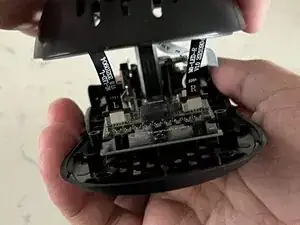
Use tweezers to slide all three ribbon cables from their connector on the motherboard.
-
-
-
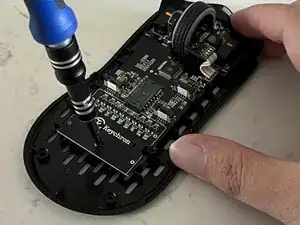
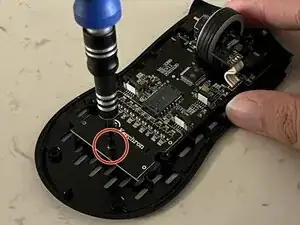
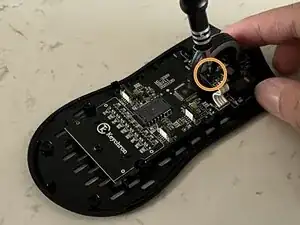
Use a JIS #0 screwdriver to remove two screws from the PCB:
-
One 5.0 mm-long screw
-
One 6.0 mm-long screw
-
-
-
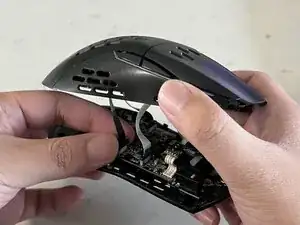
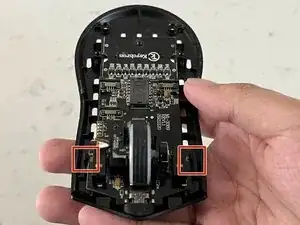
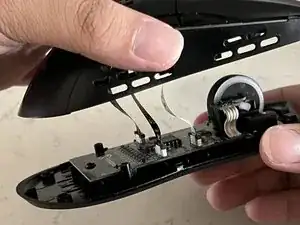
Gently pull the retaining clips back with a spudger or your fingers to release the PCB.
-
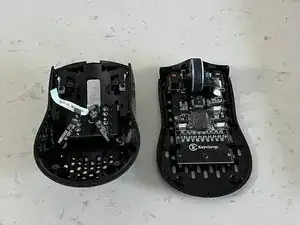
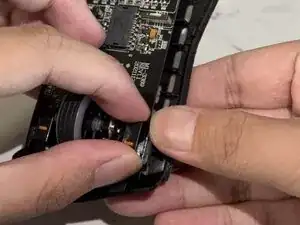
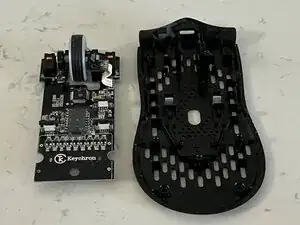
Remove the PCB from the bottom case.
-
-
-
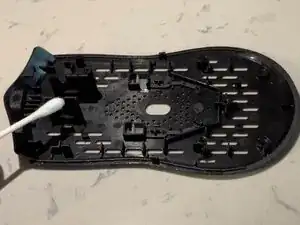
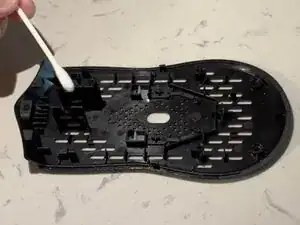
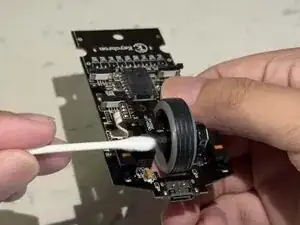
Use a cotton swab and Isopropyl alcohol, and gently clean both the wheel brackets and the scroll wheel itself.
-
Use a plastic-safe PTFE spray to lubricate the mouse and wheel brackets.
-
-
-
Gently place the PCB back onto the bottom of the mouse until you hear both latches click into place.
-
Replace the 5.00 mm JIS #J0 screw.
-
Replace the 6.00 mm JIS #J0 screw.
-
-
-
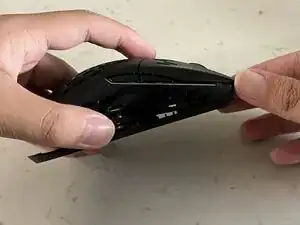
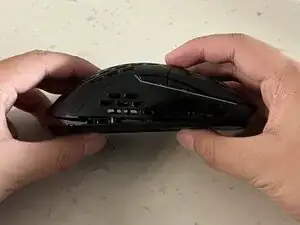
Align the top and bottom casing.
-
Start at the front of the mouse and press the top and bottom together until you hear a click. After the front has been secured, move to the middle, then the back.
-
Use a JIS #0 screwdriver to secure the two 6.0 mm screws on the bottom of the mouse and replace the screw cover.
-
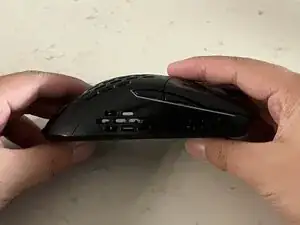
Your mouse should be back together and working!
-


To reassemble your device, follow these instructions in reverse order.