
Introdução
We are going to learn how to fix a sleeve on an article of clothing. If the sleeve seam of your favorite shirt has come undone, follow this guide to secure the seam, and continue to wear your shirt!
This repair can be done by hand or with a sewing machine, but this guide demonstrates how to repair the seam by hand sewing.
Be careful when using sewing pins and needles. They are sharp and will hurt if you get stuck or poke your fingers. Use a sewing thimble to protect yourself from needle pricks.
Happy fixing!
Ferramentas
-
-
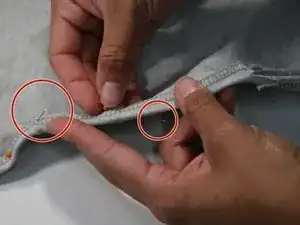
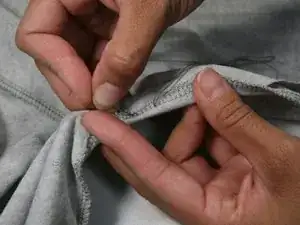
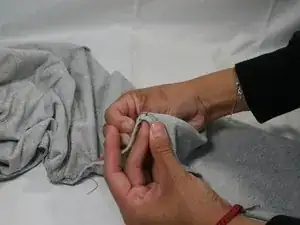
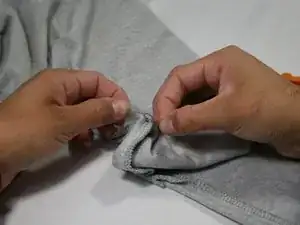
Insert the holding pin downward through the fabric.
-
Insert the holding pin back over the fabric in an upward direction.
-
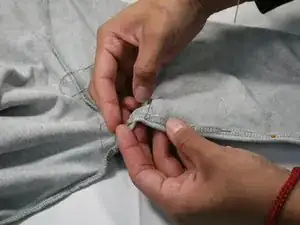
Tie a knot at the end of your thread. We do this so that when you begin to sew, it does not weave out of its initial start.
-
-
-
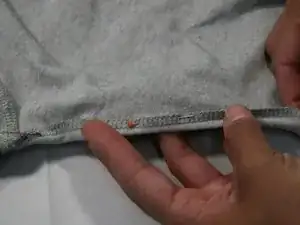
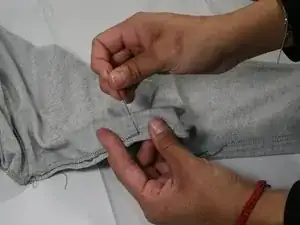
Insert the sewing needle downward at the top of seam.
-
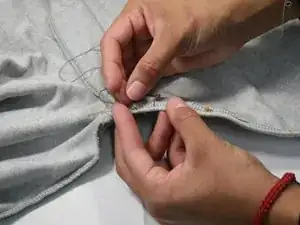
Insert the needle upward, towards you.
-
-
-
Reinsert the needle through the initial start of your hem.
-
Insert the needle upward, once more, through the second pierce you made.
-
-
-
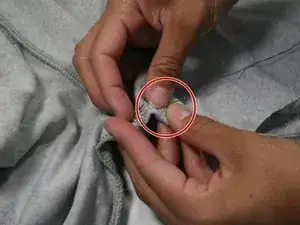
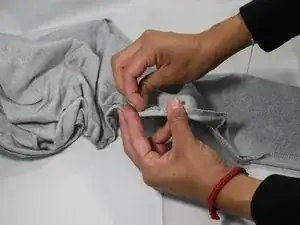
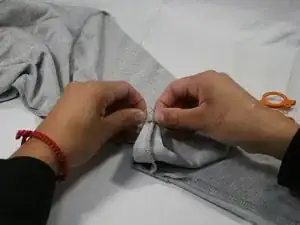
Grab both ends of the thread and bring together to form a halfway loop.
-
Tie a double knot tightly. Imagine you are tying a shoelace but only halfway.
-
You'll pull the knot tightly to secure in place.
-
-
-
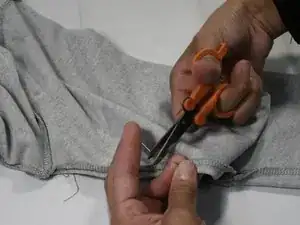
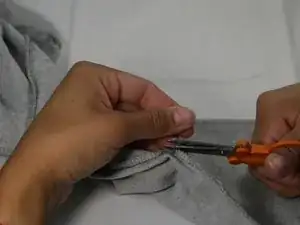
After tying the knot, take the fabric scissors and cut off excess thread closest to the formed knot.
-
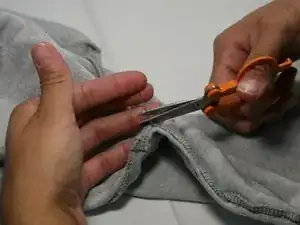
Repeat the last step for the excess thread at the initial sewing starting point.
-
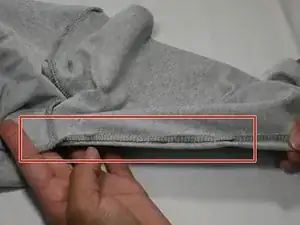
You have completed your sleeve threading.
-


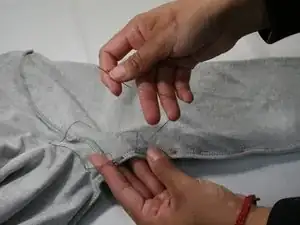
Once you have selected your thread color (to match your article of clothing), you may begin the steps accordingly. The steps are repetitive from the beginning of your first sew, until the end.
