Introdução
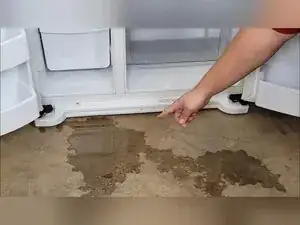
Water on the kitchen floor usually means the defrost drain is blocked and melt water is spilling inside the cabinet. Clearing the drain yourself keeps the refrigerator cold and dry, avoids an expensive service call, and takes only simple hand tools plus a homemade flushing bottle.
Ferramentas
-
-
Open the door to whichever section is leaking and expose the rear interior panel.
-
Remove all food, shelves, rails, and other items until you have a clear path to the back wall.
-
-
-
Locate two to six screws that secure the evaporator panel to the cabinet.
-
Back out every screw with a Phillips or 1⁄4-inch hex head screwdriver so the panel can come free.
-
-
-
The silver tubing grid is the evaporator coil that cools the refrigerator and forms frost.
-
A defrost heater sits directly below the coil and melts frost roughly once a day.
-
Find the small drain hole beneath the heater; melt water should flow through this opening.
-
-
-
Drill or poke a snug hole in the water bottle cap that matches the tubing diameter.
-
Cut a length of plastic tubing long enough to touch the bottle bottom and extend about five inches above the cap.
-
Feed the tubing through the cap until it rests against the bottle bottom to create a tight seal.
-
-
-
Insert the tubing into the drain hole beneath the heater.
-
Squeeze the bottle firmly to force warm water through the line and out to the rear drip pan.
-
-
-
Watch for dirty water or ice fragments exiting into the rear pan, showing the obstruction is clear.
-
Stop flushing once a clean, steady flow is observed.
-
-
-
Re-fit the evaporator panel and tighten every screw you removed earlier.
-
Return shelves, rails, and stored items to their original positions.
-
With the defrost drain flowing freely, frost melt will reach the rear drip pan instead of your kitchen floor. Keep an eye on the area for the next 24 hours and repeat the flush if ice re-forms during heavy humidity or frequent door openings.
