Introdução
This guide demonstrates how to clean your dishwasher’s air gap and drain hose. The model in the demonstration is the GE #GSD3360K65SS Dishwasher, but the process should apply to other models as well. This simple fix can help prevent water damage to the dishwasher and cabinets.
Debris in the drain hose can cause water to back up through the air gap and overflow during draining. This guide explains how to remove the dishwasher drain hose, flush it with running water, and reinstall it securely.
After cleaning, run your dishwasher to confirm proper drainage and check for leaks or overflow.
Peças
-
-
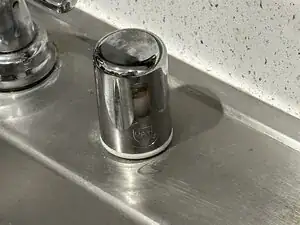
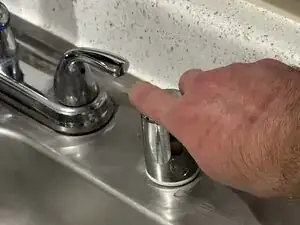
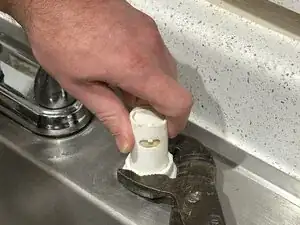
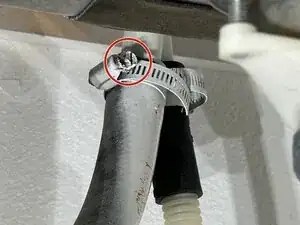
Grip the chrome air-gap cap firmly at the base and pull straight up to remove it.
-
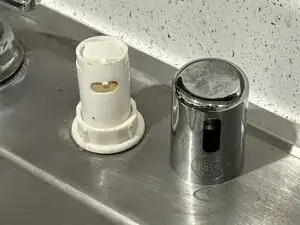
Set the cap aside in a safe location for reassembly.
-
-
-
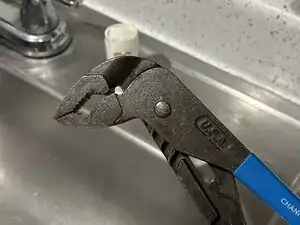
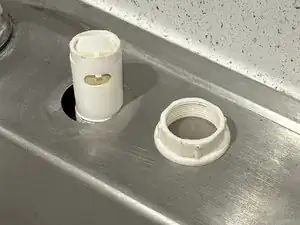
Use your hand to hold the head of the air gap and a 9.5” Channellock pliers to grip the nut.
-
Turn the locking nut to the left and remove.
-
-
-
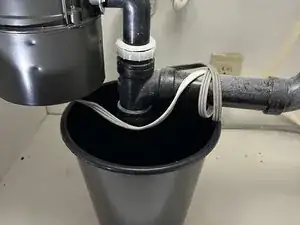
Prepare the work area and place your towel, or a bucket, under the plumbing pipe that connects to the garbage disposal.
-
-
-
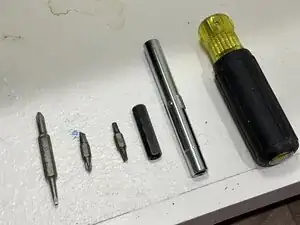
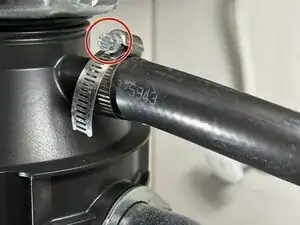
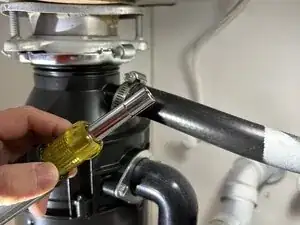
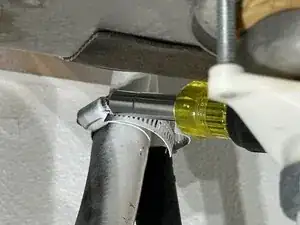
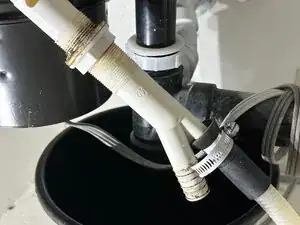
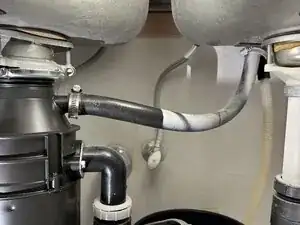
Attach the 5/16″ nut driver to the 6-in-1 screwdriver and locate the 5/16″ bolt on the drain hose clamp that secures the hose to the garbage disposal.
-
-
-
Move the clamp down to the center of the drain hose.
-
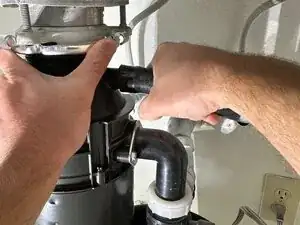
Firmly hold the neck of the garbage disposal.
-
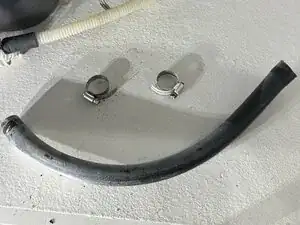
Hold the drain hose close to where it is connected. Then, twist the drain hose and pull.
-
-
-
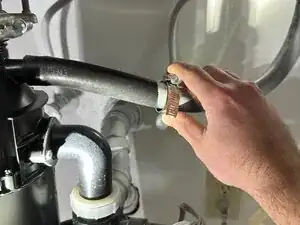
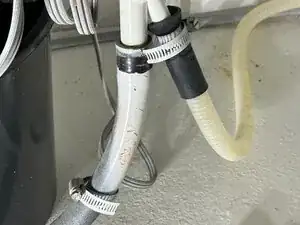
Use the 5/16" nut driver to loosen the 5/16" nut on the clamp connecting the drain hose and air gap.
-
Slide the clamp down to the center of the drain hose.
-
-
-
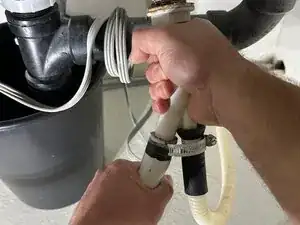
Firmly hold the air gap with one hand and hold the drain hose as close to the end as possible with your other hand.
-
Twist and pull the drain hose off the air gap.
-
Leave the clear dishwasher hose connected and hang the air gap off the edge of the bucket or on your towel.
-
-
-
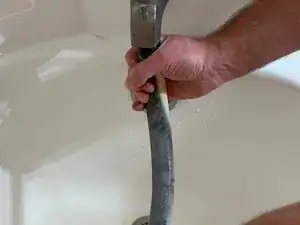
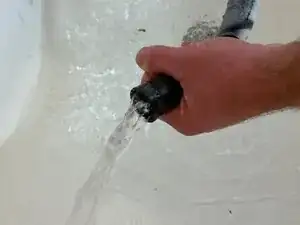
Turn the water on at low pressure. Slowly increase the pressure as debris leaves the hose.
-
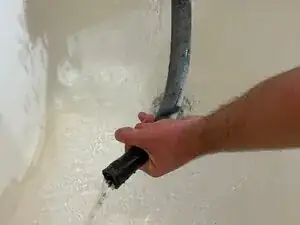
Run the water through the drain hose until clear and no visible debris remains in the hose.
-


To reassemble your device, follow these instructions in reverse order.