Introdução
Sometimes a shirt might be too boxy or big for a person's liking. This guide is designed to show a simple and effective way to cinch in the waist of a shirt, allowing it to fit more snugly.
This process will only take around 30 minutes to an hour, depending on the size of the shirt, and utilizes a hand-sewing method. The materials needed are thread, a sewing needle, scissors, a marker, and a shirt to cinch in.
Ferramentas
-
-
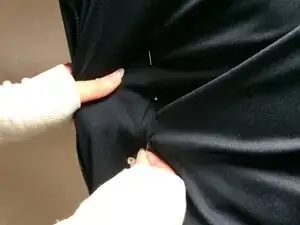
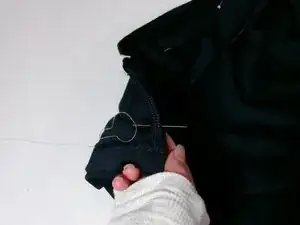
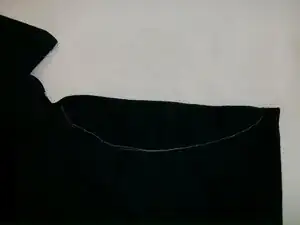
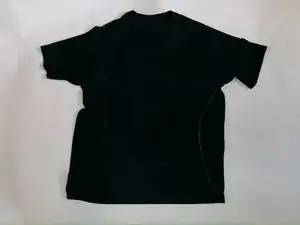
Gather the extra fabric around the waist and push a pin through the sides of the shirt to make it more form-fitting to your torso.
-
Do this for both sides of this shirt.
-
-
-
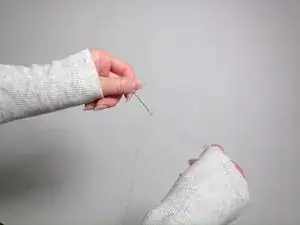
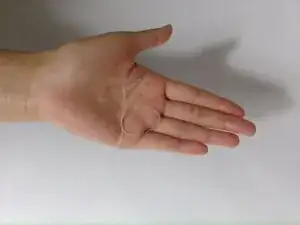
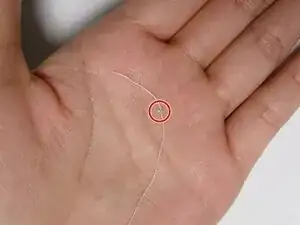
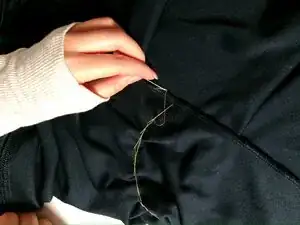
Tie the end of the thread into a knot by looping a hole through (as shown in the picture) and pull it tight.
-
Repeat this step 3-4 times to create a larger knot, until a visible knot forms at the end.
-
-
-
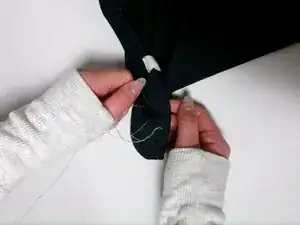
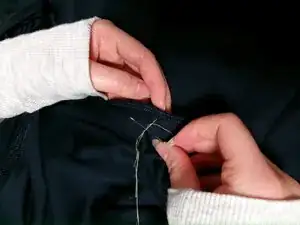
Start by pushing the needle through the back of the shirt to the front, sewing together the two layers of fabric.
-
-
-
Thread the needle back through the front of the shirt, roughly 1 cm apart from the previous stitch.
-
-
-
Thread the needle through the back of the shirt and bring the needle back to the opening of the previous stitch you made, threading it through the same hole and creating what looks like a loop.
-
-
-
Repeat this back stitch until you reach the end of the curve you marked previously and form a continuous line.
-
-
-
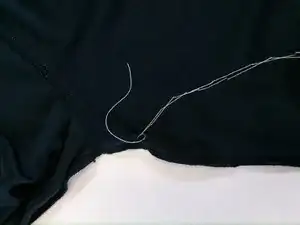
Pull the needle until a loop forms, and leave a small loop (don’t close the loop all the way).
-
-
-
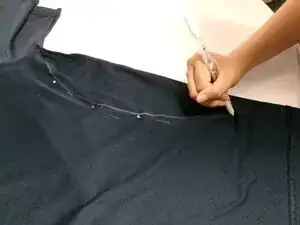
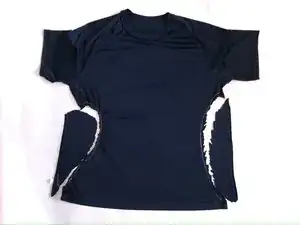
Cut along the excess fabric outside of the stitches.
-
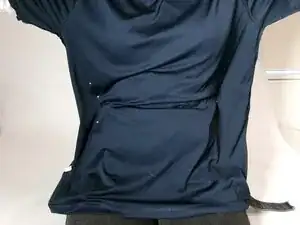
After cutting off the excess fabric on both sides, the shirt should look similar to the second picture.
-