Introdução
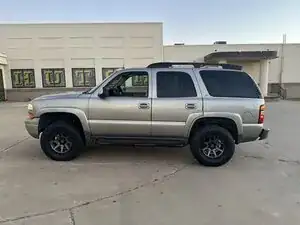
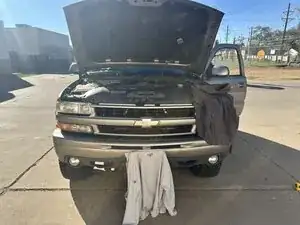
In this guide we will demonstrate how to align your headlights properly on my 2002 Chevy Tahoe. This is a relatively easy fix even if you have very little experience with repairing vehicles. This should take anywhere between 15 to 35 minutes. You will need a relatively large area so that you can back your car up safely and without worry. If you are unfamiliar with this repair I would recommend wearing gloves due to the fact that your hands and fingers will be exposed to metal within the engine bay and just for overall safety.
Ferramentas
-
-
Remove any items from your car that are not typically stored there and could weigh it down.
-
Make sure your tires are properly inflated.
-
-
-
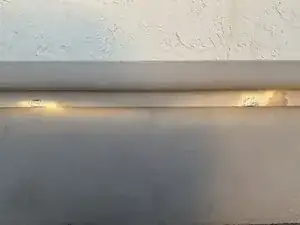
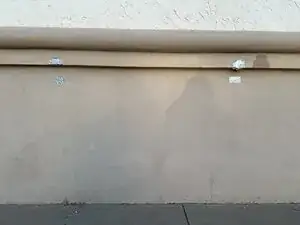
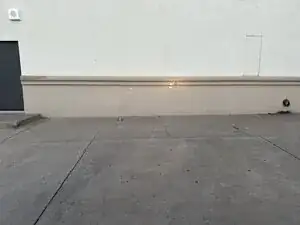
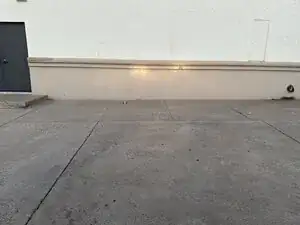
Turn the headlights on and mark the brightest spot in a plus sign shape using masking tape/painter's tape. Ensure you are not using your high beams or fog lights. Use a level for precise markings. Your headlights should still be 3 feet away from the wall.
-
-
-
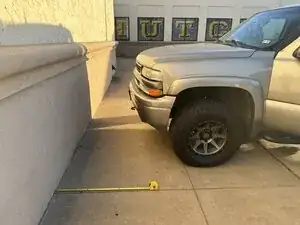
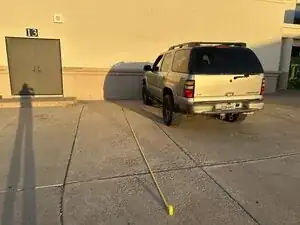
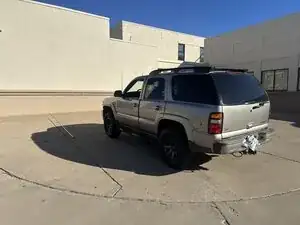
Now, reverse your car precisely so that your headlights are 25 feet (7.6 meters) away from the wall. Don’t estimate this distance; measure it out.
-
-
-
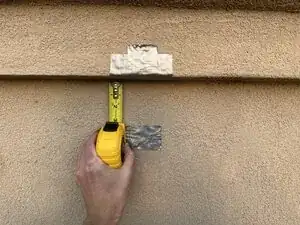
Place a new piece of tape horizontally, so that the top of that piece is 3 inches below the center of the crosses you already placed. Do this for both crosses.
-
-
-
With the lights on, look where the brightest point for both lights is, if it isn't dead center or 2 inches below the horizontal tape then they need adjusting.
-
-
-
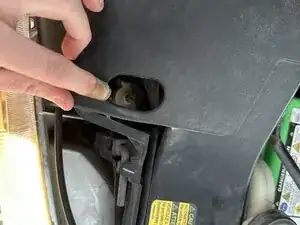
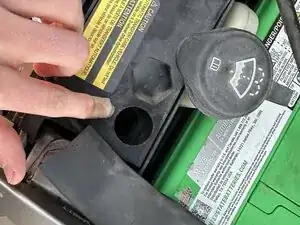
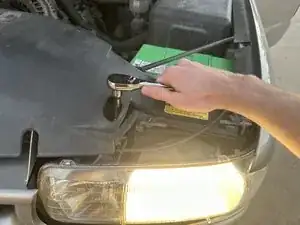
Locate the adjusting screws on the housing for each light; the exact location of each screw varies by make and model, though every model works essentially the same way. One screw is for up/down adjustment, the other for left/right adjustment. You usually have to pop the hood to access them.
-
-
-
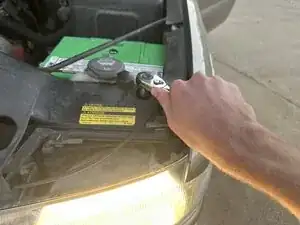
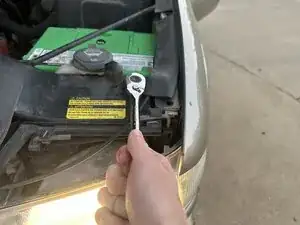
Using the ratchet make it so that the brightest spot of each light is in the middle of horizontal piece of tape you placed in step 5.
-
-
-
While adjusting one headlight, it is recommended that you cover up the other so that you can clearly see the adjustments that you need to make or are making.
-

To align your headlights follow these steps in the exact order, depending on what vehicle you have the tools listed will help you align your headlights.