Introdução
When purchasing a new pair of pointe shoes as a ballet dancer, the shoes are not immediately ready to wear. The ribbons, which are necessary for the shoe to be secure, must be hand-sewn to the inner lining of the shoe.
Any new pointe dancers will need to learn how to sew their shoes before they can start dancing, which can be an intimidating task. Once you get started, you will find that sewing in your ribbons isn't nearly as scary as it seems. Let's get to sewing!
Ferramentas
-
-
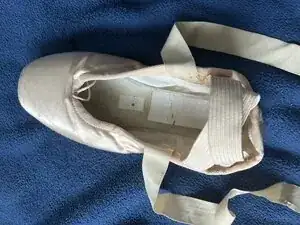
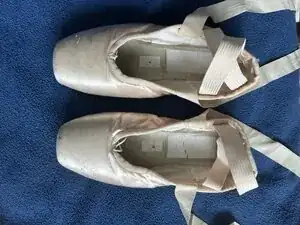
Gather the pointe shoes and the precut ribbon you intend to sew on.
-
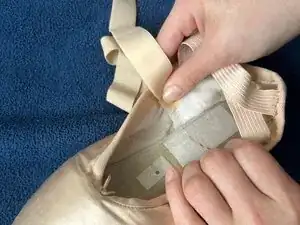
Hold your ribbon firmly in place about half an inch in front of the elastic bands.
-
Use a pen to draw a faint box around the perimeter of the ribbon on the shoe in order to keep consistent placement.
-
-
-
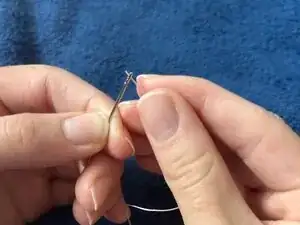
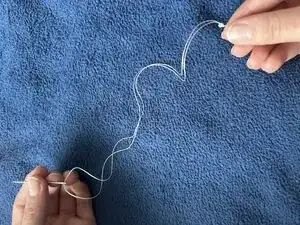
Gather the needle and thread.
-
Thread the needle carefully.
-
Tie both ends of the thread together in order to have a "thread circle."
-
-
-
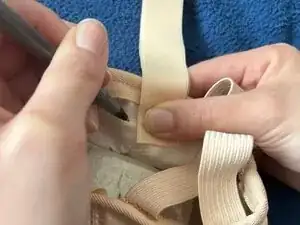
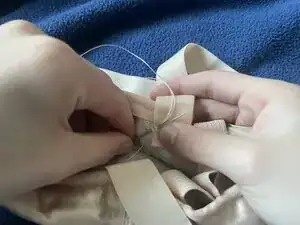
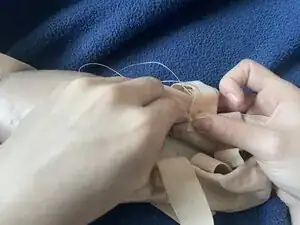
Hold the ribbon firmly to the outline you drew on the inside of the shoe.
-
Pierce the needle through the shoe's inner layer of fabric at the edge of the ribbon.
-
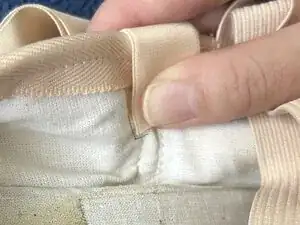
Pierce the needle through the backside of the ribbon to attach it to the shoe.
-
Pull the needle all the way through until the thread's knot meets the ribbon.
-
-
-
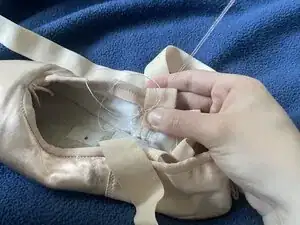
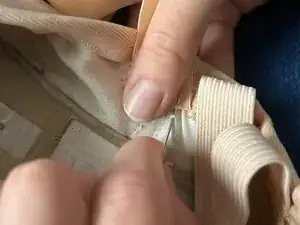
Repeat Step 3 in a counter-clockwise direction.
-
Complete the stitches down the side of the ribbon, across the bottom, and up the opposite side.
-
-
-
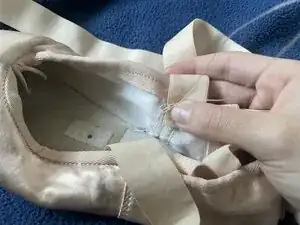
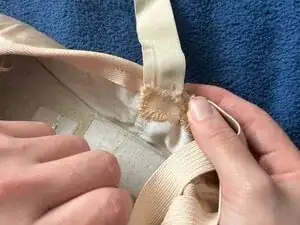
After completing the three sides, make two simple stitches across the top.
-
Use the scissors to cut the thread off of the needle.
-
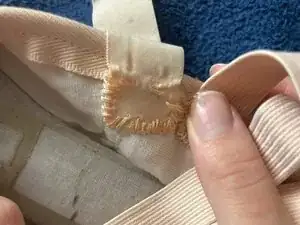
Tie the ends of the thread into a knot.
-
Trim the remaining thread accordingly.
-
-
-
Complete Steps 1, 2, 3, 4, and 5 for the other ribbon on the opposite side of the shoe.
-
Repeat this for both ribbons on the other shoe.
-

To reassemble your device, follow these instructions in reverse order.