Introdução
A good seal is essential for refrigeration and optimal energy efficacy. If your refrigerator temperature is fluctuating or you notice higher energy bills. Consider checking whether your seal is broken, damaged or worn.
Signs such as visible cracks, tears, or difficulty closing the door properly may indicate problems with the seal. A replacement would be necessary if cleaning or simple fixes haven't fixed the issue.
In this guide, I will demonstrate how to safely replace your refrigerator door seal. These instructions are applicable to all refrigerators models.
This requires patience and handling new gaskets. Replacing one isn't difficult, it is a relatively straight forward process.
Before starting, always unplug your refrigerator and remove any items inside the refrigerator. Removing the old seal will cause a temporary gain of heat, so try to minimize temperature loss. Be gentle and patient throughout the process. Excessive force can damage the door mechanisms.
By following this guide and taking precautions, you can successfully replace the door seal on your refrigerator, both efficiently and easily.
-
-
Use a soap and water solution to clean the area around the seal. Remove any dirt, debris, or other buildup around the seal and door frame to prevent contamination.
-
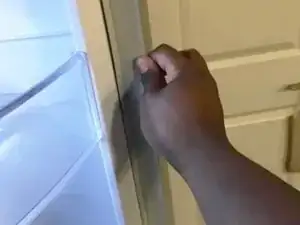
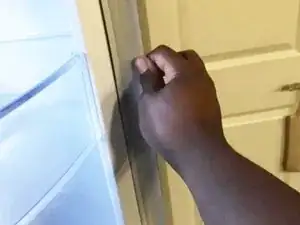
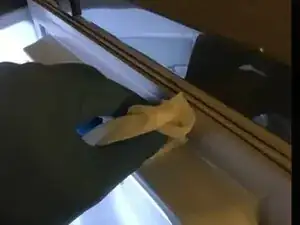
After cleaning, Beginning at a corner, grasp and pull the seal firmly out of the channel using consistent, gentle pressure.
-
-
-
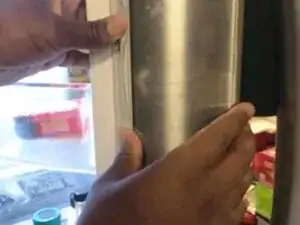
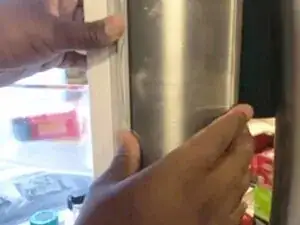
Check for cracks or any damage to the gasket channel that might affect the new seal.
-
Verify the channel runs straight and check for sagging, or misalignment that can create gaps or pressure points for the new seal.
-
-
-
Wearing gloves, use a baby wipe with water and soap to remove any loose dirt, or sealant residue.
-
Use the water and soap solution to remove any remaining dirt, then dry with a cloth.
-
Use a hair dryer on a low heat setting to dry the channel.
-
-
-
Let the new gasket reach room temperature by removing it from the packaging and letting it sit out for an hour.
-
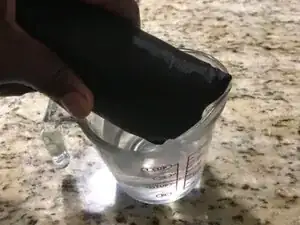
Soak it in warm water for one minute to soften the material.
-
Wear gloves and safety glasses to prevent any cuts or eye injury.
-
-
-
Install the gasket: Starting at the corners, first make sure it is aligned around the door perimeter. Then, again beginning at a corner and working your way around the door frame, push it into place and ensure it fits properly.
-
Use a hair dryer to warm any potential stubborn spots that occur.
-
Press firmly with gloved hands, firmly pushing it into the channel. Be firm but not too forceful so it is installed well.
-
Apply petroleum jelly to areas that resist installation.
-
-
-
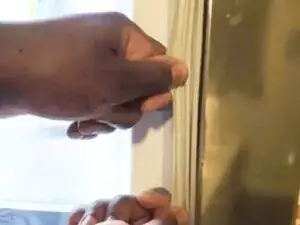
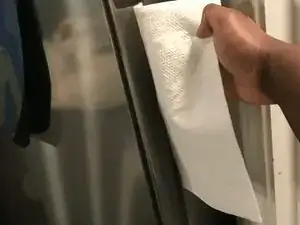
Check for proper closure by using the paper test. Take a piece of paper and try to fit it in between the gap of the seal. If it can fit, it is not installed properly: repeat step five. If it can't enter, you may proceed.
-
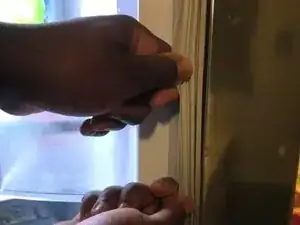
Test multiple areas around the door, pay more attention to areas that were hardest to install.
-
Adjust gasket positioning if needed. When it fits, there won't be a satisfying click like when putting a puzzle piece together. So, ensure it is correctly positioned and completely installed before finishing. Retest if needed. If it is complete, you are done.
-

To replace a broken seal doesn't have to be complicated. It can be easy if you follow these steps!