Introdução
This guide will teach you how to replace the battery on your Hover 1 Eclipse. The battery is the power source for your Hover 1 Eclipse. Your battery will need replacing if it is malfunctioning or if it has been damaged. To replace your battery you must have basic knowledge of how to use a screwdriver. You must also be very careful with the wires that surround the battery when following these steps.
-
-
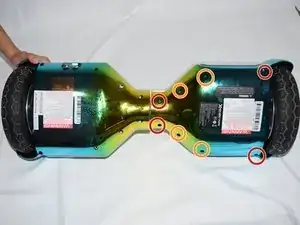
Using a Phillips #1 Screwdriver, remove the four 11mm screws that surround the edge of the plug side bottom shell piece.
-
Using a Phillips #1 Screwdriver, remove the four 13mm screws that surround the edge of the plug side bottom shell piece.
-
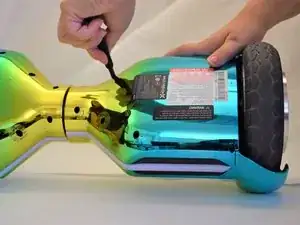
Remove the right side bottom shell piece.
-
-
-
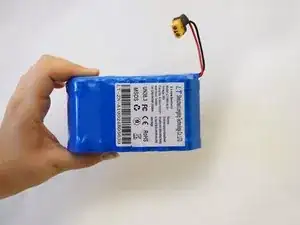
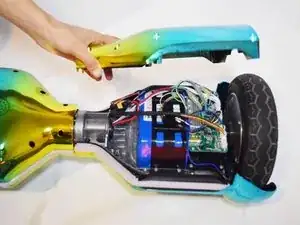
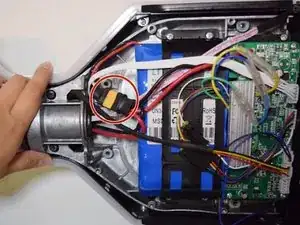
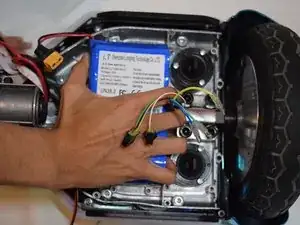
Locate the black and red wires connected by an yellow header, Xt60.
-
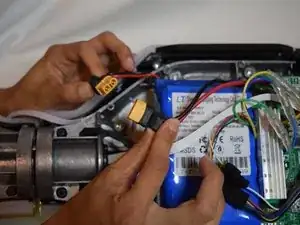
Carefully tug on the two sides of the yellow header to disconnect them.
-
-
-
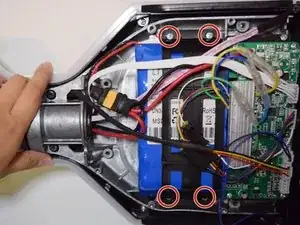
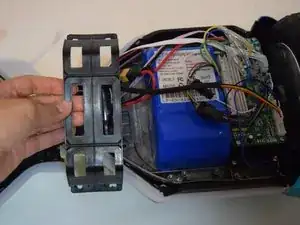
Using a Phillips #1 Screwdriver, remove the four 11mm screws that secure the black plastic keeping the battery in place.
-
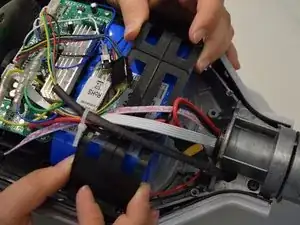
Carefully remove the black plastic from the hoverboard.
-
To reassemble your device, follow these instructions in reverse order.
Um comentário
My battery is in the plastic shell itself. It is not fastened to the frame of the board itself. When the bottom shell is to be removed, the battery comes with it and is boxed in with no access