Introdução

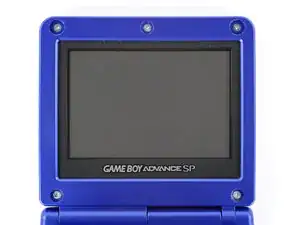
This guide shows how to remove the hinges in your Nintendo Game Boy Advance SP.

  1. j2AtUCqeyyG2aXLv
    j2AtUCqeyyG2aXLv
    Qi1sniJYVAGfcUyg
    OCO3qBtqtET3xTk4
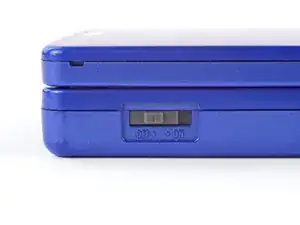
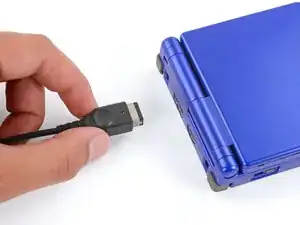
    • Slide the power switch to the OFF position and unplug any cables.

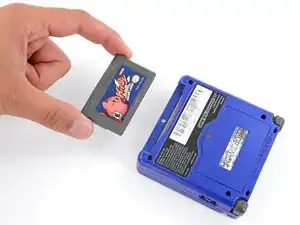
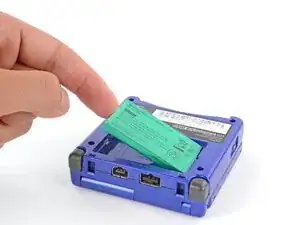
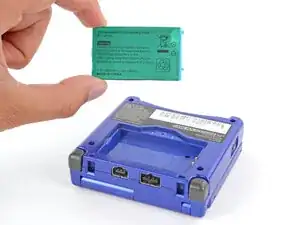
    • If you have a game cartridge in, remove it.

  2. 2IxBSKoCTnB2gSQK
    2IxBSKoCTnB2gSQK
    gg543LDhbyRGsR1l
    • Use a JIS 00 screwdriver to loosen the captive screw securing the battery cover.

    • You can try to use a non-iFixit Phillips driver in a pinch, but you risk damaging or stripping the screw. Push down firmly on the driver and twist slowly.

  3. gVQdyKTgjlKN2ixZ
    gVQdyKTgjlKN2ixZ
    2dnUFGfpIdyy1eh2
    A3KuwwETnJtnbGhI
    • Lift the edge of the cover near the screw and remove the cover.

    • During reassembly, hook the tabs on the bottom edge of the cover into their slots and lay the cover into place.

  4. U2SYItMAYfiqAwBY
    U2SYItMAYfiqAwBY
    EXJkAY3lOyJVRfAX
    rSLhhkosiZPy1hUq
    • Use your finger to lift the battery by the tab on its left edge, then remove it.

    • During reassembly:

    • Never reuse a deformed or damaged battery—it's a fire hazard. Replace it with a new battery.

    • Your replacement battery may come with a plastic enclosure that slides over the battery.

    • Insert the edge of the battery with contacts at a slight downward angle—aligning the contacts with their prongs in the recess—and press the battery into place.

  5. Ldow6GCmi5DecKU3
    Ldow6GCmi5DecKU3
    ZTRgyiDfXCxV1BMB
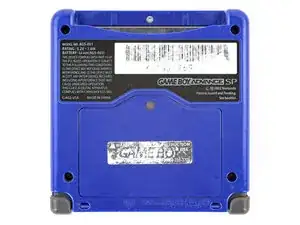
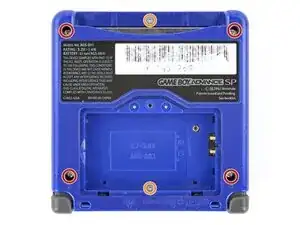
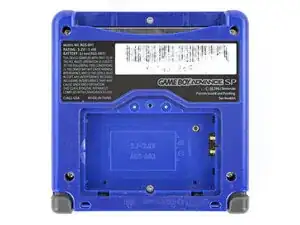
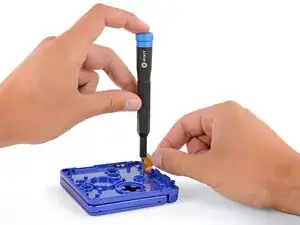
    • Use a tri‑point Y0 screwdriver to remove the six screws securing the bottom shell:

    • Four 6.3 mm‑long recessed screws

    • Two 4.6 mm‑long screws

  6. uWNU5edsGZRHAviS
    uWNU5edsGZRHAviS
    MALG6CgR561WNM6t
    • Lift the bottom shell straight up and remove it.

  7. 1Y1MZsFBLYX51rCr
    1Y1MZsFBLYX51rCr
    nsgAn5QIQehZB6KT
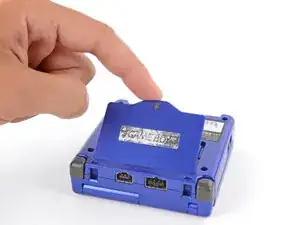
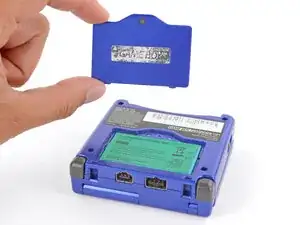
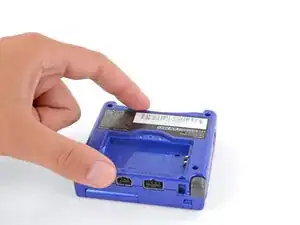
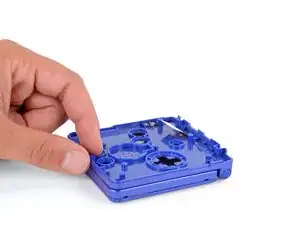
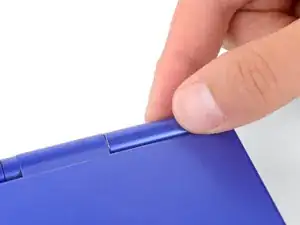
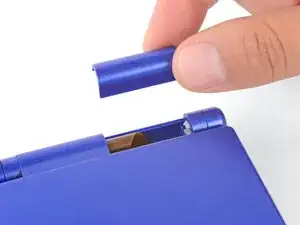
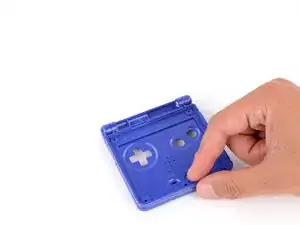
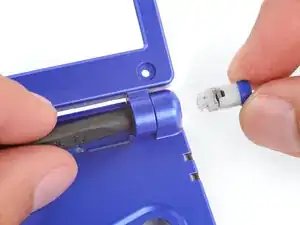
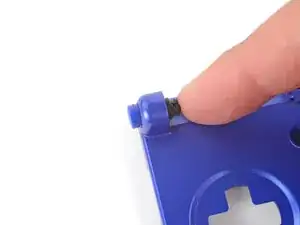
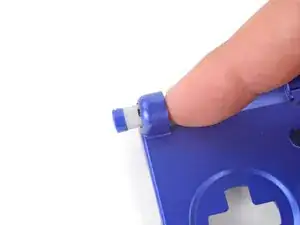
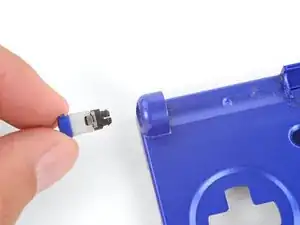
    • Use your fingers to lift and remove the power switch cover.

    • During reassembly:

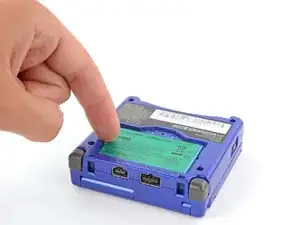
    • Use your fingers to put the power switch cover (notched side up) into place so the cutout goes around the actual switch.

    • Gently slide the cover back and forth to make sure it's positioned properly and moving the switch.

    • If the switch isn't properly in its cutout, you won't be able to power on your Game Boy.

  8. dUkqYCp6OHyXWbxe
    dUkqYCp6OHyXWbxe
    WgsEGvbpGdn6C3qW
    • Use a JIS 00 screwdriver to remove the three 4.1 mm‑long screws securing the motherboard.

  9. LFW26341Yp3JfWXW
    LFW26341Yp3JfWXW
    BiZgjnK1stHKBOEm
    1HEPBT4aVa2iQFxx
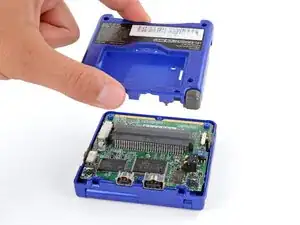
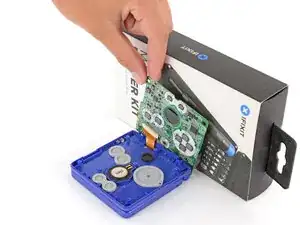
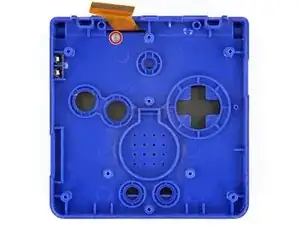
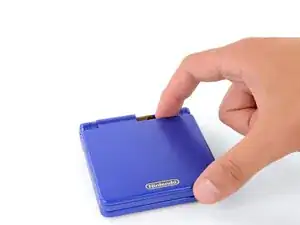
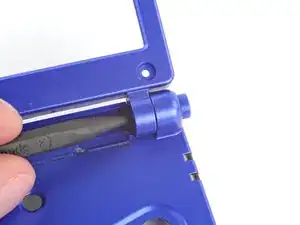
    • Place a sturdy object such as a stack of books or tool case along the edge of your Game Boy with the hinges.

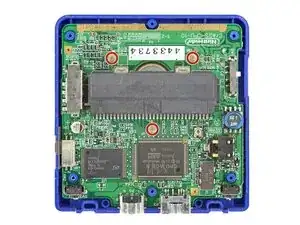
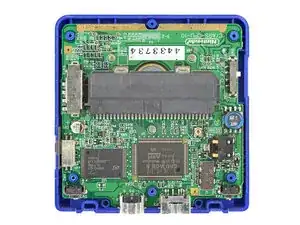
    • Use your fingers to gently flip the motherboard over the hinges and prop it up.

  10. Sm4TcLSR3hPg2RGe
    Sm4TcLSR3hPg2RGe
    CGJlWesMmhwaMfuu
    ka1yFfndgs1equ5T
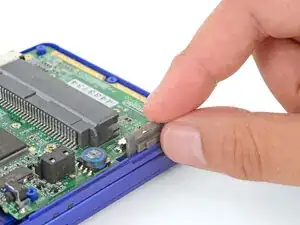
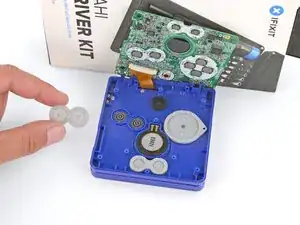
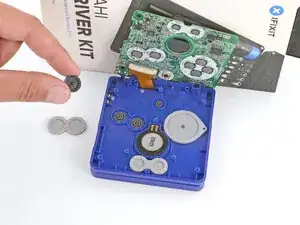
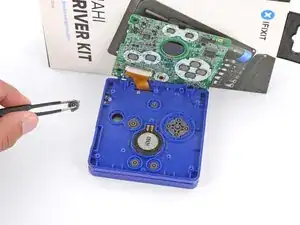
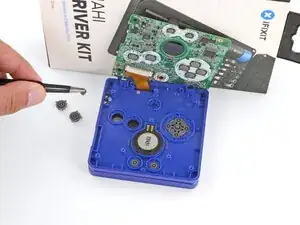
    • Use tweezers or your fingers to remove the four silicone pads covering the buttons (A and B, D‑pad, brightness, and Start/Select).

    • If any of the pads are missing, they may be stuck to their corresponding spot on the motherboard.

  11. qkNTUZTSHSJKmZCe
    qkNTUZTSHSJKmZCe
    xUw6C5vr6HgpmCGH
    N3Bcy56VlDmHwhF5
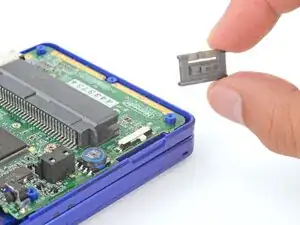
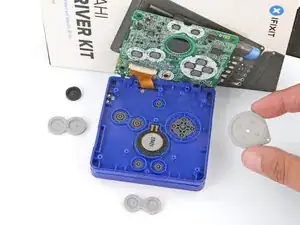
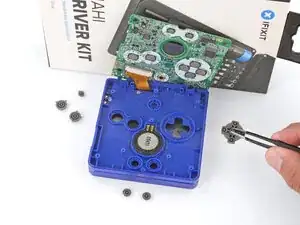
    • Use tweezers or your fingers to remove the buttons (A and B, D‑pad, brightness, and Start/Select).

    • When re‑inserting the action buttons, note that each one is keyed specifically for its recess and proper orientation.

  12. PaGbgSuAfIpFxoxe
    • Open your Game Boy to a 90‑degree angle and set it down so the screen is facing up.

  13. hGoMGFNNxLVjtqR3
    hGoMGFNNxLVjtqR3
    nAtWTAxPmSevZJos
    pRNPPX5IcsKEBN2i
    • Use a pair of angled tweezers to pry up and remove all five rubber screw covers.

    • Removing old, brittle covers without damaging them can be tricky. Make sure to pry gently between the cover’s edge and the frame—don’t dig into the cover itself.

  14. I2NP1BJYeZOPGfRq
    I2NP1BJYeZOPGfRq
    eeQQ5TQTDOcPPZ1k
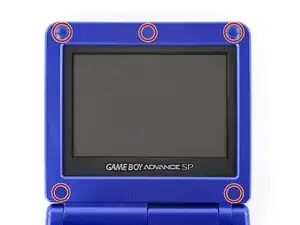
    • Use a tri‑point Y0 screwdriver to remove the five 4.7 mm‑long screws securing screen shells together.

  15. RT5XOkUjmoyMowdw
    RT5XOkUjmoyMowdw
    SJw3AxJXaYSOTARd
    • Fully close your Game Boy (the button cutouts should be on top).

  16. ASCHvbiPDLRUxBp5
    ASCHvbiPDLRUxBp5
    5hhG1pqXt2FHGDiO
    5CSwVhTwlauZvBgr
    • Use a JIS 00 screwdriver to remove the 6.3 mm‑long screw securing the hinge cover.

    • You may need to use your free hand to hold the screen cable out of the way.

  17. WJYIa6QGlEqlR1tG
    WJYIa6QGlEqlR1tG
    XwxFJCREEgWeM5kx
    • Flip your Game Boy over.

  18. PZuatGFkoHYScUt3
    PZuatGFkoHYScUt3
    kpImIumVpuipHr14
    • Use your fingers to lift and remove the hinge cover.

  19. 1ZBZJaAiYKamNWwX
    1ZBZJaAiYKamNWwX
    aQHCEM1jSwHpwlae
    FuWH2YW6nJYUClAx
    • Depending on the age of your device, the screen may stay attached to its outer shell. If it does, make sure to thread the cable through its cutout while removing the shell.

    • Use your fingers to lift and remove the outer screen shell.

  20. eUqX2VFvybMjon3F
    eUqX2VFvybMjon3F
    MGAxDrRoGsy6d1Jo
    2K5veeJkQmZkj5mn
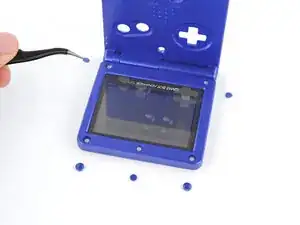
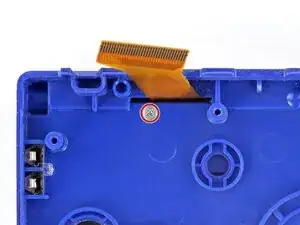
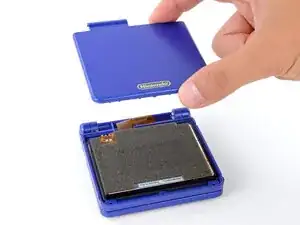
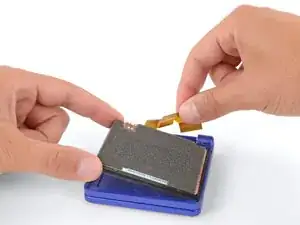
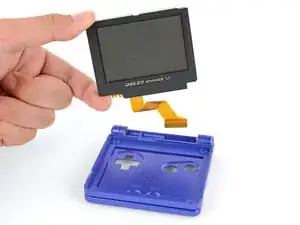
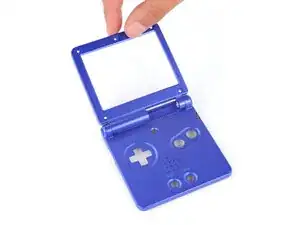
    • Use your fingers to lift and remove the screen, threading the cable through its cutout.

    • If your screen stayed attached to the shell, you may need to gently pry it up with a spudger before removing it.

    • During reassembly:

    • Place the screen foam-side up into its recess, so the cable is near the hinges.

    • Make one loop in the screen cable and then slide it through the cutout.

  21. QsfJZZ5qTD1JHVIf
    QsfJZZ5qTD1JHVIf
    XDIaFDPkNVsOxMx3
    TVAECGjJ46hGnxQr
    • Don't try to force the hinges out of their sockets—you may damage the hinges, crack the shell, or injure yourself.

    • Use the flat end of a spudger to push both hinges partially out of their sockets.

    • You only need to push the hinges out until you feel them click into place.

  22. t5tyJx4GClYXWH42
    t5tyJx4GClYXWH42
    nc3OnBYTKXFTjFGt
    • Full open the shell of your Game Boy.

  23. mFjntTFSCCNCwNXc
    mFjntTFSCCNCwNXc
    hwGvApDnNDAjpZeB
    • Use the point of a spudger to push the right hinge fully out of its socket and remove it.

  24. g3dIoBVtUhWPcXiX
    g3dIoBVtUhWPcXiX
    DfTLyDlI1IobQUQT
    hcp5XSwRETo2KRKY
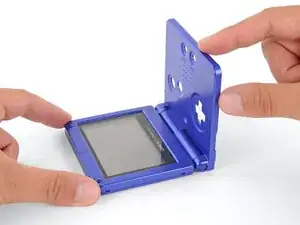
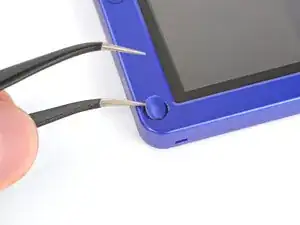
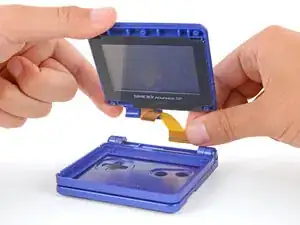
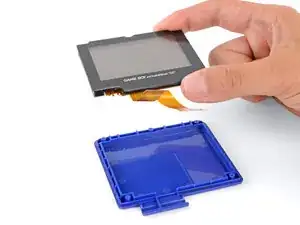
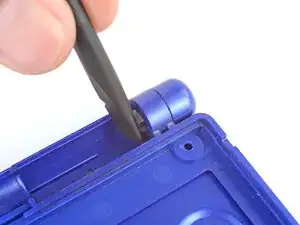
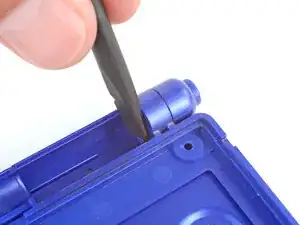
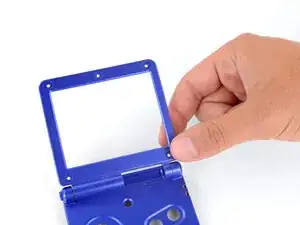
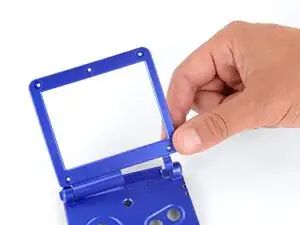
    • Use your fingers to gently lift the right side of the screen bezel.

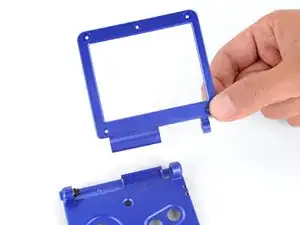
    • Pull the screen bezel to the right—so it slides out of the left hinge—and remove it.

  25. lMH6QcHDNejOflVt
    lMH6QcHDNejOflVt
    sFCYC2uEIWyNCJNF
    FyFMOQDbQIAVKBeR
    • Use your finger to push the left hinge out of its socket and remove it.

Spencer Day

Membro desde: 14/09/22

165254 Reputação

0 comentários