Introdução
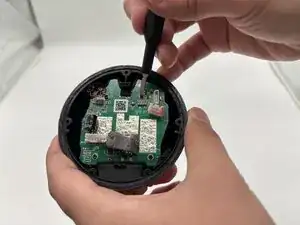
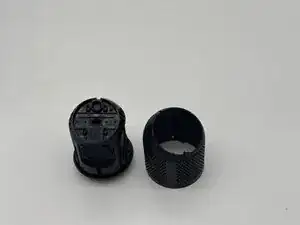
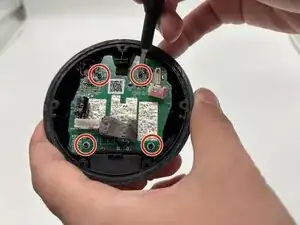
This guide will teach you how to access the speaker's motherboard. The motherboard is very important—everything from the battery, volume buttons, and aux jack to the audio speakers themselves is connected to it. Handle this part with care, as all deeply rooted audio problems can often be solved by replacing it or repairing the wire ring.
Before starting this repair, make sure the speaker is fully powered off and disconnected from any charger. The internal components of the Heyday speaker especially the ribbon cables and battery are delicate, so take your time and follow the steps carefully.
Safety and Preparations
- Make sure the speaker is powered off and disconnected from any charger before you begin
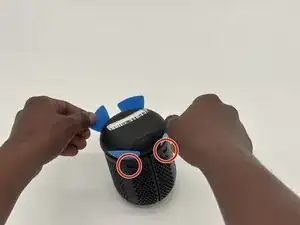
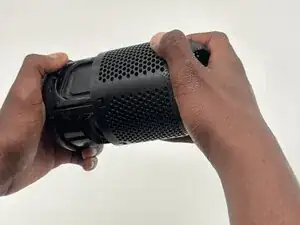
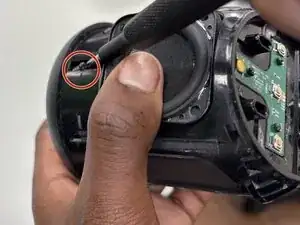
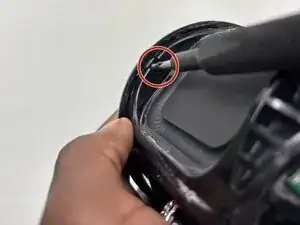
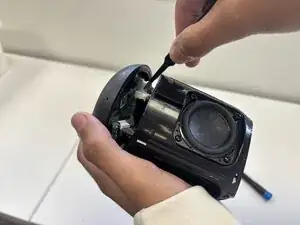
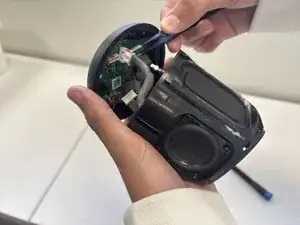
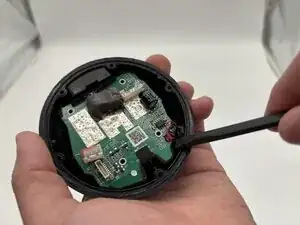
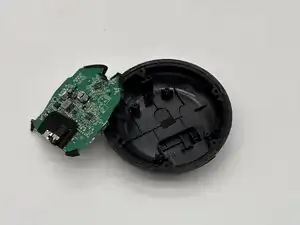
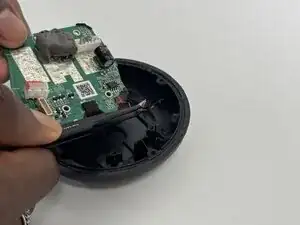
- Be carful around fragile parts and connectors when removing the cover. For example, there's a cable attaching the grille or plastic shell to the motherboard.
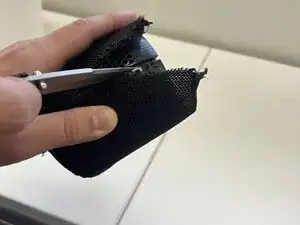
- Cutting the speaker's mesh netting cannot be undone, so take that into considerations when going through with this guide.
- Internal connectors and cables are fragile. Always lift, pry, or unplug with controlled, even pressure.
- To undo the last step, you may require sawdering, so proceed at your own risk.
-
-
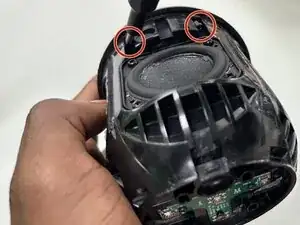
Use the a Phillips #1 screwdriver to remove the five 8 mm-long screws located on the bottom of the speaker.
-
To reassemble your device, follow the above steps in reverse order.
Take your e-waste to an R2 or e-Stewards certified recycler.
Repair didn’t go as planned? Try some basic troubleshooting or ask our Answers community for help.