Introdução
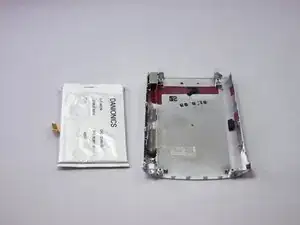
This guide provides clear, step-by-step instructions on how to safely remove and replace the battery in the HP iPAQ H3850.The HP iPAQ H3850 uses a rechargeable lithium-ion battery. Over time, the battery may lose its ability to hold a charge, making replacement necessary.
Common signs that your battery needs replacing include:
- Device fails to power on without being connected to a charger
- Rapid battery drain despite minimal use
- Battery does not charge to full capacity
- System warnings indicating battery issues
For more troubleshooting steps, visit the HP iPAQ H3850 Troubleshooting.
Safety
Swollen Batteries: If you notice a swollen or deformed battery, avoid puncturing or mishandling it, as this could pose a safety risk. What to Do With a Swollen Battery
Proper Disposal: Dispose of old batteries according to local electronic waste regulations—never discard batteries in regular household waste.
Ferramentas
-
-
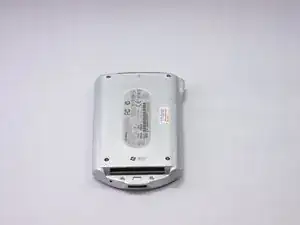
Place the device on a flat surface with the screen facing down.
-
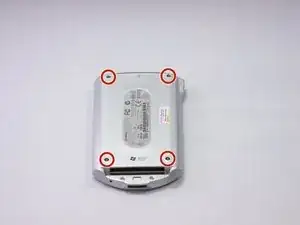
Use a screwdriver to remove four screws from the back cover of the device.
-
-
-
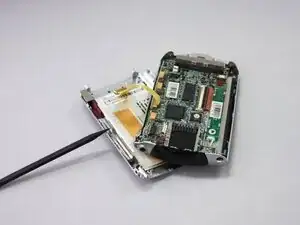
Insert the end of a spudger between the front and back cover and slide it around the edge to release the clips holding them together.
-
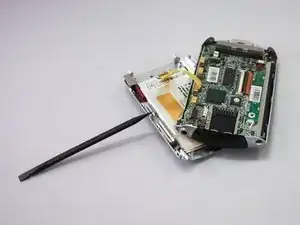
Pry them two halves but don't pull them apart as it is still connected by a cable.
-
-
-
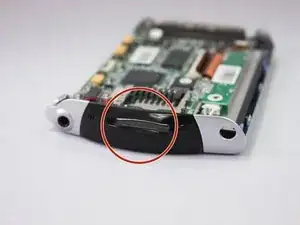
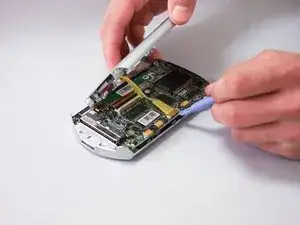
Place a spudger or opening tool under the connector's edge and pry straight up to disconnect the yellow cable from the motherboard.
-
-
-
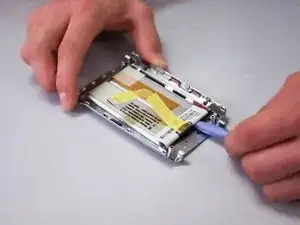
Once the old battery is removed, scrape off the old adhesive from the device backing with the prying tool.
-
To reassemble your device, follow these instructions in reverse order. Take your e-waste to an R2 or e-Stewards certified recycler.
3 comentários
Does anyone know where nowadays is it possible to get one of those batteries? I’ve been all over the internet and so far found zero… ?
HI @alexanderre! I have no idea if you're still looking for this battery or not, but if you are, post this question on the Answers forum. More eyes will see it there.
Hi @amber
Thanks for a hint, will do 🙏