Introdução
Faulty Hard Drive
- If your device is demonstrating issues such as frequent error failures, corrupted data, files, and folders, and blue screen of death this may indicate there is a faulty hard drive. You will need to replace it. Use the guide below to help you replace your hard drive.
- Before you begin using this guide, make sure you have inspected your device thoroughly for similar symptoms mentioned above before making hardware changes.
- Make sure the device is not powered on before proceeding with the the guide steps and disconnected from any external power source.
- Second, proceed safely but rapidly to prevent any potential data loss using a new hard drive that better works for your system.
Peças
-
-
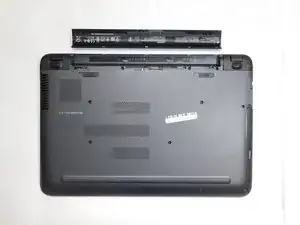
Slide the latches in the direction the arrows face. This will unlock and release the battery.
-
-
-
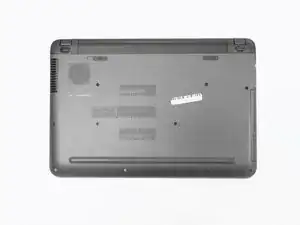
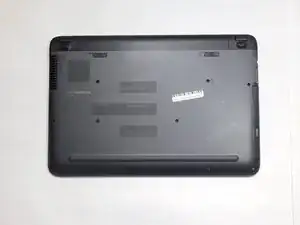
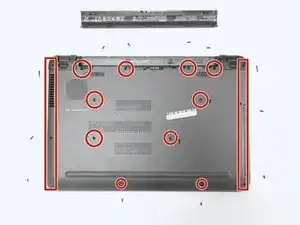
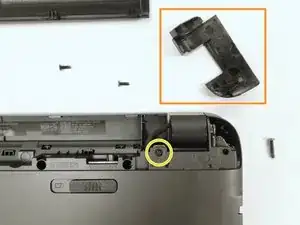
Using a Phillips #1 screwdriver, remove the following screws from the base panel:
-
Two 12.5 mm screws
-
Four 5.5 mm screws and six 7.25 mm screws
-
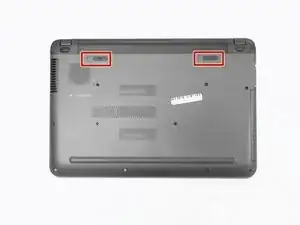
Gently remove the two corner panels located at each end of the battery slot to reveal an additional screw under each panel.
-
Locate and then remove the six remaining 7.25 mm screws hidden in the battery compartment and also beneath the corner panel covers.
-
-
-
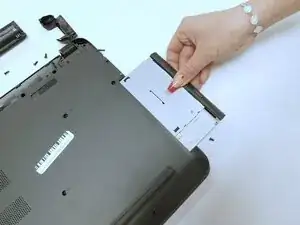
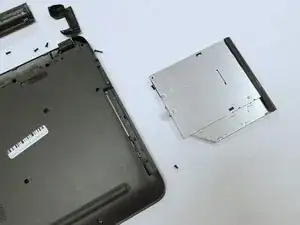
Remove the optical drive by pulling on the plastic cover panel.
-
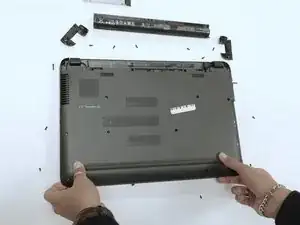
Using a prying tool, gently pry the back panel off.
-
-
-
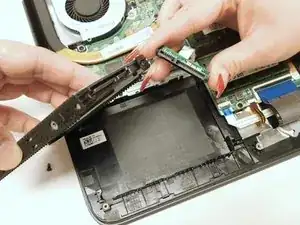
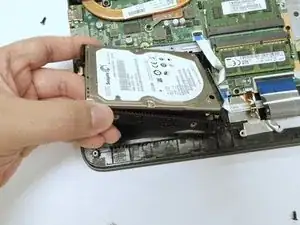
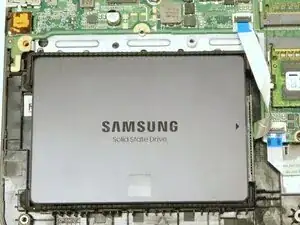
Gently lift the left side of the hard drive to detach it from the mounting bay.
-
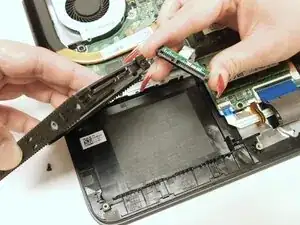
Gently pull the rubber mounts away from the drive to release it.
-
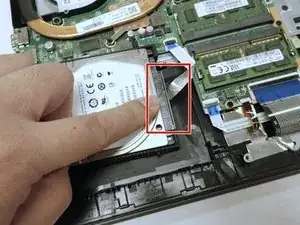
Locate the plastic tab on the connecting cable.
-
Carefully pry the tab upward to disconnect the cable from the hard drive. Avoid pulling the cable directly to prevent damage.
-
-
-
Observe the port connection and match it with the drive slot.
-
Connect and press firmly.
-
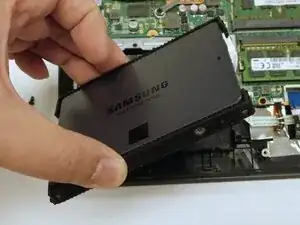
Install black rubber pieces on to the drive.
-
Place the drive into its slot.
-


To reassemble your device, follow these instructions in reverse order.

Um comentário
Que slot é aquele
FBOUXO -