
Introdução
In this guide, we will show you an step by step guide on how to safely remove and replace the I/O board in a HP ProBook x360 11 G5 EE.
-
-
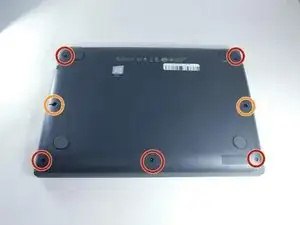
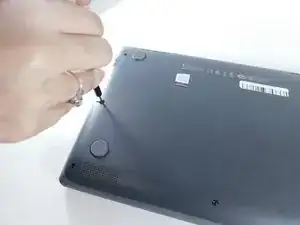
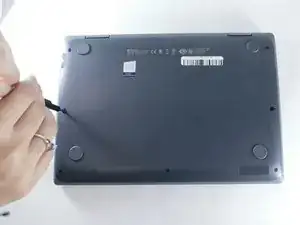
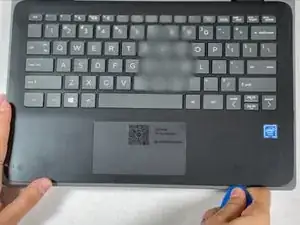
Remove the 4.1 mm screws with a T5 Torx screwdriver.
-
Remove the 4.1 mm screws using a JIS #0 screwdriver.
-
-
-
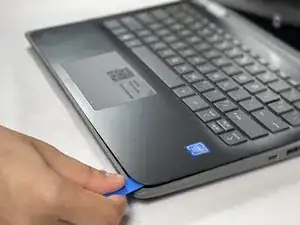
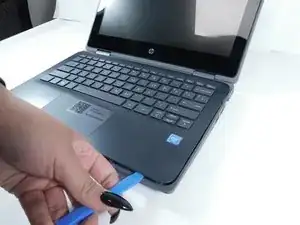
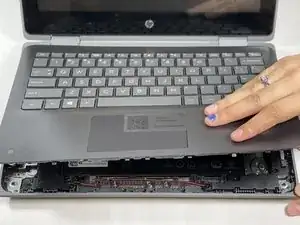
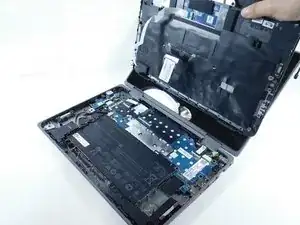
Lift the keyboard assembly to expose two ribbon cables.
-
Lift the two plastic tabs that hold the cables in place on the motherboard
-
Slide the ribbon cables out of each connector.
-
-
-
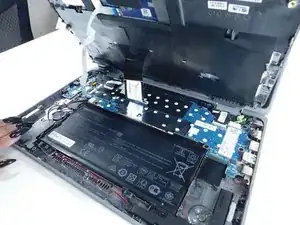
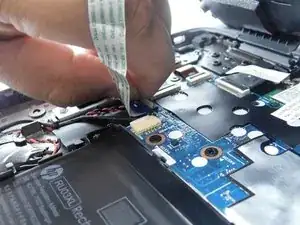
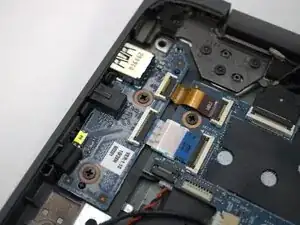
Lift the two locking flaps securing the two ribbon cables to the I/O board.
-
Disconnect the two ribbon cables.
-
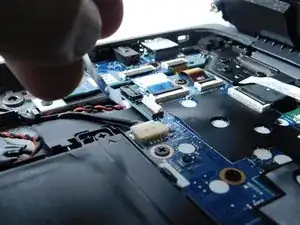
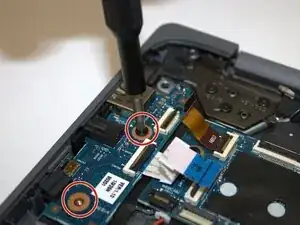
Use a J1 screwdriver to remove the two screws securing the board.
-
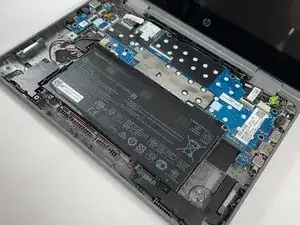
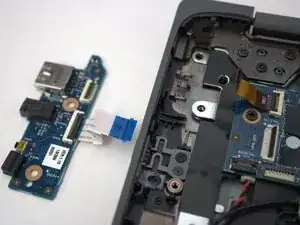
To reassemble your device, follow the above steps in reverse order.
Take your e-waste to an R2 or e-Stewards certified recycler.
Repair didn’t go as planned? Try some basic troubleshooting or ask our Answers community for help.