Introdução
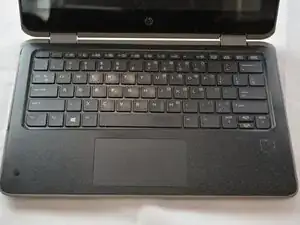
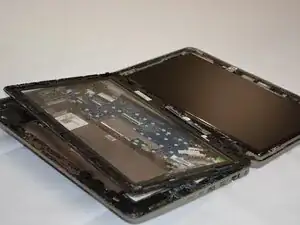
In this guide, we will be going over how to replace the touchscreen on the HP ProBook x360 11 G3 EE, the model number is 6FB28LA#ACH. The touchscreen is one of the reasons users love this laptop so much, so it is of utmost importance that it is up and running due to its multi-usage factor. Just like phones, our screens go out sometimes, so instead of dreading having to buy another $1,000+ laptop, just buy the part that isn't working correctly! It could be something as small as bumping your laptop on a wall, or setting your backpack down too hard. We're here to save you money, and show you how to safely preform a touchscreen replacement.
Warning: DO NOT preform replacement if connected to power adapter, or if laptop is not completely shut off. Additionally, do not place laptop around liquids when doing so, and do not proceed without adult supervision.
-
-
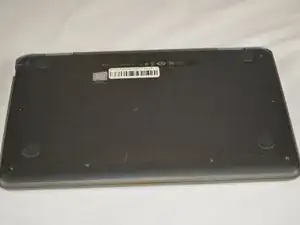
To begin, flip your laptop to where the base is facing upwards.
-
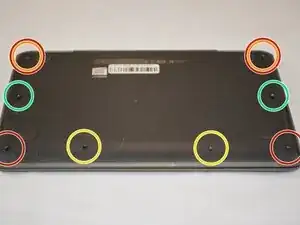
Grab your TR9 screwdriver, and take the four screws out that are in all four corners of the base. The bottom two are 5.2 mm Torx Security screws and the top two are 9 mm Torx Security screws.
-
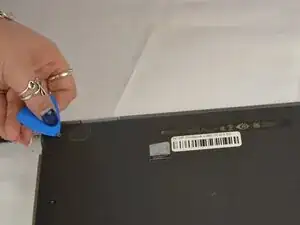
Note: On the top right and the top left screws, you may have to get an opening pick and gently hold the two 9 mm Torx Security screws up to get them out, because of the magnetic pull. (see last photo)
-
Also, with the same TR9 screwdriver, take out the two 5.2 mm Torx Security screws directly between the bottom left and bottom right screws (aligned in a row of 4).
-
Grab your JIS #0 (J0) screwdriver, and take out the remaining two 6.7 mm Japanese Industrial screws located in the middle of the base directly across from each other.
-
-
-
Flip your laptop upright (facing towards you), to where the base is now on a flat surface.
-
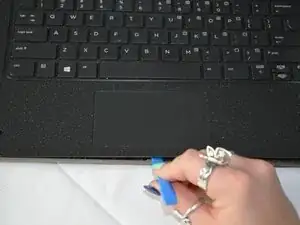
Open your laptop.
-
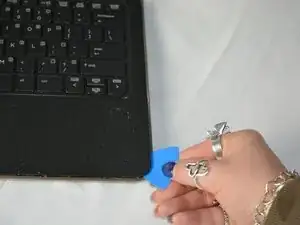
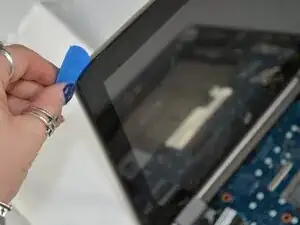
Begin to pry the corners of the keyboard deck with an opening pick.
-
-
-
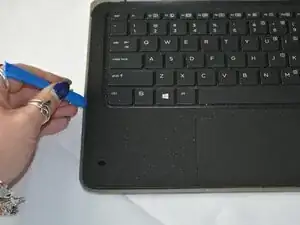
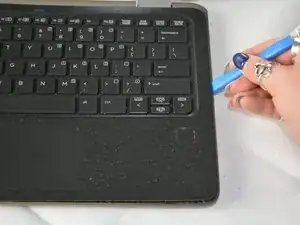
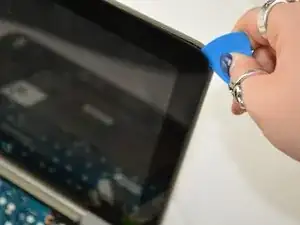
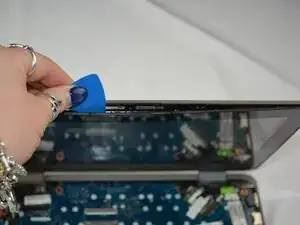
Use an opening tool to pry around the perimeter of the keyboard deck until it gently pops out of place.
-
-
-
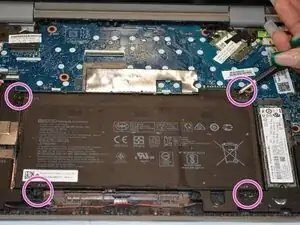
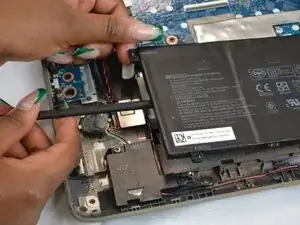
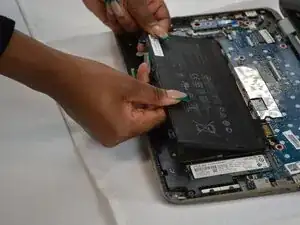
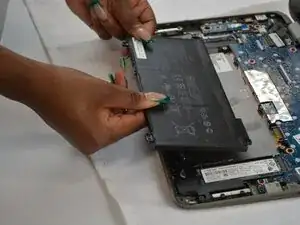
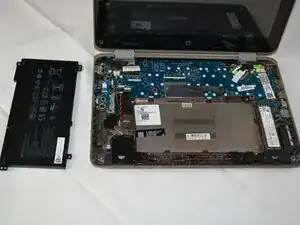
Use a JIS #0 (J0) screwdriver to remove the four 4.5 mm screws located in all four corners of the battery.
-
-
-
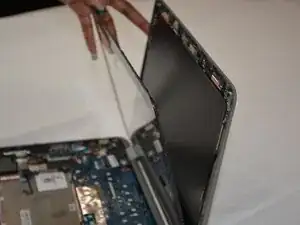
Lift the display cover up to where it is now vertical.
-
Lay the display screen flat if not cracked or damaged.
-
-
-
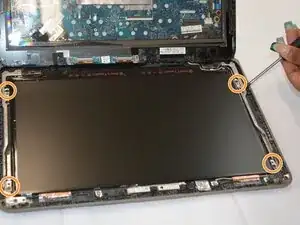
Grab your JIS #0 (J0) screwdriver, and take the four 3mm Japanese Industrial screws out that are actively holding the screen in place.
-
-
-
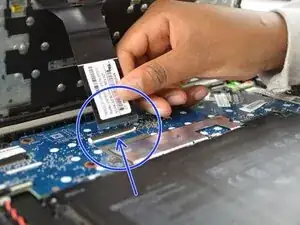
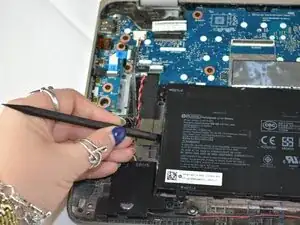
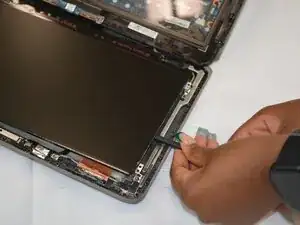
Gently lift the screen with a black nylon spudger.
-
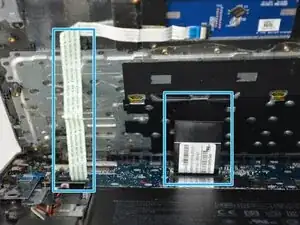
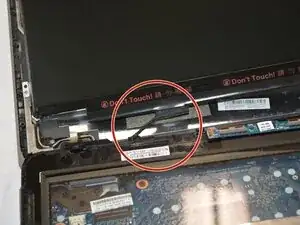
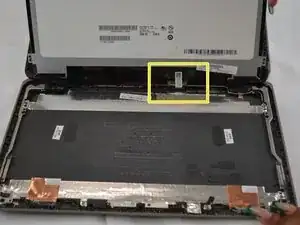
Continue to lift the screen completely to reveal the wire group that is connecting it to the top panel.
-
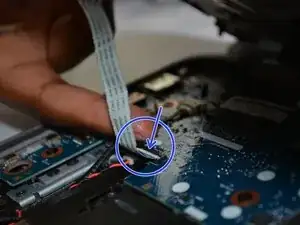
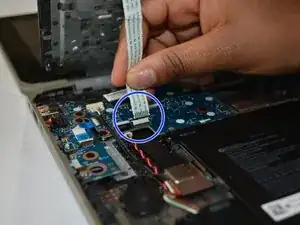
Disconnect the wires carefully.
-
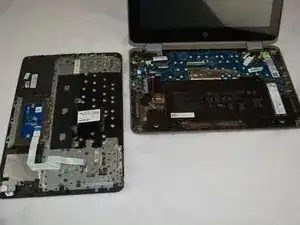
Remove the display from the top panel of the laptop.
-
To reassemble your device, follow these instructions in reverse order. Take your e-waste to an R2 or e-Stewards certified recycler.