Introdução
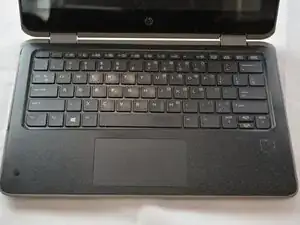
This is an M.2 SSD replacement guide for the HP ProBook x360 G3 EE, the model number is 6FB28LA#ACH. Your M.2 hard drive is basically the heart and soul to your laptop. It stores your operating system, programs, and files! Without this, we would all lose everything we program to our device for everyday use. This ensures you have long-lasting access to any changes that you've made to your personal device.
Some reasons you may need to replace the M.2 SSD are it's out of storage space, like 64GB or 128 GB that the laptop originally came with, or it could just be slow! As more updates occur and more apps and files get downloaded, these GB run out quickly, and can also effect the quickness of which these are saved. Follow these steps to quickly and efficiently switch your M.2 hard drive out.
Warning: Do not under any circumstance preform this replacement while connected to power, or without adult supervision.
-
-
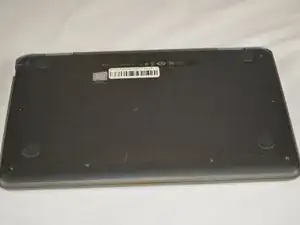
To begin, flip your laptop to where the base is facing upwards.
-
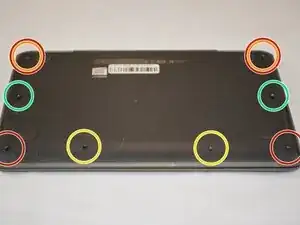
Grab your TR9 screwdriver, and take the four screws out that are in all four corners of the base. The bottom two are 5.2 mm Torx Security screws and the top two are 9 mm Torx Security screws.
-
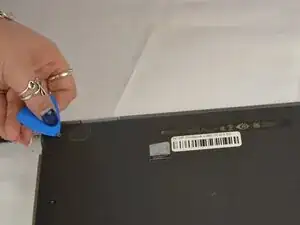
Note: On the top right and the top left screws, you may have to get an opening pick and gently hold the two 9 mm Torx Security screws up to get them out, because of the magnetic pull. (see last photo)
-
Also, with the same TR9 screwdriver, take out the two 5.2 mm Torx Security screws directly between the bottom left and bottom right screws (aligned in a row of 4).
-
Grab your JIS #0 (J0) screwdriver, and take out the remaining two 6.7 mm Japanese Industrial screws located in the middle of the base directly across from each other.
-
-
-
Flip your laptop upright (facing towards you), to where the base is now on a flat surface.
-
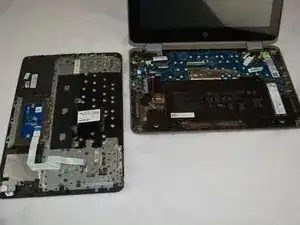
Open your laptop.
-
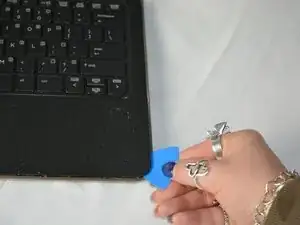
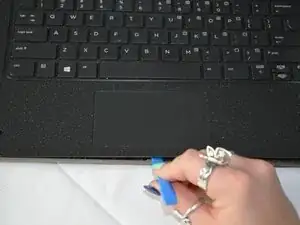
Begin to pry the corners of the keyboard deck with an opening pick.
-
-
-
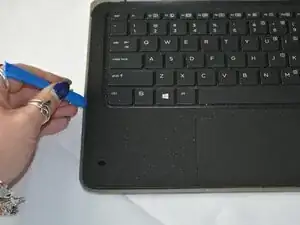
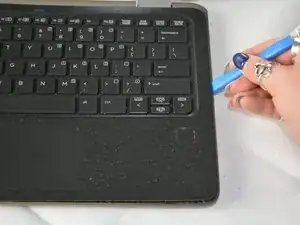
Use an opening tool to pry around the perimeter of the keyboard deck until it gently pops out of place.
-
-
-
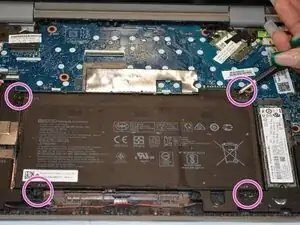
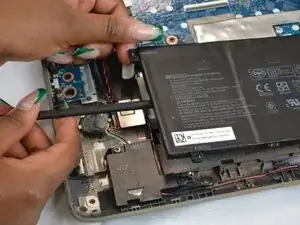
Use a JIS #0 (J0) screwdriver to remove the four 4.5 mm screws located in all four corners of the battery.
-
-
-
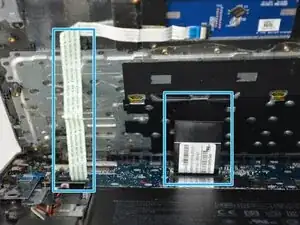
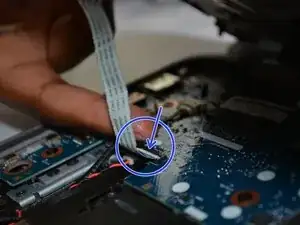
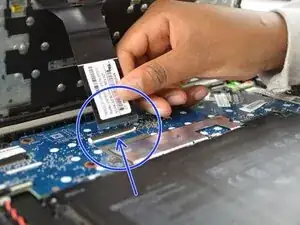
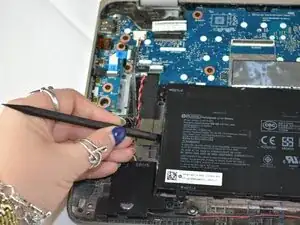
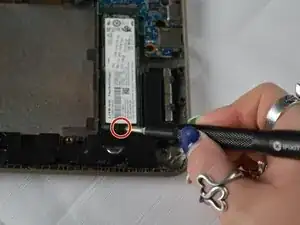
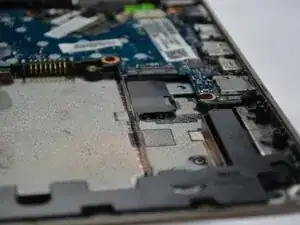
Use a JIS #0 screwdriver to remove the 3.2 mm screw that holds the SSD to the base of the keyboard.
-
-
-
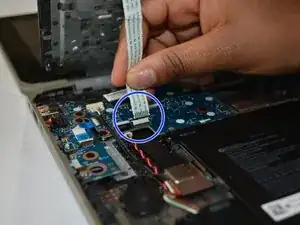
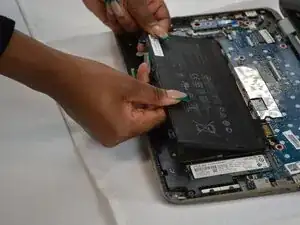
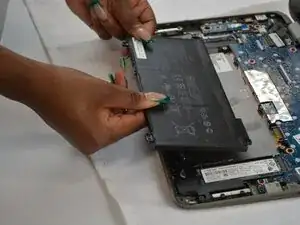
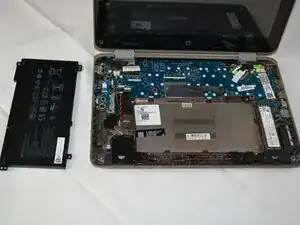
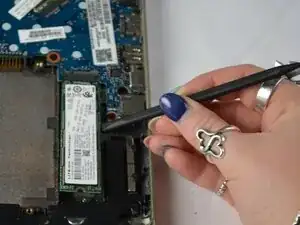
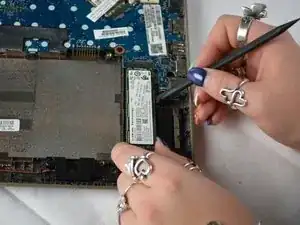
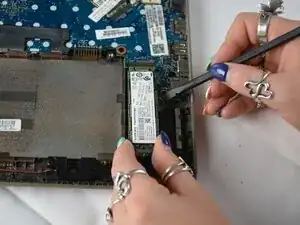
Gently pry the rectangular hard drive with a regular black nylon spudger to make sure you do not puncture it.
-
To reassemble your device, follow these instructions in reverse order. Take your e-waste to an R2 or e-Stewards certified recycler.