Introdução
This guide will walk you through the process of replacing the Wi-Fi card in the HP ProBook 640 G1 laptop. Sometimes the Wi-Fi may stop working even though everything else on the laptop works fine. Before replacing the Wi-Fi card, try simple fixes such as checking your network connection, turning airplane mode off, restarting the router, forgetting and reconnecting to the Wi-Fi, updating or reinstalling the Wi-Fi driver, or restarting the laptop. If the Wi-Fi still does not work after these steps, the Wi-Fi card may be faulty and replacing it can help fix the issue.
This repair requires removing battery, service cover and Wi-Fi card. Always make sure the laptop is fully powered off and not in sleep mode. Disconnect the charger and any external devices before starting.
-
-
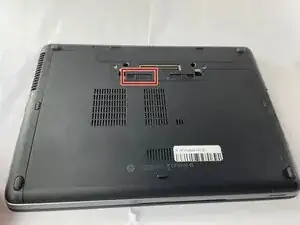
Slide the battery slider all the way to the left, towards the battery symbol.
-
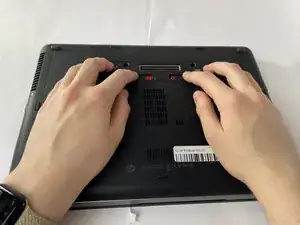
You may also need to slide the other slider to the right of the battery slider, as shown in the picture.
-
-
-
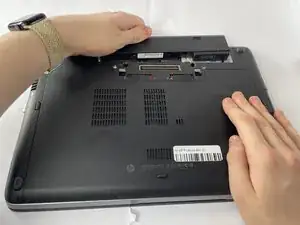
Remove the battery by sliding it away from the laptop while holding the battery locker.
-
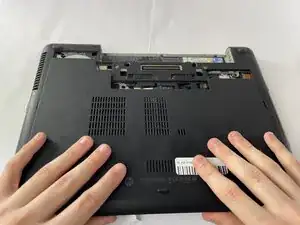
The battery should slide out with ease.
-
-
-
Remove the eight rubber screw plugs from the bottom and the two rubber screw plugs from the sides of the laptop using a paperclip.
-
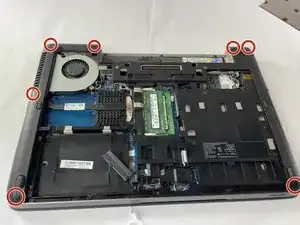
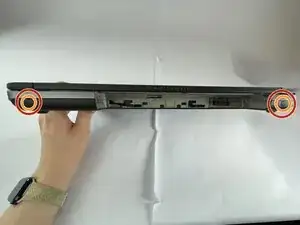
Remove the fourteen 6 mm screws from the bottom of the laptop and the two 6 mm screws from the sides using a T8 Torx screwdriver.
-
Remove the six 4 mm screws that secure the midframe using a T8 Torx screwdriver.
-
-
-
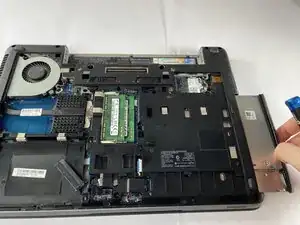
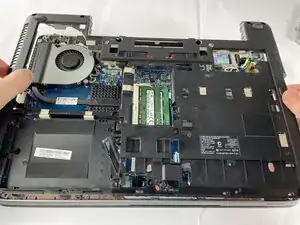
Remove the disk drive by gently pulling it out.
-
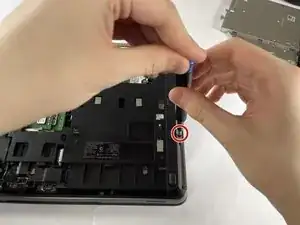
Remove the two 3 mm screws using a Phillips #1 screwdriver.
-
-
-
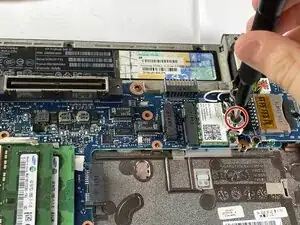
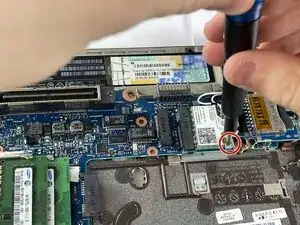
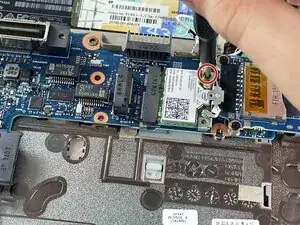
Remove the three 2 mm screws securing the Wi-Fi card using a Phillips #1 screwdriver.
-
Lift the metal retaining bracket off of the card.
-
-
-
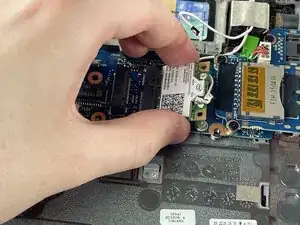
Gently pull the metal connectors to disconnect the two small antenna wires from the Wi-Fi card.
-
Gently slide the Wi-Fi card out of its slot at an upward angle, holding it by the edges.
-


To reassemble your device, follow these instructions in reverse order.