Introdução
Use this guide to help replace your HP ProBook 640 G1's CPU, or central processing unit. If you want to boost performance, handle more demanding tasks like video editing or gaming, or fix issues from a failing processor, you should consider replacing your CPU. Before doing this you should check your CPU's health by going into TaskManager on your laptop and checking your CPU's temperature.
Ferramentas
-
-
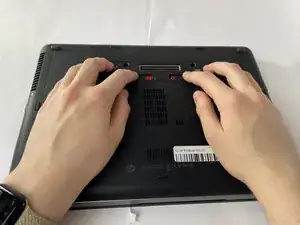
Slide the battery slider all the way to the left, towards the battery symbol.
-
You may also need to slide the other slider to the right of the battery slider, as shown in the picture.
-
-
-
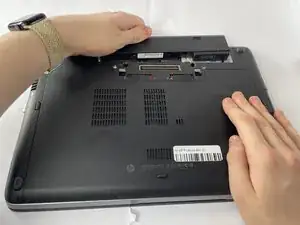
Remove the battery by sliding it away from the laptop while holding the battery locker.
-
The battery should slide out with ease.
-
-
-
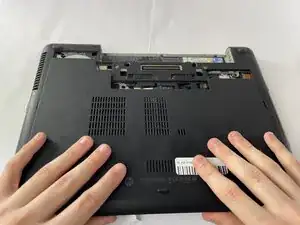
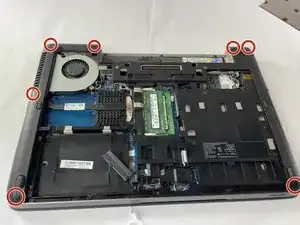
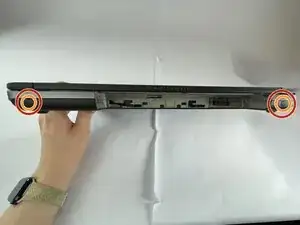
Remove the eight rubber screw plugs from the bottom and the two rubber screw plugs from the sides of the laptop using a paperclip.
-
Remove the fourteen 6 mm screws from the bottom of the laptop and the two 6 mm screws from the sides using a T8 Torx screwdriver.
-
Remove the six 4 mm screws that secure the midframe using a T8 Torx screwdriver.
-
-
-
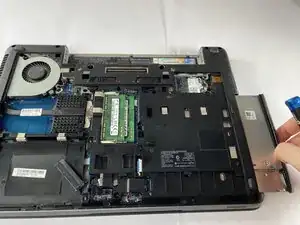
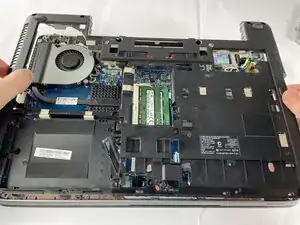
Remove the disk drive by gently pulling it out.
-
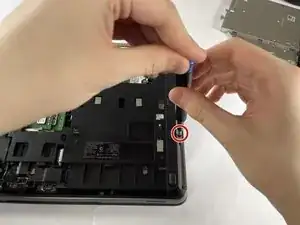
Remove the two 3 mm screws using a Phillips #1 screwdriver.
-
-
-
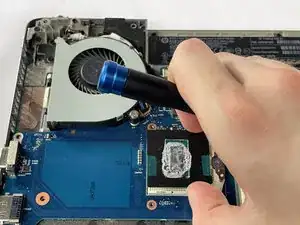
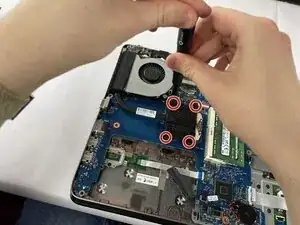
Remove the four screws connecting the heat sink and fan to the CPU.
-
Remove the heat sink.
-
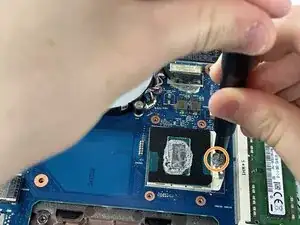
Remove the single screw holding the CPU in place.
-
Carefully lift the CPU out of the motherboard assembly.
-


To reassemble your device, follow these instructions in reverse order.