Introdução
This guide will walk you through the process of replacing the cooling fan in the HP ProBook 640 G1 laptop. A faulty fan can lead to overheating, loud noises, or reduced system performance. Before beginning this repair, check our Troubleshooting page to see if your issue can be resolved without replacing the fan.
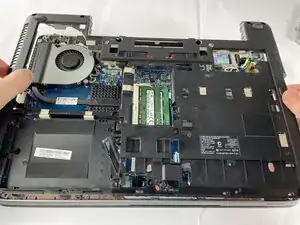
This repair requires removing the battery, service cover, and fan assembly. Always make sure the laptop is fully powered off and not in sleep mode. Disconnect the charger and any external devices before starting.
-
-
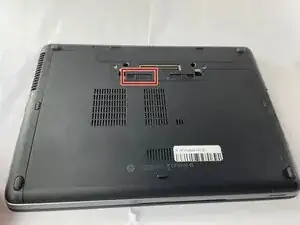
Slide the battery slider all the way to the left, towards the battery symbol.
-
You may also need to slide the other slider to the right of the battery slider, as shown in the picture.
-
-
-
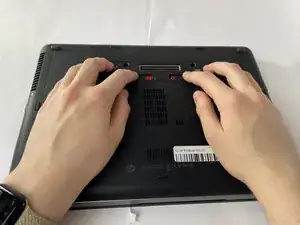
Remove the battery by sliding it away from the laptop while holding the battery locker.
-
The battery should slide out with ease.
-
-
-
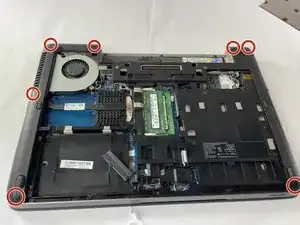
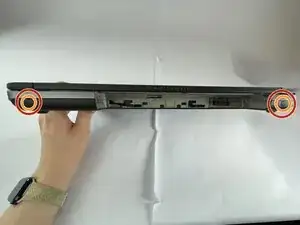
Remove the eight rubber screw plugs from the bottom and the two rubber screw plugs from the sides of the laptop using a paperclip.
-
Remove the fourteen 6 mm screws from the bottom of the laptop and the two 6 mm screws from the sides using a T8 Torx screwdriver.
-
Remove the six 4 mm screws that secure the midframe using a T8 Torx screwdriver.
-
-
-
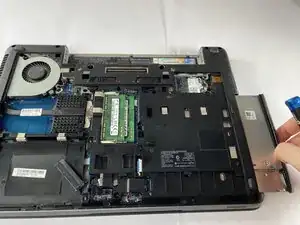
Remove the disk drive by gently pulling it out.
-
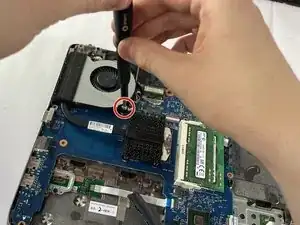
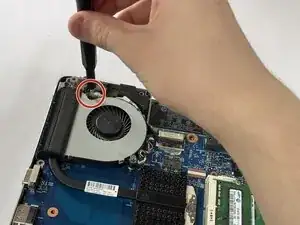
Remove the two 3 mm screws using a Phillips #1 screwdriver.
-
-
-
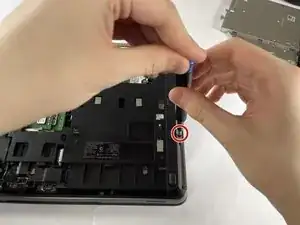
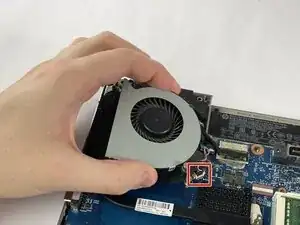
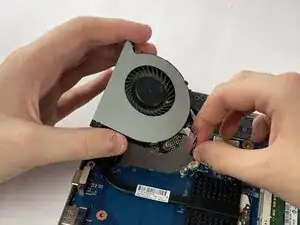
Carefully lift the fan and disconnect its cable from the motherboard.
-
Remove the fan from the laptop.
-


To reassemble your device, follow these instructions in reverse order.