Introdução
Ferramentas
Peças
-
-
Unplug the device from any energy sources.
-
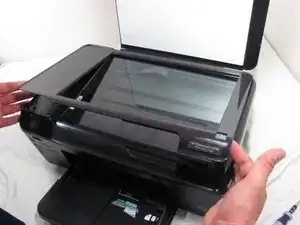
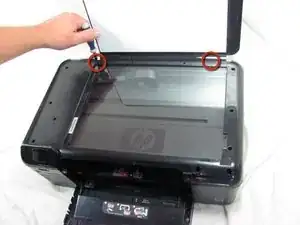
Lift the top cover of the scanner.
-
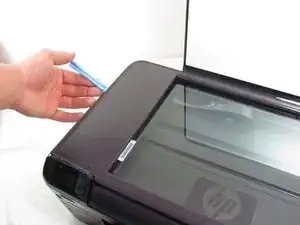
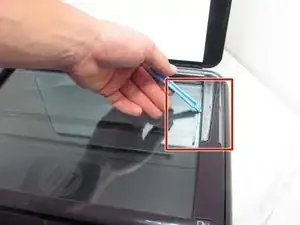
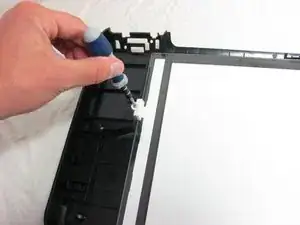
Use a plastic opening tool to remove the plastic frame surrounding the glass.
-
-
-
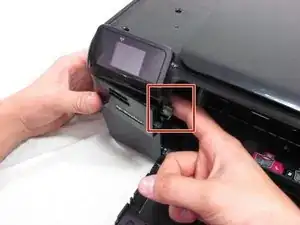
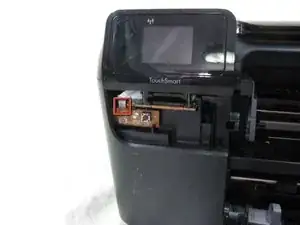
Unscrew the screw inside the power button panel space.
-
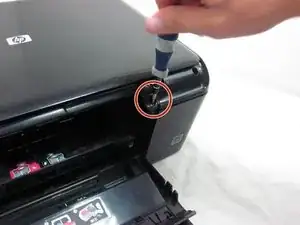
Then, unscrew the screw that is across the printer slider.
-
-
-
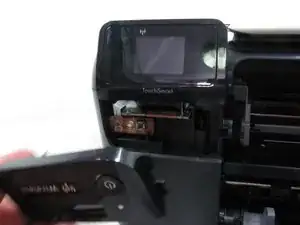
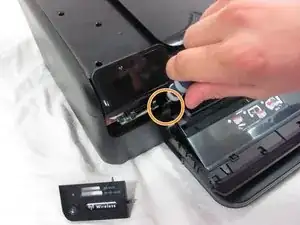
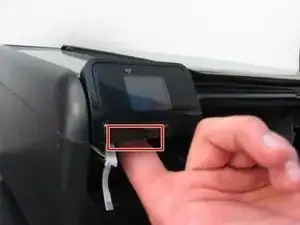
Pull the white circuit board outwards which is located under the small screen.
-
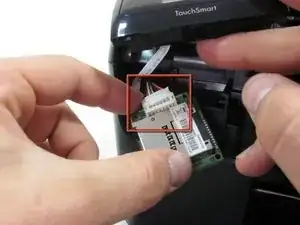
Unplug the small ribbon cable from the circuit board.
-
-
-
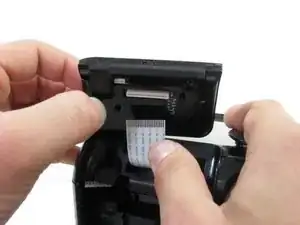
Unplug the small ribbon cable from the circuit board. Be careful when you unplug the ribbon cable not to use too much force. Using too much force may damage or rip the cable.
-
-
-
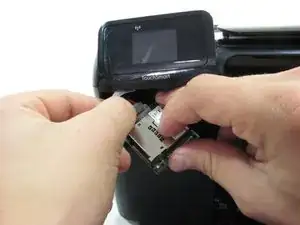
Pull the memory card reader's circuit board out.
-
Detach the white wiring connector from the back of the circuit board.
-
-
-
Put your finger behind the small screen.
-
Then, pull it up.
-
Disconnect the ribbon cable from the small screen.
-
-
-
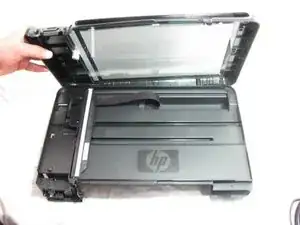
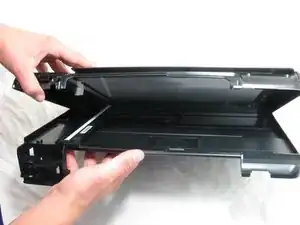
With the top half of the printer separated, lift the upper section with the scanner glass away from the lower section of the printer.
-
-
-
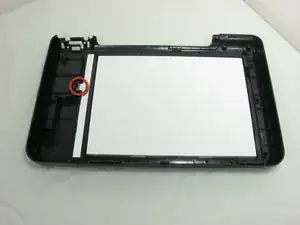
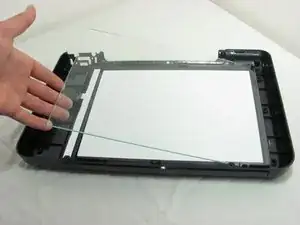
Lift the glass up and away from the printer.
-
Replace the broken glass piece with the replacement glass
-
To reassemble your device, follow these instructions in reverse order.