Introdução
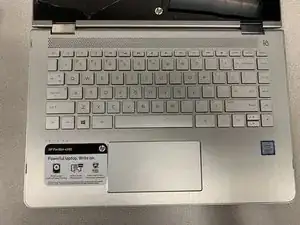
Use this guide to replace your battery in your HP Pavilion laptop.
Note: This guide is written for the HP Pavilion x360 14-ba253cl model.
Still under warranty? Contact HP to learn your warranty status, receive a repair under warranty if eligible, or for further warranty information.
This procedure requires removing the battery to disconnect it. Use care to avoid bending, twisting, or puncturing it—a charged lithium-ion battery can be very dangerous if accidentally punctured. If your battery looks puffy or swollen, take extra precautions.
Don't continue to use a damaged battery, as doing so is a potential safety hazard. If in doubt, replace it with a new battery.
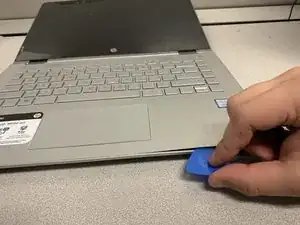
-
-
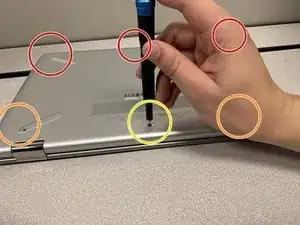
Remove three 4.0mm Phillips #0 screws from the top of the cover.
-
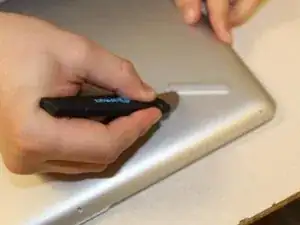
Remove two 6.0mm Phillips #0 screws underneath each of the back footpads.
-
Remove one 4.mm Phillips #0 screw beneath the divot.
-
-
-
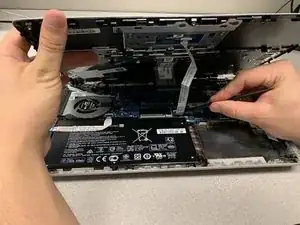
Raise the keyboard slightly to gain access to the touch pad and keyboard cables.
-
Using a spudger, lift up the plastic locks that connect the ribbon cable to the system board.
-
Use the blue plastic tab on the ribbon cable to pull it out from the system board.
-
Remove the keyboard from the laptop.
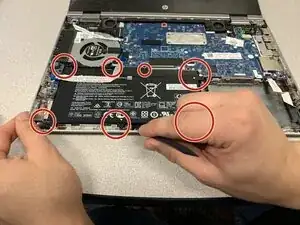
-
-
-
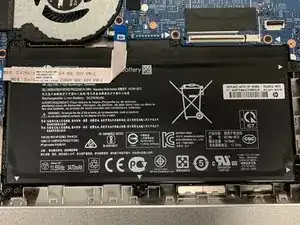
Carefully lift the battery starting from the lower right corner and disconnect it from the system board.
-
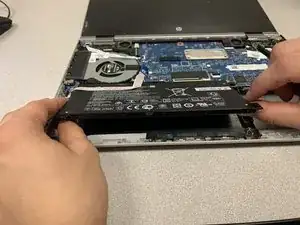
To reassemble your device, follow these instructions in reverse order.
Um comentário
Thanks, it was useful
Oleg -
Only need to remove the two near the hinges. Use your fingers so you don’t scratch anything.
Jacob Iglinski -