
Introdução
In this guide we will teach you how to safely open up your HP Pavilion 15-cw1063wm laptop and replace a faulty battery.
If your laptop isn't charging, dying faster than usual, or doesn't turn on at all, a battery replacement may be the answer to your problem.
The battery of an electronic device is essentially the heart of the mechanism, and without it, it won't function.
A damaged battery or swollen battery is a potential fire hazard. If you suspect the battery may be damaged, follow this guide for instructions.
Before you begin, power off and disconnect the laptop from peripherals and the power outlet. No previous experience is required.
-
-
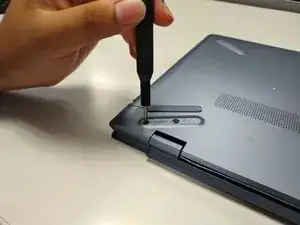
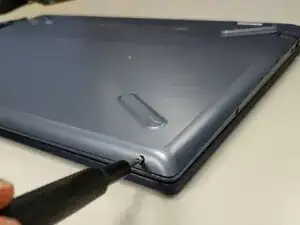
Flip your laptop over so the bottom is facing up.
-
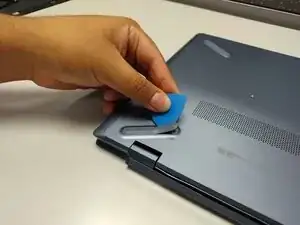
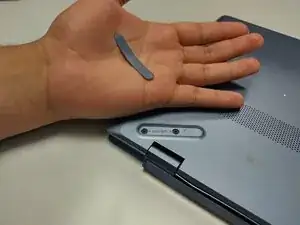
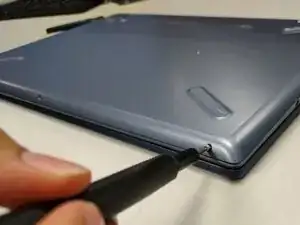
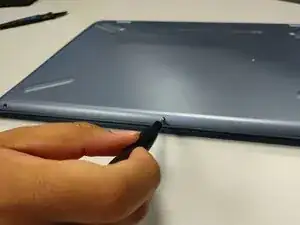
Insert an opening pick under the rubber feet near the hinges and gently pry them off the bottom of the laptop.
-
-
-
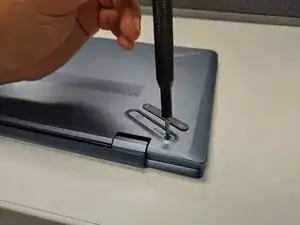
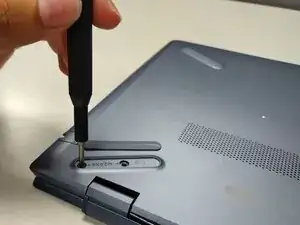
Rotate the laptop 180 degrees clockwise.
-
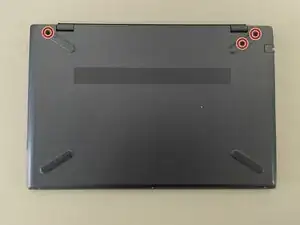
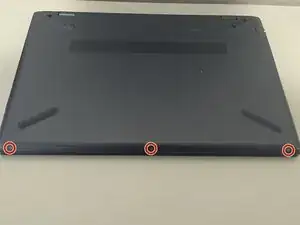
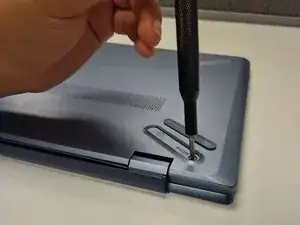
Use a JIS #00 screwdriver to remove the three 5 mm screws from the bottom edge of the back case.
-
-
-
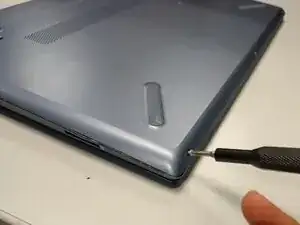
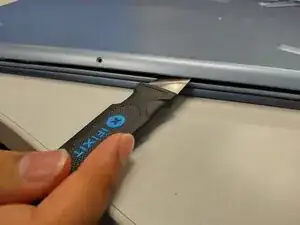
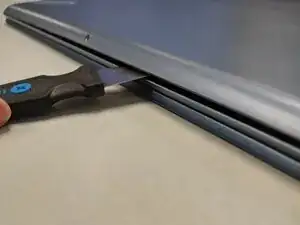
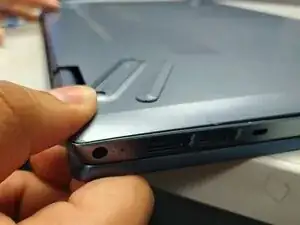
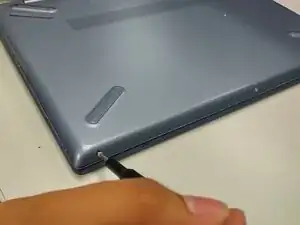
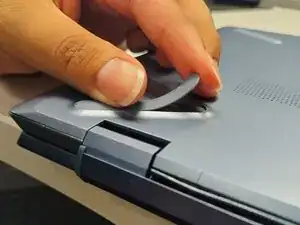
Insert an opening tool into the gap between the base panel and the top case. Slide it along the perimeter to release the clips.
-
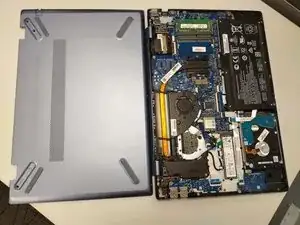
Lift and remove the base panel.
-
-
-
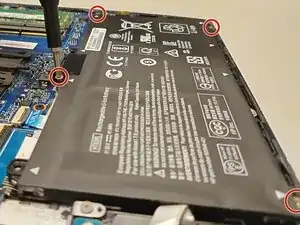
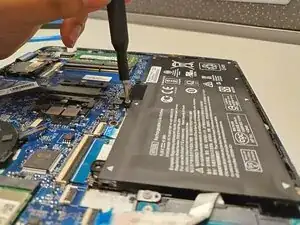
Use a JIS #00 screwdriver to remove the four 5 mm screws securing the battery.
-
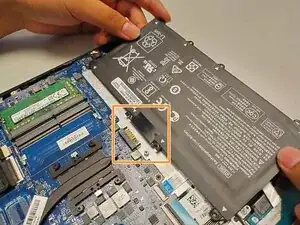
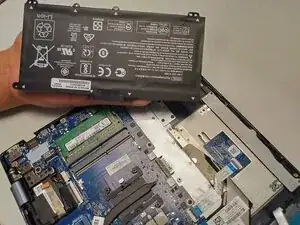
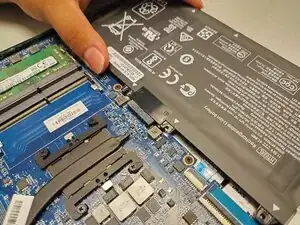
Use your hands to slide the battery out from the connector on the motherboard.
-
-
-
Align the backplate with the bottom of the laptop
-
Press down along the edges to snap it back into place.
-
-
-
Use a Phillips #0 screwdriver to replace the three 6.0 mm screws near the hinges.
-
Replace the two rubber screw covers.
-


Congratulations, you have successfully replaced your laptop's battery! For optimal performance, calibrate your newly installed battery after completing this guide
Take your e-waste to an R2 or e-Stewards certified recycler.