Introdução
If the sound on your HP Omni 10 tablet has started to fade, crackle, or stop working entirely, you may need to replace the internal speakers. Over time, speakers can wear out from regular use, accidental drops, or internal hardware issues, causing distorted or muted audio. Fortunately, replacing them is a straightforward repair that you can complete at home with a few basic tools.
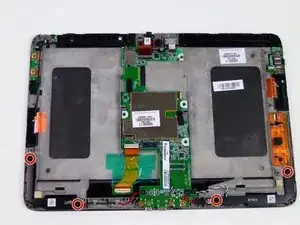
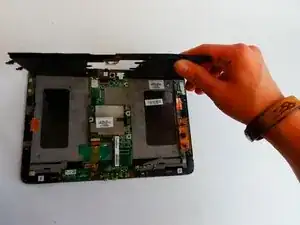
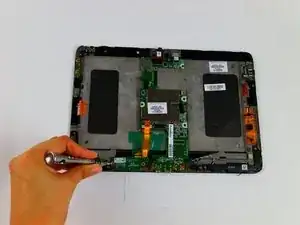
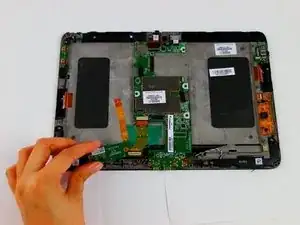
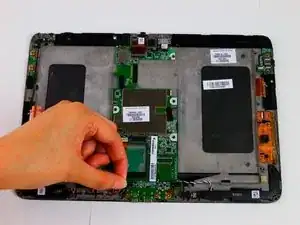
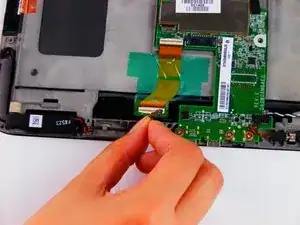
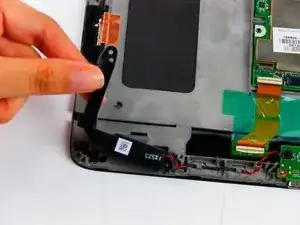
Before beginning, be aware that this guide involves removing the back cover, battery, and several small internal components. The back cover is tightly secured, and some parts are attached with adhesive, so gentle force and patience are key. You’ll also be working with delicate connectors and wires, so take your time to avoid accidental damage.
This guide will walk you step-by-step through the entire process, from opening the device to removing the old speakers and installing new ones. Each step provides clear instructions to keep your tablet safe while giving you the confidence to complete the repair. Make sure you have the recommended tools ready, follow all safety precautions, and work on a clean, static-free surface.
Once completed, your HP Omni 10 should be ready to deliver crisp, clear sound again.
-
-
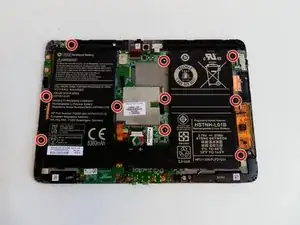
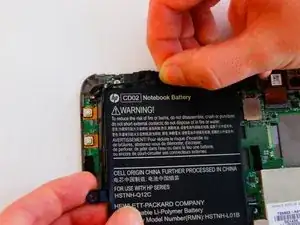
Push the black plastic security flaps into an upward position.
-
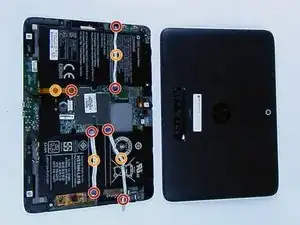
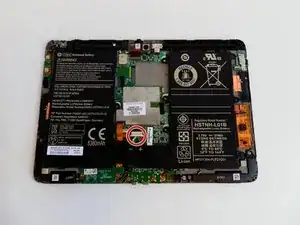
Lift the small tab on the security strips up and peel them across the battery. They will be attached via adhesive.
-
Lift the tab on the strip up and pull it across the battery.
-
-
-
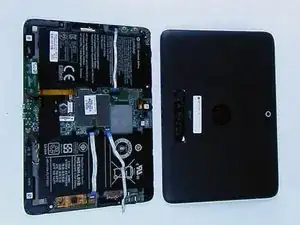
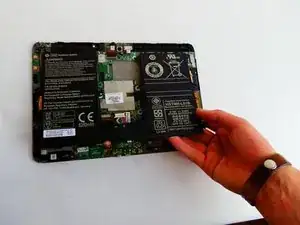
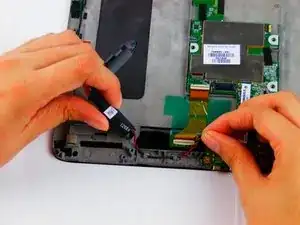
Lift the battery up by its edges and remove it carefully. There will be adhesive holding the battery down.
-
To reassemble your device, follow these instructions in reverse order.
Um comentário
its order when i will get it please candly I request