Introdução
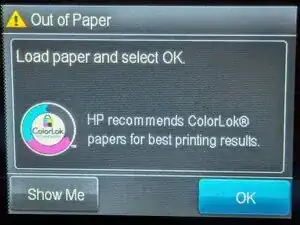
If your OfficeJet 6700 keeps telling you to load paper even when it has paper, this guide may help you fix the problem.
Thanks to YouTube user Ben.fixmakebuild who authored the video version of this guide that inspired me to create my iFixit guide.
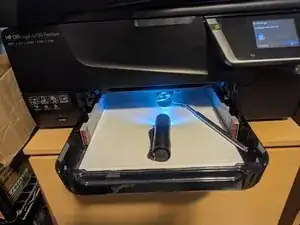
I took a less invasive approach, using a mirror and flashlight instead of drilling a hole in the bottom of the printer, but the repair is the same either way.
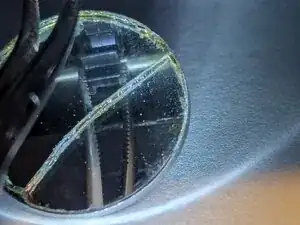
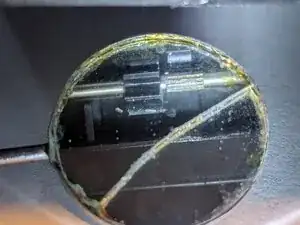
Essentially, there is a shaft that drives a gear which pulls the paper into the printer. Over time that gear either works its way off its splines, or gets stripped internally and no longer rotates with the shaft.
In my case I first tried standard household glue (no, not Elmers), and that worked for a while but eventually failed. My next attempt was the same as that of the video author in using SuperGlue, but that also was only a temporary fix. In my final attempt while creating this guide I'm using a two part epoxy and keeping my fingers crossed that creates a more permanent fix.
If glue doesn't do the job, the only other choice is to replace the entire main drive assembly, HP part number CN583A-DRIVE_ASSY.
Ferramentas
Peças
-
-
This video shows you exactly what the problem with paper not feeding is. In it you can see the drive shaft turning and sometimes driving the attached gear, but at the point where it tries to actually move the paper where the gear encounters resistance, the shaft just spins without driving the gear.
-
-
-
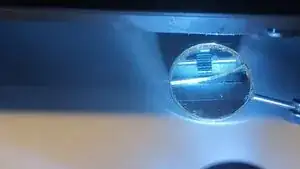
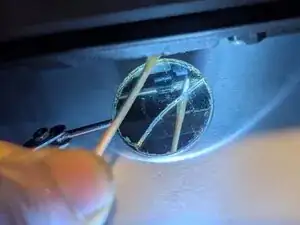
Position your mirror under the gear and adjust it until you have a good view of the gear.
-
A flashlight in front of the mirror will light the space.
-
-
-
A pair of curved hemostats work very well here; use them to get hold of the gear; it's tricky working upside down and in a mirror, but be patient and you'll get it.
-
Slide the gear to the left, exposing the splines.
-
-
-
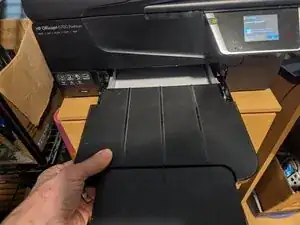
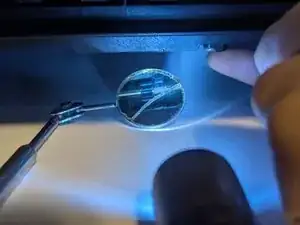
At the end of my finger just in front of the screw visible near the front of the opening is a gear that can be rotated by hand. You'll need to turn this gear to expose all sides of the splines so they can be coated with epoxy.
-
-
-
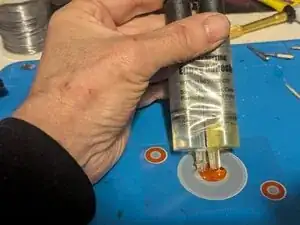
Squeeze out equal portions of resin and catalyst.
-
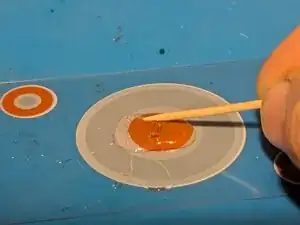
Mix well.
-
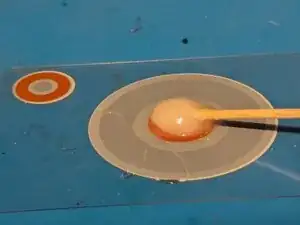
This is what mine looks like when it's mixed.
-
-
-
Using your toothpick, get a small blob of epoxy on the end, then apply it to the splines.
-
Rotate the drive shaft to expose uncoated splines, then add more epoxy.
-
Repeat until the entire circumference of the splines are coated.
-


Follow the instructions on the epoxy regarding drying time, then you can use your printer again!