Introdução
This guide covers the replacement of the audio jack port on the HP EliteBook Folio G1.
The audio jack port allows users to connect headphones or external speakers via a standard 3.5mm jack. If you are experiencing issues such as no sound from headphones, intermittent audio cutouts, or the device failing to detect headphones, the audio jack port may be faulty and require replacement.
Following this guide will help you safely and effectively replace the audio jack port to restore full audio functionality.
-
-
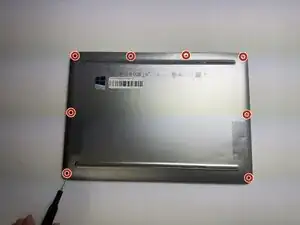
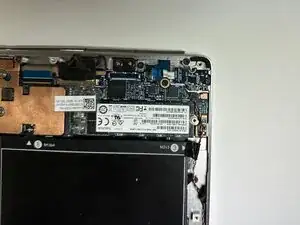
Turn the laptop upside down so the bottom panel is facing up.
-
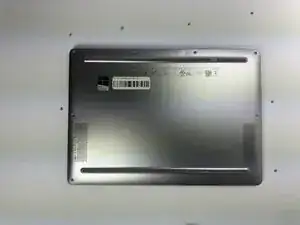
Position the device so the QR code and text details are readable and facing you.
-
-
-
Insert a plastic opening tool or spudger into the seam between the bottom cover and the chassis.
-
Gently pry around the edges to release the retaining clips.
-
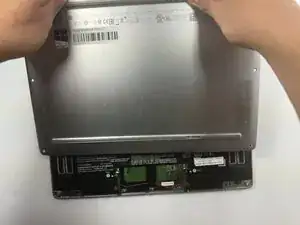
Carefully lift the back cover up and away from the laptop.
-
-
-
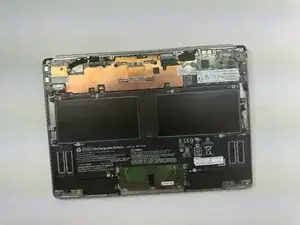
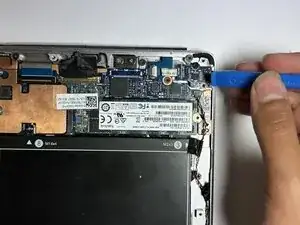
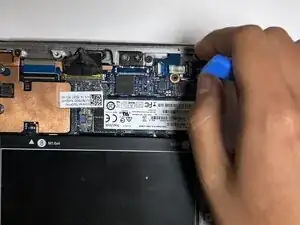
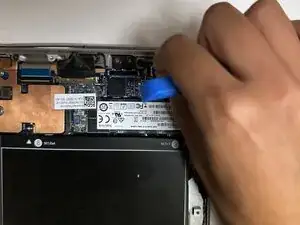
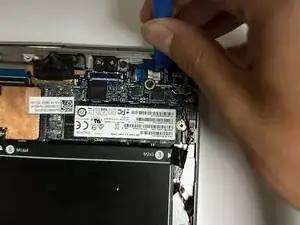
Use an opening tool or your fingernail to carefully lift the small locking flap on the audio board cable connector.
-
-
-
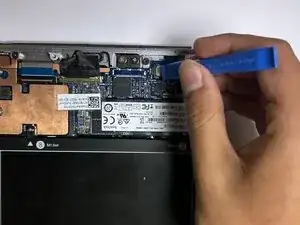
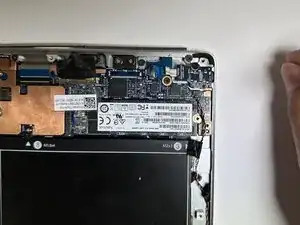
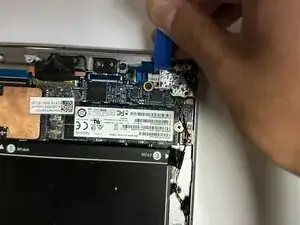
Gently pull the ribbon cable straight out of the connector to disconnect the audio board from the motherboard.
-
-
-
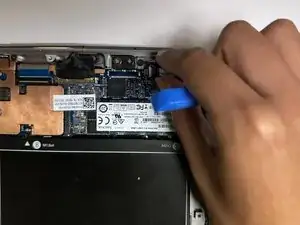
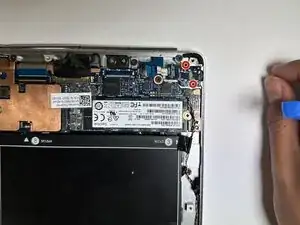
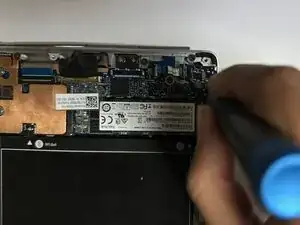
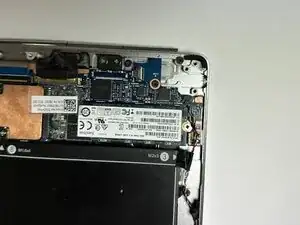
Using a Phillips #00 screwdriver, remove the two 3.0 mm screws securing the audio board to the chassis.
-


To reassemble your device, follow these instructions in reverse order.