Introdução

If your HP EliteBook 725 G3 is continuously experiencing malfunctions like a combination of failing to boot, frequent crashes, unresponsive ports, or POST error codes/beeps then your motherboard may be malfunctioning. Use this guide to properly remove and replace the motherboard.

The motherboard acts as a central hub or the backbone of your device. It connects and allows the hardware components to communicate with each other. The motherboard holds everything together and allows for the device to function as one cohesive unit.

Before using this guide, please see our other troubleshooting pages (linked here), or other guides for replacing components if your symptoms are more specific to a piece of hardware (linked here). However, if all of the issues your experiencing continue to persist afterwards, please follow this guide.

  1. 6VONgR2Ytr6K452v
    • Remove the two 2.5 mm Phillips #00 screws securing the battery.

  2. 3oFKNiQONn6rx53S
    3oFKNiQONn6rx53S
    qm5FPWyN24PiXJMX
    msHWxCFSyYLiHib2
    • Lift and remove the battery.

  3. XsVAXXVLLbL6KdJj
    XsVAXXVLLbL6KdJj
    moxhLHMGfZQ63jW3
    • Remove the six 2.5 mm-long Phillips #00 screws securing the fan and heat sink assembly.

  4. pIarsALMylaBU2Gx
    pIarsALMylaBU2Gx
    KSwl3OQcQLrrsUGx
    F65xlij2ev21lYmQ
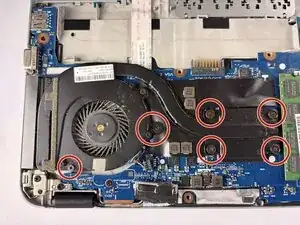
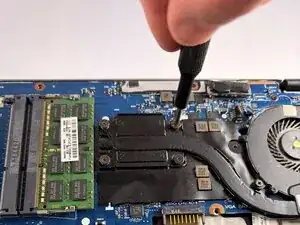
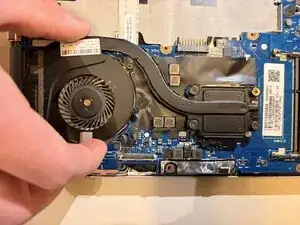
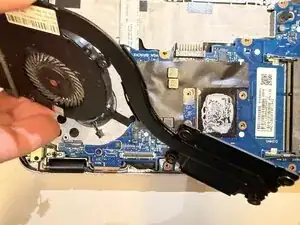
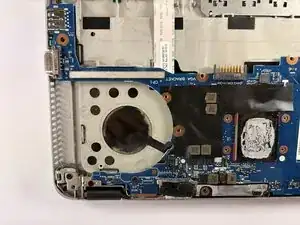
    • Push the fan and heat sink assembly directly out of its socket with the tip of a spudger or your fingernails.

  5. SiYxFVHwqbyZiQ2C
    SiYxFVHwqbyZiQ2C
    AxIGuBlbHJgYdOHT
    • Lift the fan and heat sink assembly up and away from the motherboard to remove it.

  6. EXgyiIUQy4MKGNMp
    EXgyiIUQy4MKGNMp
    DU3a2afQIk1ZumWL
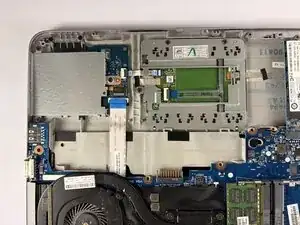
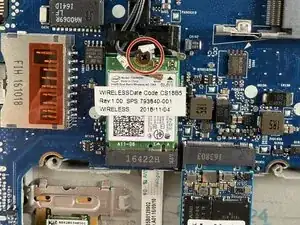
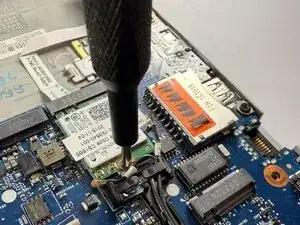
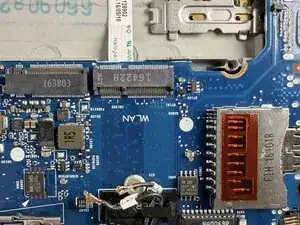
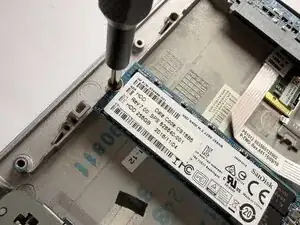
    • Remove the single Phillips #00 screw securing the Wi-Fi card.

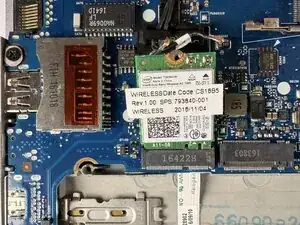
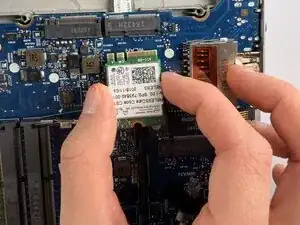
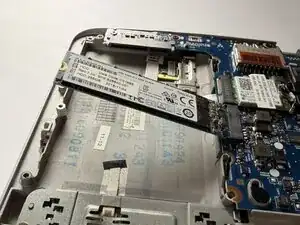
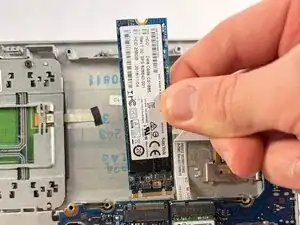
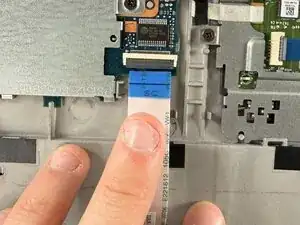
    • Use the pointed end of a spudger to pry up and disconnect the two coaxial connectors.

  7. GAtCZY24oPSgRSGw
    GAtCZY24oPSgRSGw
    mxjhu6LbnBOBtADc
    IFbslighYSrIrTI4
    • Pull the Wi-Fi card directly out of its socket.

  8. bMFoy3XJbdu5WTVw
    • Remove the single Phillips #00 screw securing the SSD.

  9. r4hQoyZNTt1MGMMa
    r4hQoyZNTt1MGMMa
    k2WOSQPYDvB6D2sF
    iMA3sJ6P5TAxuIe3
    • Pull the SSD directly out of its socket.

  10. oTv3fPRTwEHgk1gn
    oTv3fPRTwEHgk1gn
    OSgL1uYpXcG6MQcx
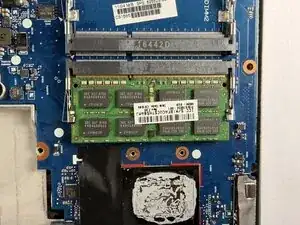
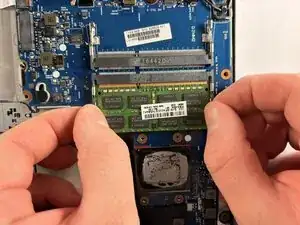
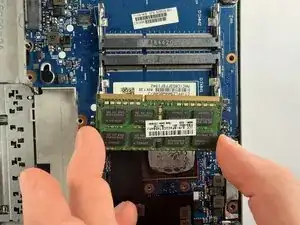
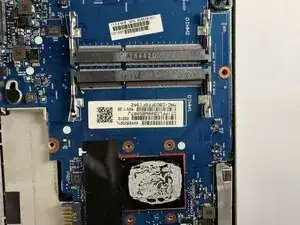
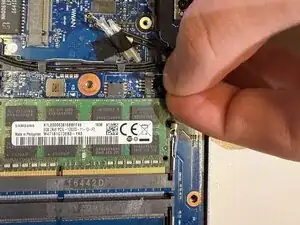
    • Two clips secure the RAM module in place, one on each side. Using your fingers, spread the clips away from the RAM module.

  11. ksULotqgnLjSgvD4
    ksULotqgnLjSgvD4
    4xNHDBjy1evdGkVw
    • Gently pull the RAM module directly out of its socket.

  12. C4GWNCgk6eheMdpZ
    C4GWNCgk6eheMdpZ
    UEGSCECKTdIEloIJ
    TeuM1HHODAI1OF5S
    • Remove the ten 2.5 mm-long Phillips #00 screws securing the motherboard.

  13. A2fZcvuOtFsFcSMc
    A2fZcvuOtFsFcSMc
    duLGDDG6wZPL1QLC
    • Flip up the black locking flap securing the ribbon cable and disconnect the cable.

  14. RmwppLT1CZlDZFIF
    RmwppLT1CZlDZFIF
    iWYDjyaKcryyScvJ
    DxBXFOIJRCfSLvC3
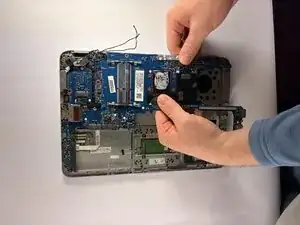
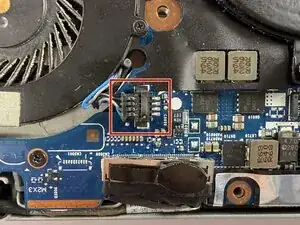
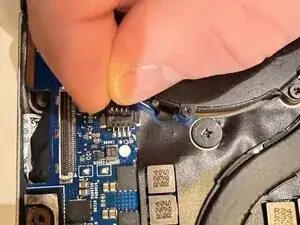
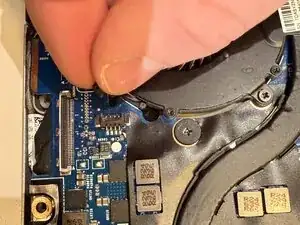
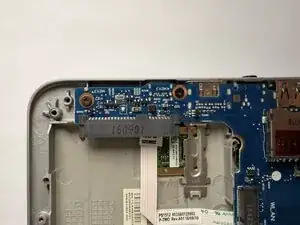
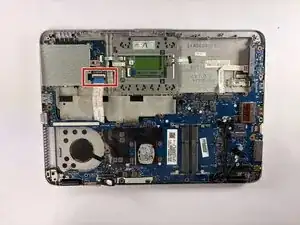
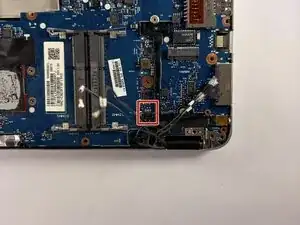
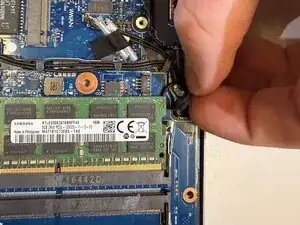
    • Disconnect the small group of wires near the hinge of the laptop by gently squeezing the sides and pulling it out

  15. lf1GLSVskjiVIBOW
    lf1GLSVskjiVIBOW
    GYsmyOLiGgSFbhnj
    • Gently grab the motherboard and slowly maneuver it out.

Conclusão

To reassemble your device, follow the above steps in reverse order.
Take your e-waste to an R2 or e-Stewards certified recycler.
Repair didn’t go as planned? Try some basic troubleshooting or ask our Answers community for help.

Owenbart

Membro desde: 15/10/25

373 Reputação

0 comentários