
Introdução
If your HP EliteBook 725 G3 is making loud internal noises during use and begins to heat up quickly, you may have a faulty cooling fan. Use this guide to properly remove the cooling fan for replacement.
The cooling fan is apart of the laptop's internal thermal management system. The fan kicks on when your laptop's internal temperature exceeds a specific limit, in an attempt to cool the components and allow for you to keep working without delay or malfunction.
Before using this guide, please inspect the fan for any dust or debris build up. Remove any buildup by using a small brush or dust blower and continue to use your laptop. If your main issue is the laptop overheating, please see our attached troubleshooting page for this device for overheating problems, linked here. If the issues persist, follow this guide.
Ferramentas
-
-
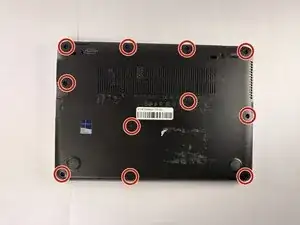
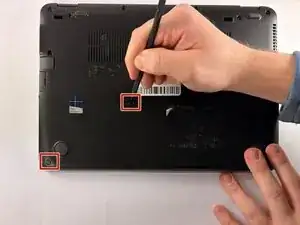
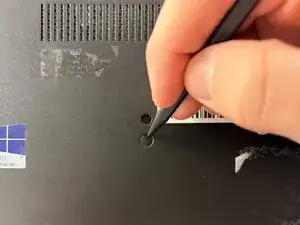
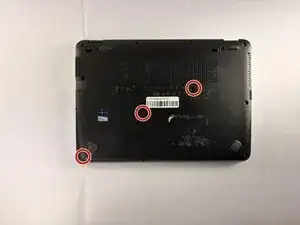
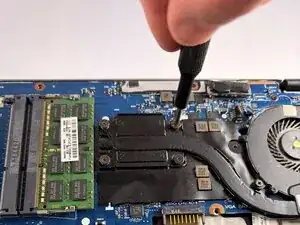
Remove the remaining 2.5 mm-long Phillips screws that secure the lower case.
-
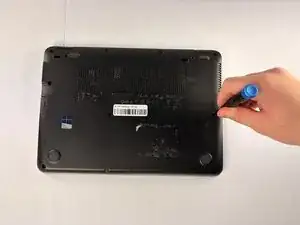
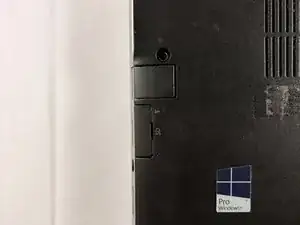
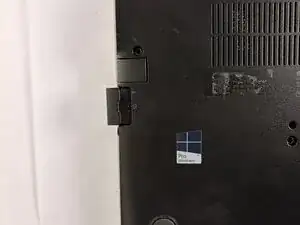
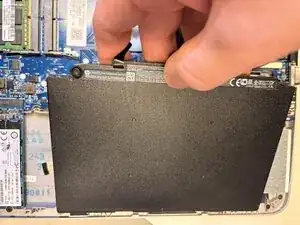
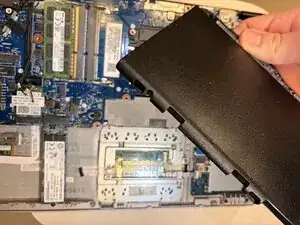
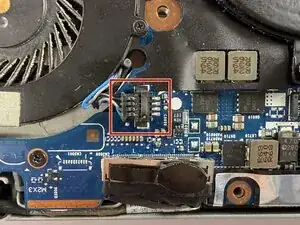
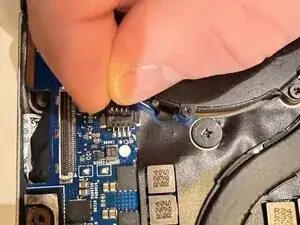
Thelower has a click-release mechanism that is shown in the photos where the SD card is inserted.
-
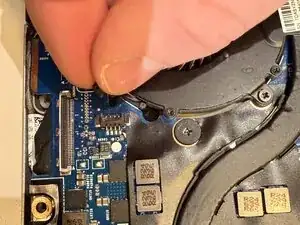
Push in on this mechanism and remove the lower case.
-
-
-
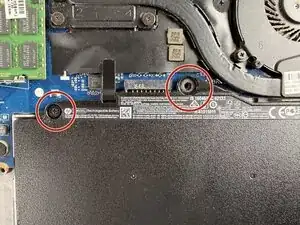
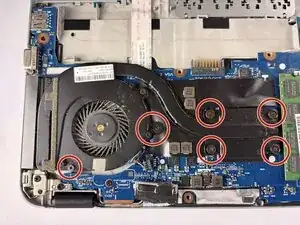
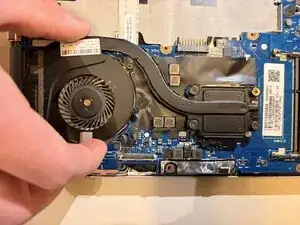
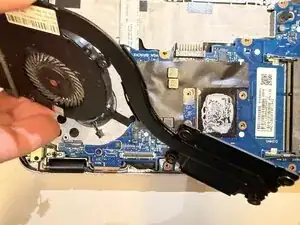
Push the fan and heat sink assembly directly out of its socket with the tip of a spudger or your fingernails.
-
To reassemble your device, follow the above steps in reverse order.
Take your e-waste to an R2 or e-Stewards certified recycler.
Repair didn’t go as planned? Try some basic troubleshooting or ask our Answers community for help.