
Introdução
If your HP EliteBook 725 G3 is having trouble turning on, or is dying frequently, it may be due to a malfunctioning battery. As you charge your laptop repeatedly over time, maybe even overcharging it, the battery continuously deteriorates which can cause it to swell and increase the risk of a fire. This causes the battery to lose its functionality over time. If this is the case with your device, your battery will need to be removed and replaced with a new one.
Before you follow this guide, check the HP EliteBook 725 G3 troubleshooting page for battery issues for alternative solutions.
To gain access to the battery, you will need to remove the back plate of the laptop, exposing the internal components.
Warning: As previously mentioned, swollen batteries are fire hazards and have a risk of spontaneously combusting. Swollen batteries need to be treated with utmost care. Follow these safety guidelines for removing swollen and/or corroded batteries - What to Do with a Swollen Battery (iFixit)
Remain proactive by powering off the laptop completely and disconnecting the charger before you begin the battery replacement or working with any internal components.
Ferramentas
-
-
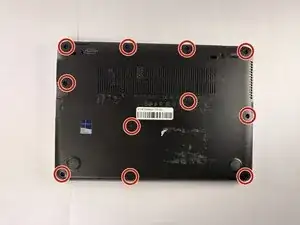
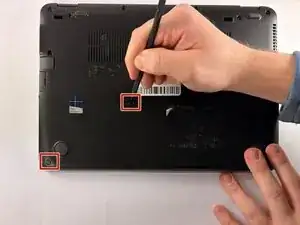
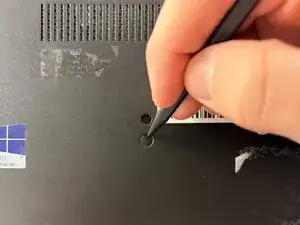
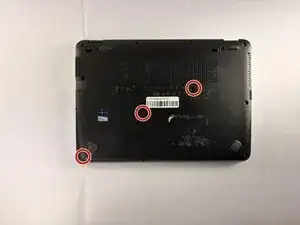
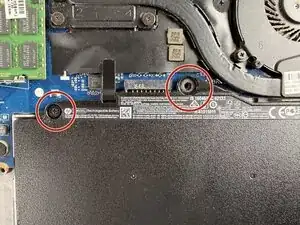
Remove the remaining 2.5 mm-long Phillips screws that secure the lower case.
-
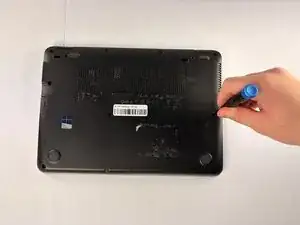
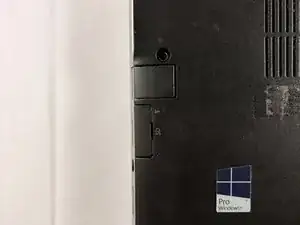
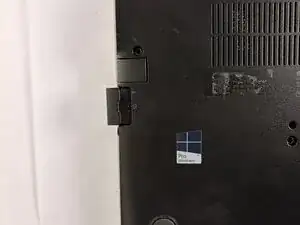
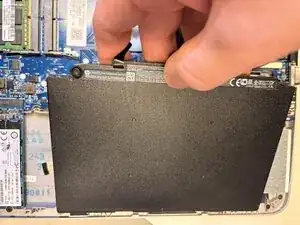
Thelower has a click-release mechanism that is shown in the photos where the SD card is inserted.
-
Push in on this mechanism and remove the lower case.
-
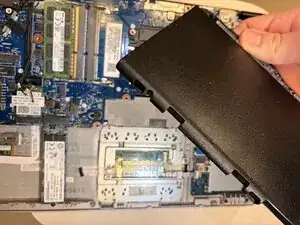
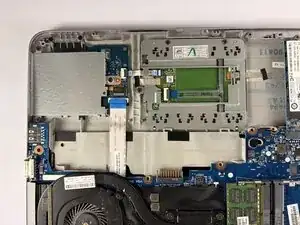
To reassemble your device, follow the above steps in reverse order.
For optimal performance, after completing this guide, calibrate your newly installed battery.
Take your e-waste to an R2 or e-Stewards certified recycler.
Repair didn’t go as planned? Try some basic troubleshooting or ask our Answers community for help.