Introdução
Before upgrading memory, hard drive or some other components, you need to do Basic Disassembly.
-
-
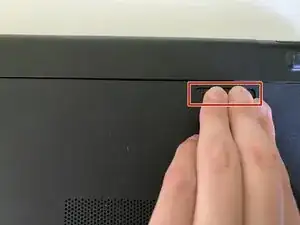
Put the laptop upside down and remove the battery by pulling the right latch outward.
-
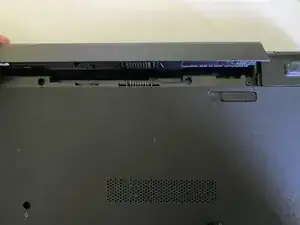
Raise the battery upwards.
-
-
-
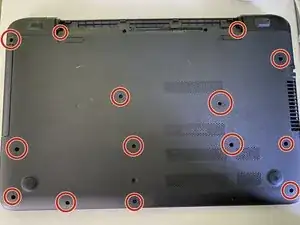
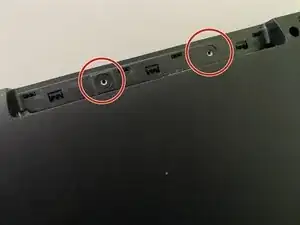
Remove the circled screws with a Phillips #0 screwdriver.
-
Note that only circled points include a screw. There aren't screw in all holes.
-
-
-
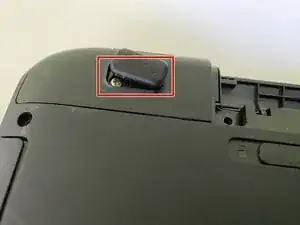
Remove the paw with iFixit Opening Picks.
-
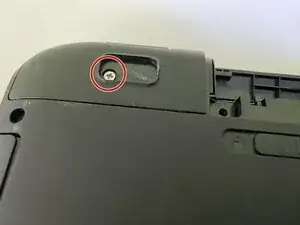
Remove the screw with a Phillips #0 screwdriver.
-
Do the same operation to the right corner.
-
-
-
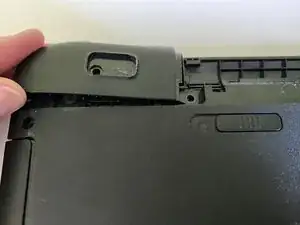
Remove the corner piece with iFixit Opening Picks.
-
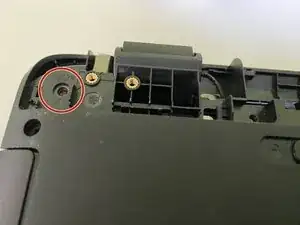
Remove the screw as shown in the picture.
-
Do the same operation to the right corner.
-
-
-
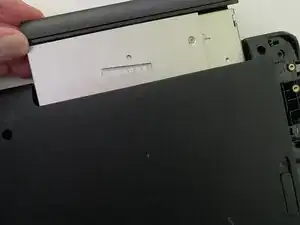
Pull the optical disk drive (ODD) out with fingers.
-
Remove the screws as shown in the picture.
-
-
-
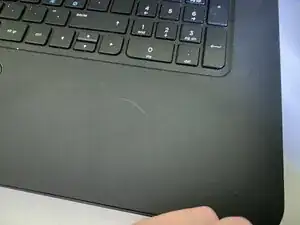
Remove the keyboard/touchpad tile with iFixit Opening Picks and fingers.
-
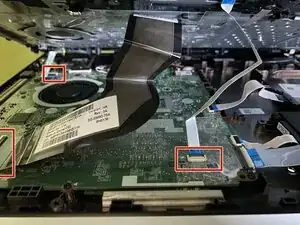
Remove the cabels as shown in the picture from the motherboard.
-
Now you can start the replacement or cleaning operation.
-
To do some maintenance, cleaning or upgrade task for HP 17-p051no laptop, follow this guide.