Introdução
The HP 15-f387wm is a lightweight and reliable laptop, but as the device ages, internal components such as the Wi-Fi card can begin to fail. Without a properly functioning Wi-Fi card you can't connect to the Internet and it can cause constant Internet disconnect.
This guide will walk you through the complete step-by-step process of removing and replacing the Wi-Fi vard in the HP 15-f387wm. Follow each step carefully in this guide to ensure a safe and successful repair and to restore functionality to your laptop.
Ferramentas
-
-
Make sure the laptop is completely powered off and unplugged. Disconnect all chargers to prevent electrical shock and ensure a safe repair environment.
-
-
-
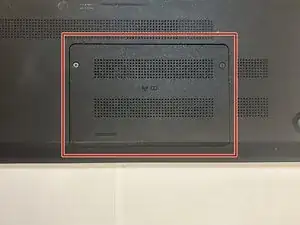
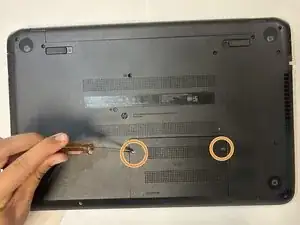
Flip the laptop upside down to access the bottom panel.
-
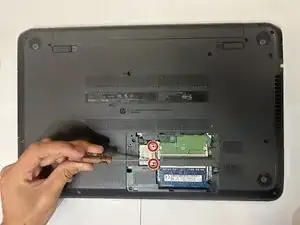
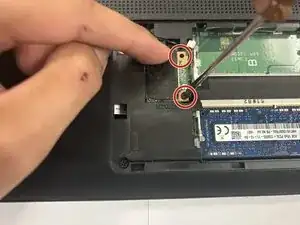
Remove the two 3mm Phillips #1 screws.
-
-
-
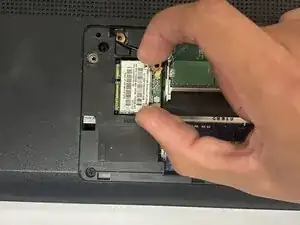
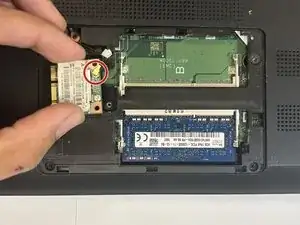
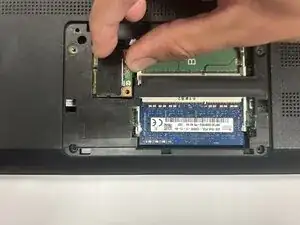
Lift the Wi-Fi card from the edges and carefully pull it upward.
-
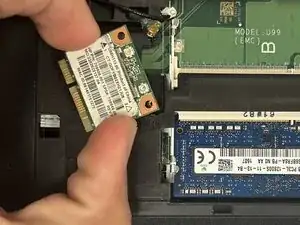
Disconnect the remaining cable from the Wi-Fi card.
-
-
-
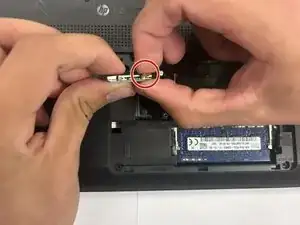
Carefully align the connector with the port. This is located in the top right area of the board. Press it in firmly with your fingers until you hear or feel a soft click.
-
-
-
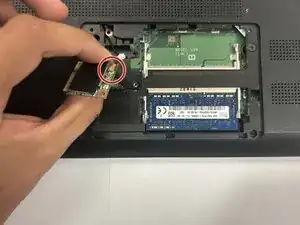
Position the new Wi-Fi card in place. Align it with both screw holes and gently lower it into the chassis to keep it in place.
-
Reinstall the bottom cover and tighten both screws. After everything is properly assembled, your replacement is complete.
-

Installing a new Wi-Fi card can restore your wireless connectivity, improve performance, and extend the overall usefulness of your device without the cost of replacing the entire laptop.
Before powering on your laptop, double-check that the Wi-Fi card is firmly connected, the card is fully seated in its slot, and all screws and panels are reassembled securely. If everything is installed correctly, your laptop should now be ready to connect to Wi-Fi smoothly and reliably again.