Introdução

If your HP 15-dw0037wm laptop produces distorted or no sound, one or both internal speakers may have failed and needs to be replaced. The internal speakers are responsible for all audio output, and over time they can wear out or become damaged by dust, impact, and moisture. This guide will help walk you through safely removing the fault speakers and installing new ones to restore clear audio performance.

  1. IfRbdeoTv2FRPY6g
    IfRbdeoTv2FRPY6g
    Fory1P3lZBlTLDZI
    • Before you begin, discharge your laptop battery below 25%. A charged lithium-ion battery can catch fire and/or explode if accidentally punctured.

    • Power off your laptop and disconnect the charger and any peripheries before beginning disassembly.

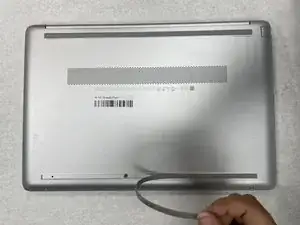
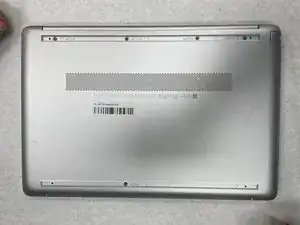
    • Set the laptop down with the lower case facing up.

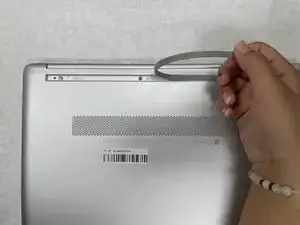
    • Lift a corner of the lower silicone foot and peel it completely off.

    • Repeat for the upper silicone foot.

  2. ZwCSFDJYbn5RnJtv
    ZwCSFDJYbn5RnJtv
    juZJRfhIryoXwPHM
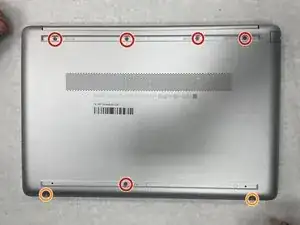
    • Use a Phillips screwdriver to remove the five 8 mm screws.

    • Remove the two 5 mm Phillips screws.

  3. 4mlAsr5f6pQBeVfJ
    4mlAsr5f6pQBeVfJ
    OBCpT1vDiwLgcYQh
    N5cwKSyXLKjNKhBZ
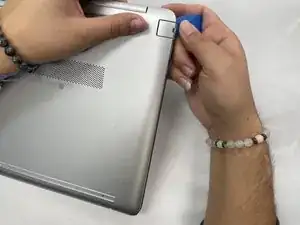
    • Insert an opening pick into the gap between the lower case and chassis.

    • Starting from a corner is recommended.

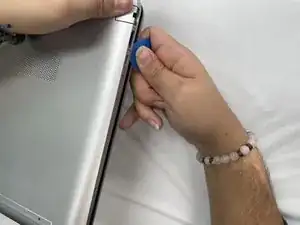
    • Slide the pick around the entire perimeter of the device until the lower case fully releases.

    • Remove the lower case.

  4. XyOK3FmjiaCBpONb
    XyOK3FmjiaCBpONb
    IiETU2ROJQnMEcRL
    • Use a Phillips screwdriver to remove the the four 4 mm screws that secure the battery.

  5. 6jSkIrZVoQwWHFr2
    6jSkIrZVoQwWHFr2
    bjJdqVW5e34wYUSm
    xJoUjOeLnQ56OuHc
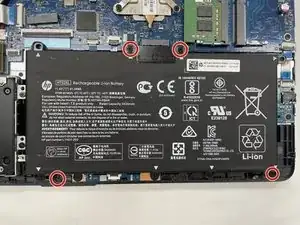
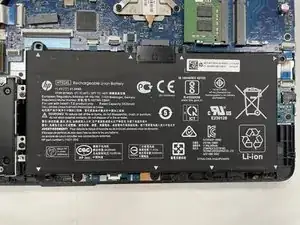
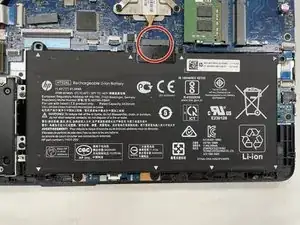
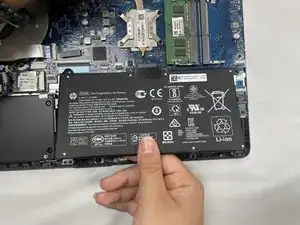
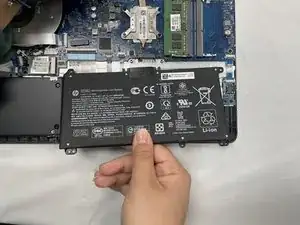
    • Lift the battery out slowly to disconnect it from the socket that connects it to the motherboard.

    • Removing the battery quickly can damage the socket that the motherboard is connected to.

  6. JcIQjsof6GMTWHQT
    JcIQjsof6GMTWHQT
    3cpMR6kiwNeMsL3J
    nCcRmddcbUKJJOOi
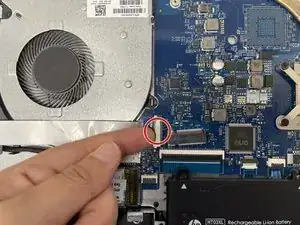
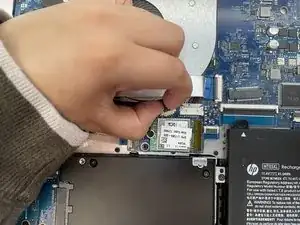
    • Use your fingernail or a spudger to gently lift the black ZIF locking flap that secures the ribbon cable.

    • Repeat the previous bullet on the other end of the ribbon cable.

  7. xUPHFPhNHm4aiejl
    xUPHFPhNHm4aiejl
    gXNRov4fVXdGlRGr
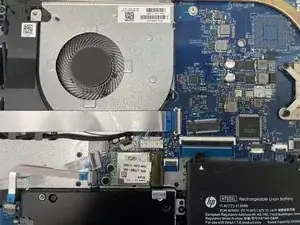
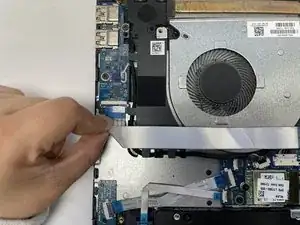
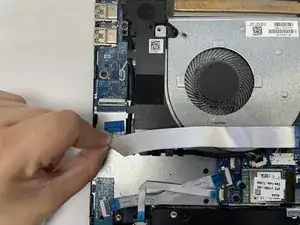
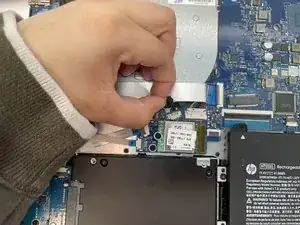
    • Slide the ribbon cable out from the socket gently.

    • Repeat on the other end of the ribbon cable.

  8. qlJOtGIOgVgReVuH
    qlJOtGIOgVgReVuH
    IKUMPCAWEcdKTdDL
    WGcs22iuGvXuBsBx
    • Gently using your fingernails to push the fan connector out of its motherboard socket.

  9. bwyAPbFPu1ZOUvDS
    • Remove the one 4 mm screw securing the fan with a Phillips #1 screwdriver.

  10. lRLoJiKZaIRBoqlO
    lRLoJiKZaIRBoqlO
    RWMGiIgP4nCOFTJE
    I5pGR4EJL5HgNwx2
    • Grip and lift the fan up and out of the chassis.

  11. TCKtlPXXVltnudfW
    TCKtlPXXVltnudfW
    KTAaFMrD5pVnDVqM
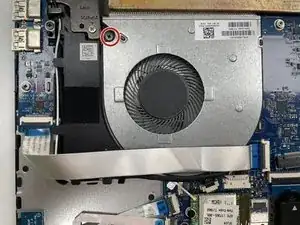
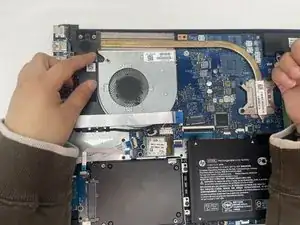
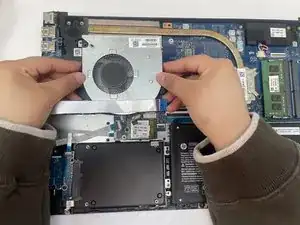
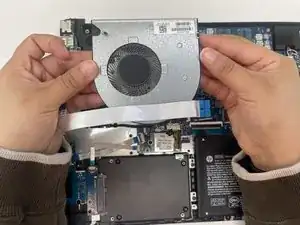
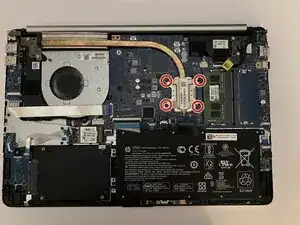
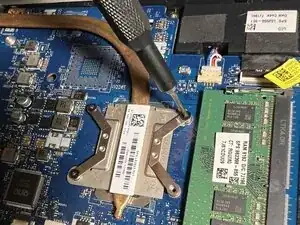
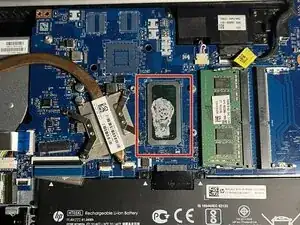
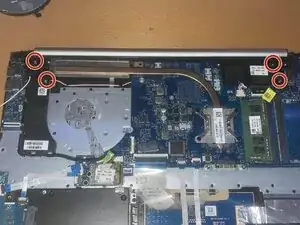
    • Use a Phillips screwdriver to remove the four screws that secure the heatsink to the CPU and motherboard, then carefully remove the heatsink.

  12. o4pa5S4wWUTAIAsx
    • Now that the heatsink has been removed, use rubbing alcohol and a lint-free cloth to gently clean the old thermal paste before applying thermal paste to the replacement heat sink.

    • Check out the official thermal paste replacement guide for more information.

  13. WZBX4KQvp5RVOV2i
    WZBX4KQvp5RVOV2i
    BiQdLkrUhQDHwcw3
    qgrRTT2mJXcDSZLl
    • Use an opening tool to pry up and disconnect the two wireless card coaxial connectors.

  14. 6urFpORjhvAmGPNv
    6urFpORjhvAmGPNv
    ICKUAGVGdlZhYrEb
    nkbfFaYSZlmLHYtj
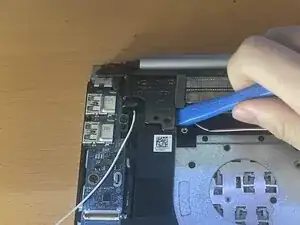
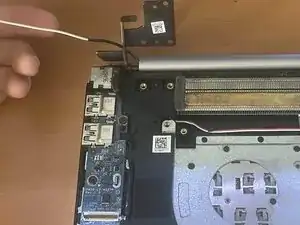
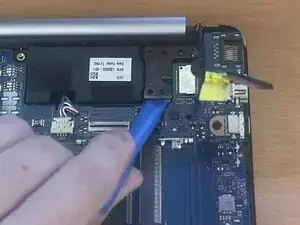
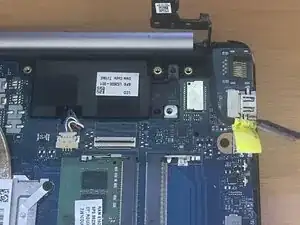
    • Remove the four Phillips screws securing both display hinges.

    • Use an opening tool to lift the left hinge vertically.

  15. 4J3bBAoxWZ1fQQDm
    4J3bBAoxWZ1fQQDm
    oJV3LnutJxggDnhA
    mGAwqB4RBgHDT1BL
    • Use an opening tool to lift the right hinge vertically.

  16. g6VPRiARSMSHJgTR
    g6VPRiARSMSHJgTR
    eUQHtrV4CFULtVbj
    L22A3kQe1R3JLhkN
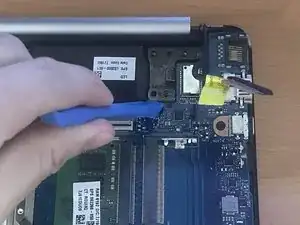
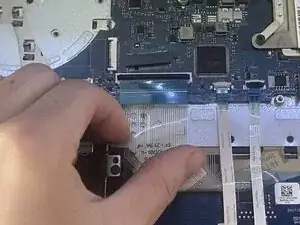
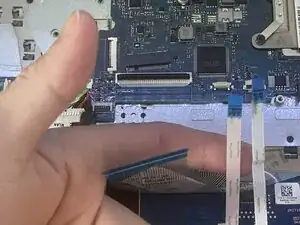
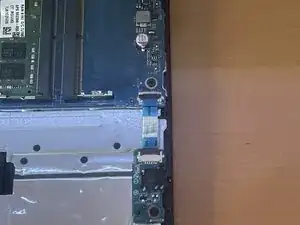
    • Identify the four ZIF ribbon cables on the motherboard.

    • Use your fingernail to lift each locking tab gently.

    • Pull each ribbon cable straight out, keeping it parallel to the board.

    • Do not twist or bend the ribbons sharply, as they can tear easily.

  17. VBKVjmKVkQ2bSLAO
    VBKVjmKVkQ2bSLAO
    XvFEYK6FwVQWdEcB
    24HeGBfUDplPXR34
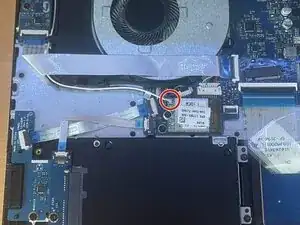
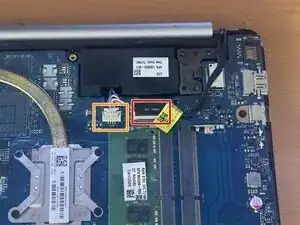
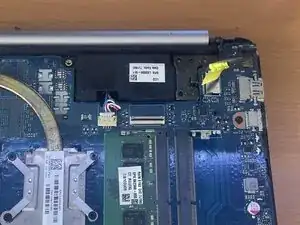
    • Flip the black locking flap on the ZIF connector and disconnect the cable.

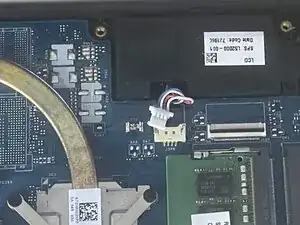
    • Disconnect the speaker connector.

    • Ensure all motherboard connections are disconnected before continuing.

  18. jDAS1gMewidOCU36
    jDAS1gMewidOCU36
    NRaeGSP2Q4IFYGIl
    cASgaoAyWNdslTHG
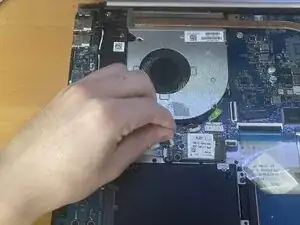
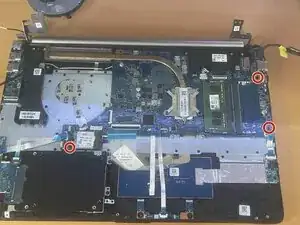
    • Remove the three Phillips screws securing the motherboard to the chassis.

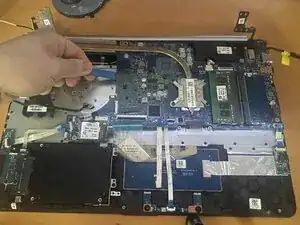
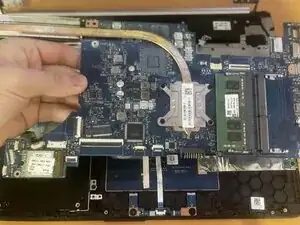
    • Gently lift one corner of the board and slide it out of position, being mindful of any remaining cables underneath.

    • Handle the board only by it's edges to prevent static damage.

  19. DalQfeqLbLkwPPnN
    • Remove the motherboard.

  20. jNCVR1MNZFuQcJhj
    jNCVR1MNZFuQcJhj
    MWMxXWeGCWHHX1GG
    WMXJdWew3nuHoFEM
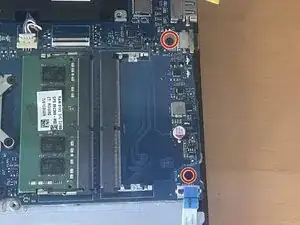
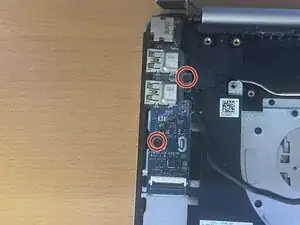
    • Remove the two screws securing the daughterboard to the chassis.

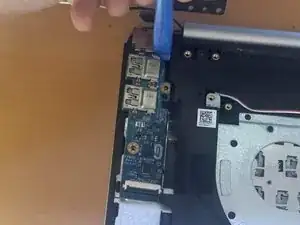
    • Use an opening tool to lift up the board gently.
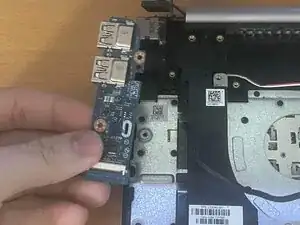
    • Remove the board.

  21. rSva5wJERDUkeNR5
    rSva5wJERDUkeNR5
    OLJYIKpwFLUaVlbY
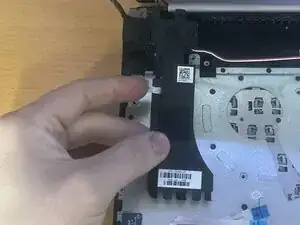
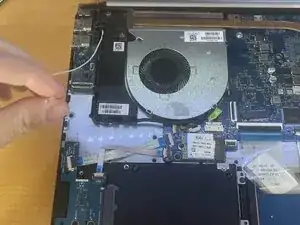
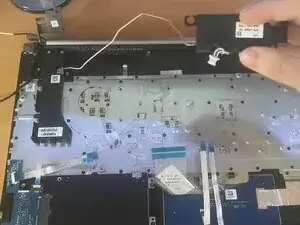
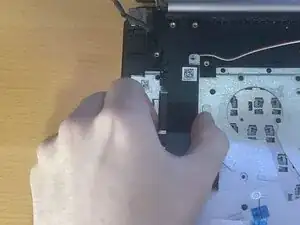
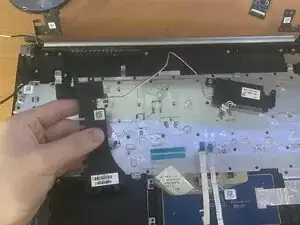
    • Ensure the speaker cable is fully untangled from the frame and clips.

    • Confirm that the cable path is fully accessible before removing the speakers.

  22. AGlnIQ1ONEKNcCIY
    AGlnIQ1ONEKNcCIY
    nHUClbKpIB6uIkue
    • Gently lift both sides to completely free the speakers.

    • Avoid using the wire as leverage because it can easily detach from the speaker housing.

  23. csj24tWGDnEjikvG
    csj24tWGDnEjikvG
    tYRXVgpQQI2grmcM
    • Position the new speakers in the same orientation as the original.

    • Align them securely in their compartments.

    • Route the connecting cable along the same path, pressing it into the retaining clips.

Conclusão

To reassemble your device, follow the above steps in reverse order.
Take your e-waste to an R2 or e-Stewards certified recycler.
Repair didn’t go as planned? Try some basic troubleshooting or ask our Answers community for help.

Harry Nguyen

Membro desde: 22/10/25

193 Reputação

0 comentários