Introdução
Replacing the heatsink is necessary if it no longer cools the system effectively. This can happen when the thermal paste dries out, the heat pipe inside the heatsink fails, or the metal becomes bent and can’t make proper contact with the processor. Replacing the heatsink helps prevent overheating, improves performance, and even protects the laptop’s internal components from heat damage.
-
-
Power off your laptop and disconnect the charger and any peripheries before beginning disassembly.
-
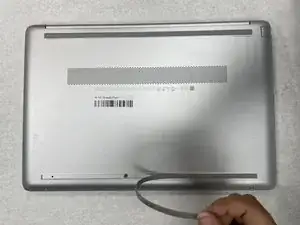
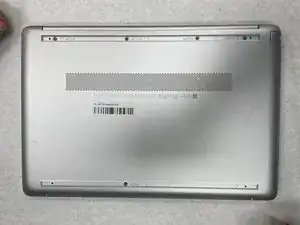
Set the laptop down with the lower case facing up.
-
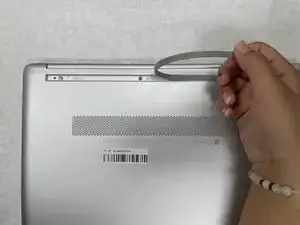
Lift a corner of the lower silicone foot and peel it completely off.
-
Repeat for the upper silicone foot.
-
-
-
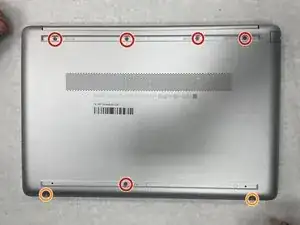
Use a Phillips screwdriver to remove the five 8 mm screws.
-
Remove the two 5 mm Phillips screws.
-
-
-
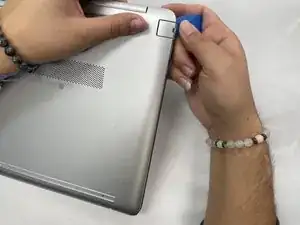
Insert an opening pick into the gap between the lower case and chassis.
-
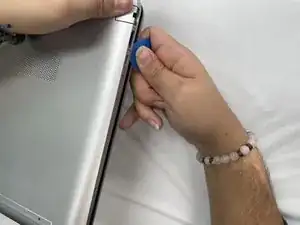
Slide the pick around the entire perimeter of the device until the lower case fully releases.
-
Remove the lower case.
-
-
-
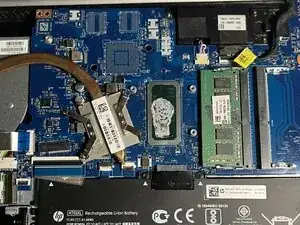
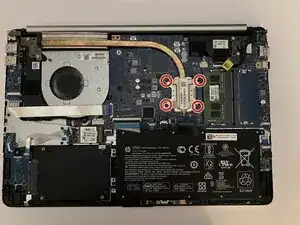
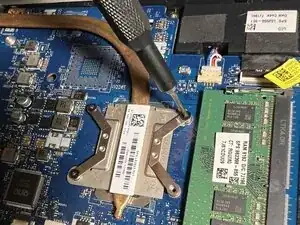
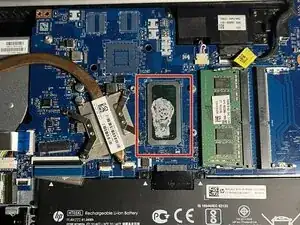
Use a Phillips screwdriver to remove the four screws that secure the heatsink to the CPU and motherboard, then carefully remove the heatsink.
-

To reassemble your device, follow the above steps in reverse order.
Take your e-waste to an R2 or e-Stewards certified recycler.
Repair didn’t go as planned? Try some basic troubleshooting or ask our Answers community for help.