Introdução
Replacing the trackpad in your HP -DQ5009nr laptop can help fix problems like an unresponsive cursor, erratic movement, or buttons that no longer click. The trackpad is an essential part of your laptop’s touch and navigation system, and swapping it out for a new one can bring back smooth, accurate control.
With a few basic tools, patience, and careful handling, you can replace the trackpad yourself at home. This guide will walk you through each step — from safely opening your laptop to installing and testing the new trackpad — so your laptop feels as good as new again.
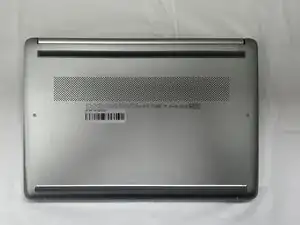
Before you begin the repair, make sure your laptop is powered off and disconnected from the charger and other peripheral devices.
-
-
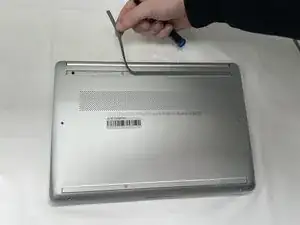
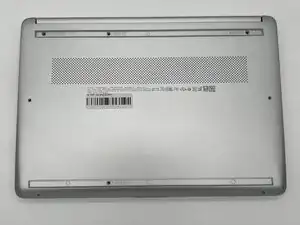
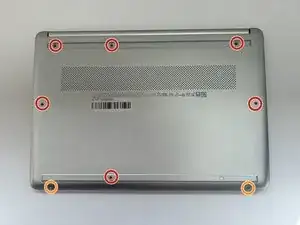
Use a Philips #0 screwdriver to remove the eight screws from the back case.
-
Six 7 mm-long screws
-
Two 4.8 mm-long screws
-
-
-
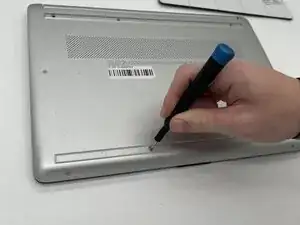
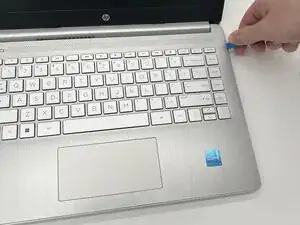
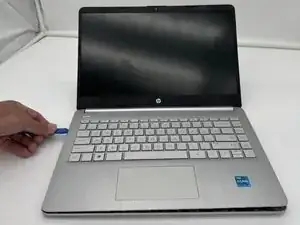
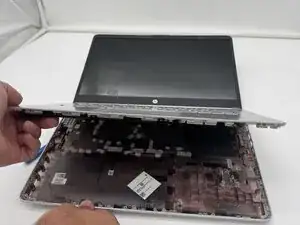
Use a plastic opening tool to separate the back case from the palmrest keyboard assembly. Gently pry the back cover from the device.
-
-
-
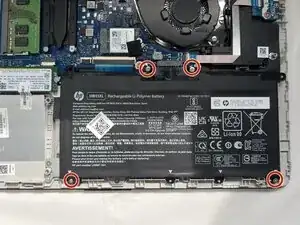
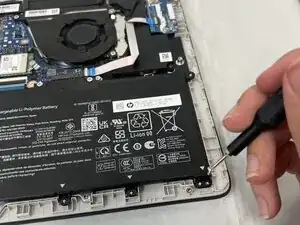
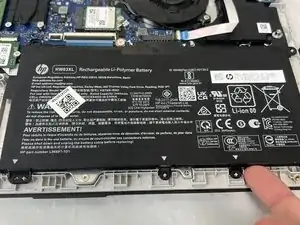
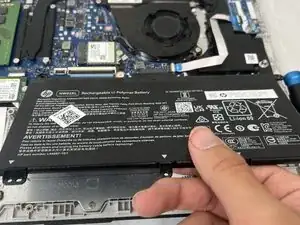
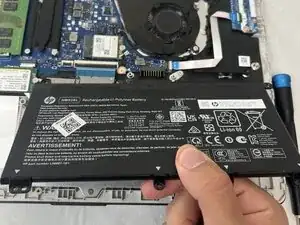
Use a Phillips #0 screwdriver to remove the four 3 mm screws that secure the battery to the chassis.
-
-
-
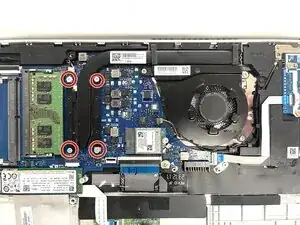
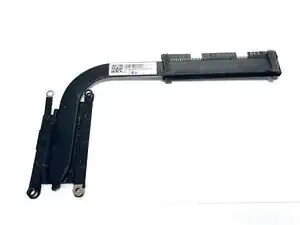
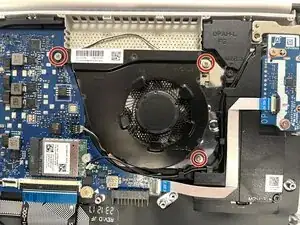
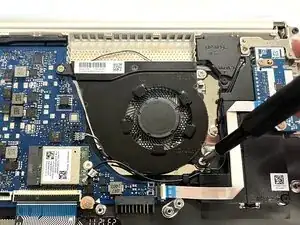
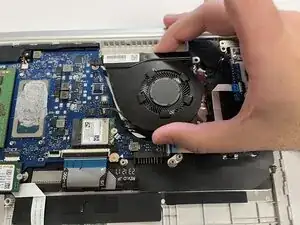
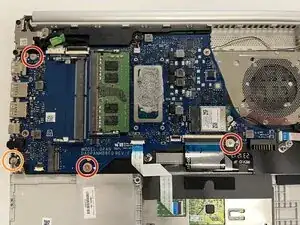
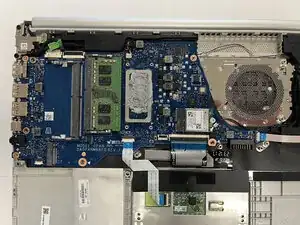
Use a Phillips #1 screwdriver to remove the four 2 mm screws that secure the heat sink.
-
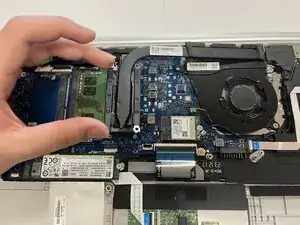
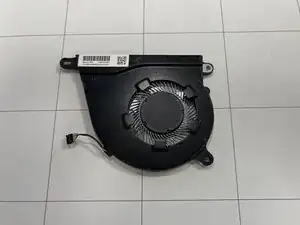
Lift the heat sink by the neck to remove it.
-
-
-
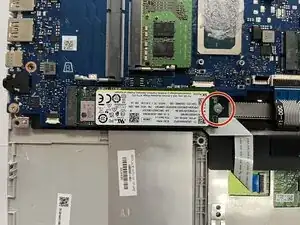
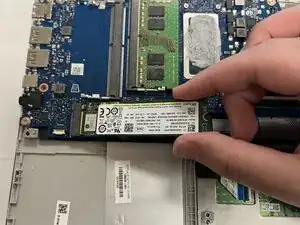
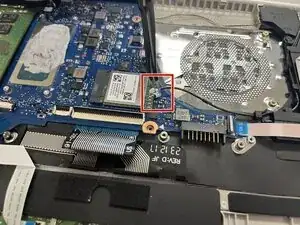
Remove the single 3 mm Phillips #1 screw.
-
Hold the SSD by the edges and gently slide it out of its socket on the motherboard.
-
-
-
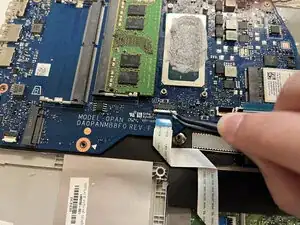
Use a spudger or a clean fingernail to flip up the locking flap of the daughterboard cable connector socket.
-
Use tweezers or your fingers to gently pull the cable out of its socket on the motherboard.
-
-
-
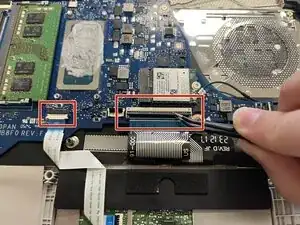
Flip up the locking flap on the ZIF connectors that connect to the trackpad and keyboard.
-
Use tweezers or your fingers to gently pull each ribbon cable out of its socket.
-
-
-
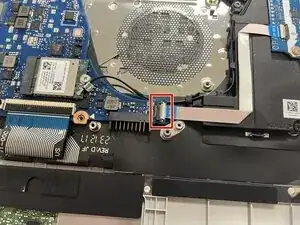
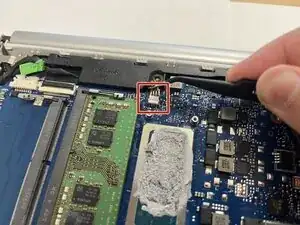
Use the wide end of a spudger to disconnect the 4-pin connector on the motherboard.
-
Use the wide end of a spudger to push on the connector tab to slide it out of its socket.
-
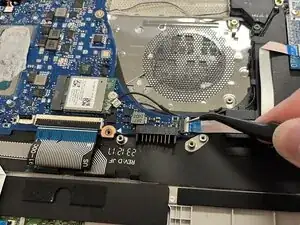
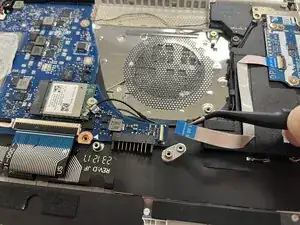
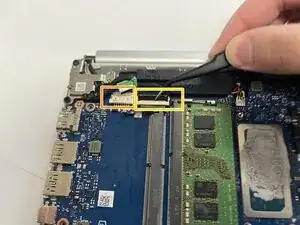
Use a spudger to flip up the locking flap on the ZIF connector.
-
Use tweezers or your fingers to gently pull the cable out of its socket.
-
-
-
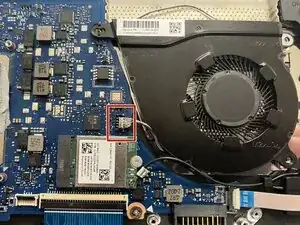
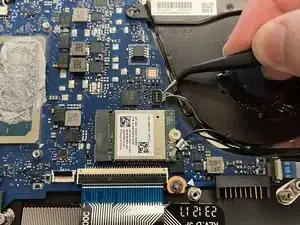
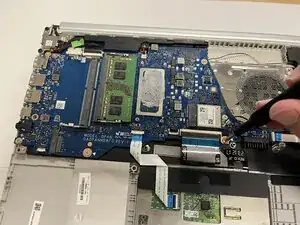
Slide a thin, ESD-safe pry tool or angled tweezers under the metal neck of the coaxial cable connectors (as close to the head as possible) and lift straight up from the Wi-Fi card.
-
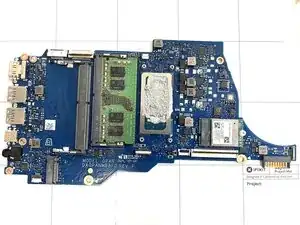
Pull the motherboard out and set it somewhere safe.
-
-
-
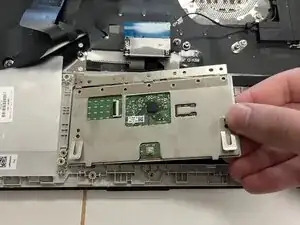
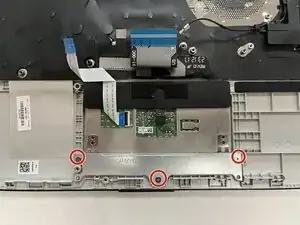
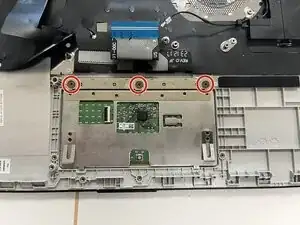
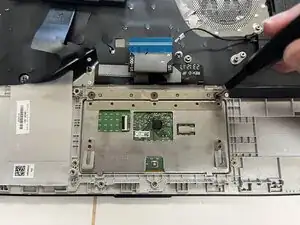
Use a Phillips #0 screwdriver to remove the three screws securing the metal bracket at the bottom edge of the trackpad.
-
Remove the bracket at the base of the trackpad.
-
-
-
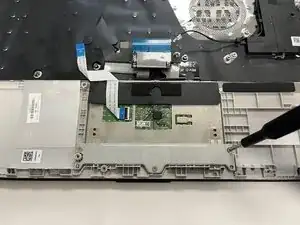
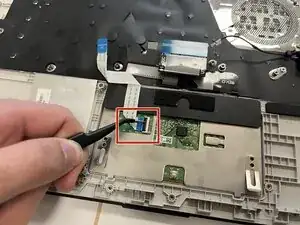
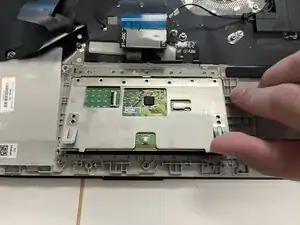
Use a spudger or clean fingernail to flip the black locking up to the unlocked position.
-
With tweezers, pull the ribbon cable out of the socket by the blue tab.
-
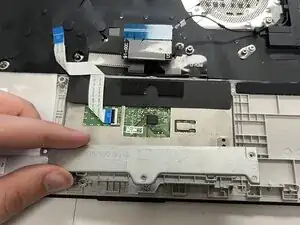
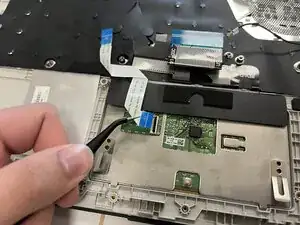
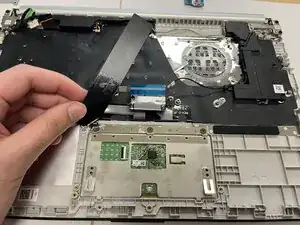
Pull back the black plastic flap at the top of the trackpad to expose the three screws beneath.
-
Leave the flap connected and fold it to the side.
-


To reassemble your device, follow these instructions in reverse order. Take your e-waste to an R2 or e-Stewards certified recycler.
