Introdução

Replacing the fan assembly (heat sink and fan) in your HP 14-dq5009nr laptop is an important repair that can help solve overheating or loud fan issues. The heat sink and fan work together to keep your computer’s internal parts cool, so when they stop working properly, your laptop may run hot or shut down unexpectedly.

With a few basic tools and careful steps, you can replace these parts yourself. This guide will show you how to safely remove the fan assembly, so you can install a new one. This will help your laptop run quieter, cooler, and more efficiently.

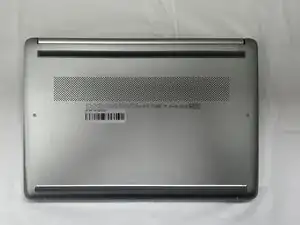
Before you begin the repair, make sure your laptop is powered off and disconnected from the charger and other peripheral devices.

When replacing or cleaning the fan assembly, replacing the thermal paste can help maintain proper heat transfer.

  1. fNNLNXTsYZBZC3Jt
    fNNLNXTsYZBZC3Jt
    WjmG1JKQXPAH4nio
    GVWyxuAXNQIdS3AF
    • Peel the rubber feet off the bottom casing to reveal hidden screws.

    • Keep the rubber feet for reassembly.

    • Make sure the device is completely powered off before replacement.

  2. vwaMpvoWKNH4H1UP
    vwaMpvoWKNH4H1UP
    lVJTDvk2pGdOppUw
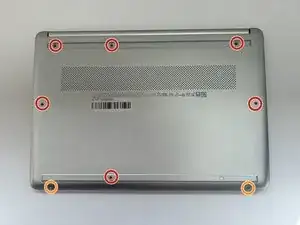
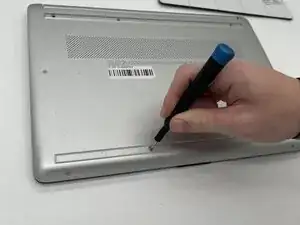
    • Use a Philips #0 screwdriver to remove the eight screws from the back case.

    • Six 7 mm-long screws

    • Two 4.8 mm-long screws

  3. xNFsM6mOCoMimVQZ
    xNFsM6mOCoMimVQZ
    nBX2sIhDiIDnKJtB
    ORlG5XbYZYPY3BAf
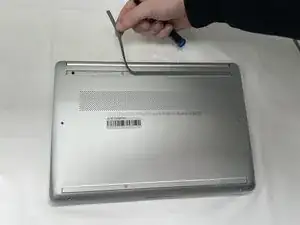
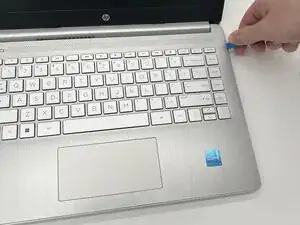
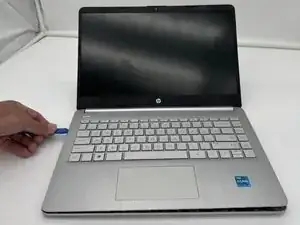
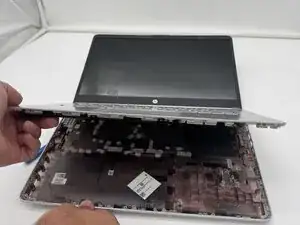
    • Use a plastic opening tool to separate the back case from the palmrest keyboard assembly. Gently pry the back cover from the device.

    • Start from a corner of the device and run the opening tool along the edge of the cover to release the clips before you separate them.

    • Be careful to not bend or crack the back cover.

  4. XPvoSwAgF1ZP13Xv
    XPvoSwAgF1ZP13Xv
    NZwXMEwO4nljLWnf
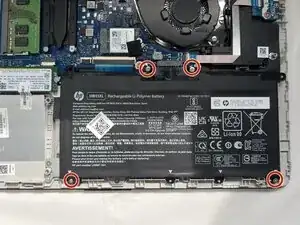
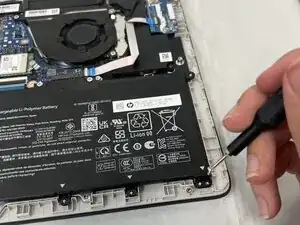
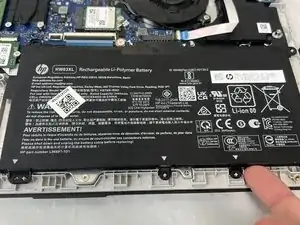
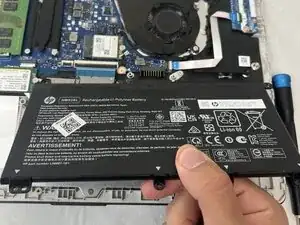
    • Use a Phillips #0 screwdriver to remove the four 3 mm screws that secure the battery to the chassis.

  5. y5Q4VtysyTK5Ashe
    y5Q4VtysyTK5Ashe
    VOmIdInMu6SkEejV
    EPgZPuiAoNv4raKc
    • Angle the battery up slightly and gently pull it from the socket on the motherboard.

  6. Al16VfsjrEGi1CMy
    Al16VfsjrEGi1CMy
    tqKlYwDuMBx1DdUP
    EPKcpW6vFjyXfTaA
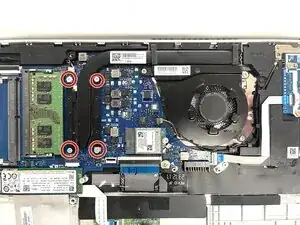
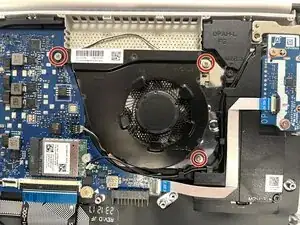
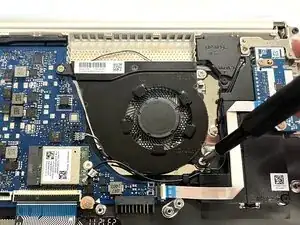
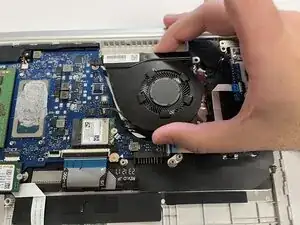
    • Use a Phillips #1 screwdriver to remove the four 2 mm screws that secure the heat sink.

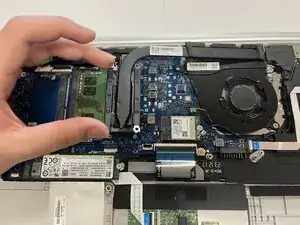
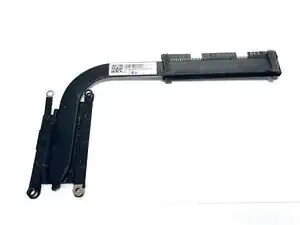
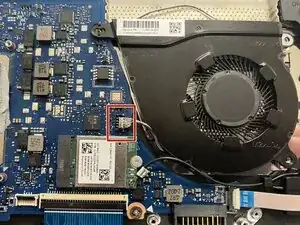
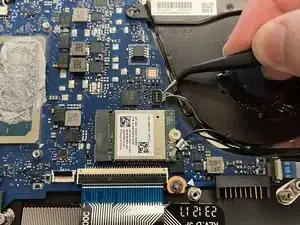
    • Lift the heat sink by the neck to remove it.

  7. mZbdkjLfyPdBlDSQ
  8. aKvFJvvyLaUY3XRe
    aKvFJvvyLaUY3XRe
    VS2fTo1wuHuNGt6J
    • Use a Phillips #0 screwdriver to remove the three 3 mm screws from the fan.

  9. dRqyXusAsxfusfUT
    dRqyXusAsxfusfUT
    NbJvbgMkEnyG6eog
    • Use an angled tweezer to lift the fan connector from the socket on the motherboard.

    • Pull upward and outward at the same time.

  10. u16nQATsYDmfXsfR
    u16nQATsYDmfXsfR
    4Up6RYqskPZjoLRL
    • Lift the fan from the laptop to remove it.

Conclusão

To reassemble your device, follow these instructions in reverse order. Take your e-waste to an R2 or e-Stewards certified recycler.

Mohammad

Membro desde: 23/09/25

121 Reputação

0 comentários