Introdução

Replacing the daughterboard in your HP 14-dq5009nr laptop can help fix issues such as a broken USB port, headphone jack, or charging problems. The daughterboard is a small circuit board that connects important parts of your laptop to the main motherboard.

With some care and patience, you can replace it yourself using simple tools. This guide will walk you through the process step by step — from safely opening your laptop to installing the new daughter board — so you can get your computer working like new again.

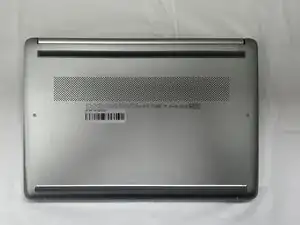
Before you begin, power off the laptop and disconnect it from the charger and any peripherals.

  1. fNNLNXTsYZBZC3Jt
    fNNLNXTsYZBZC3Jt
    WjmG1JKQXPAH4nio
    GVWyxuAXNQIdS3AF
    • Peel the rubber feet off the bottom casing to reveal hidden screws.

    • Keep the rubber feet for reassembly.

    • Make sure the device is completely powered off before replacement.

  2. vwaMpvoWKNH4H1UP
    vwaMpvoWKNH4H1UP
    lVJTDvk2pGdOppUw
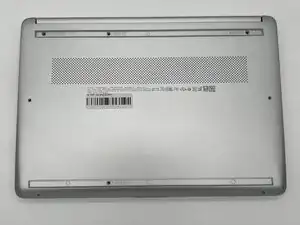
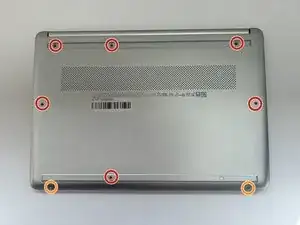
    • Use a Philips #0 screwdriver to remove the eight screws from the back case.

    • Six 7 mm-long screws

    • Two 4.8 mm-long screws

  3. xNFsM6mOCoMimVQZ
    xNFsM6mOCoMimVQZ
    nBX2sIhDiIDnKJtB
    ORlG5XbYZYPY3BAf
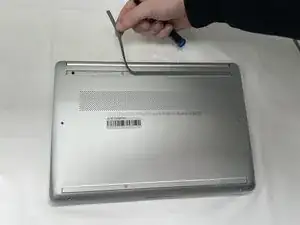
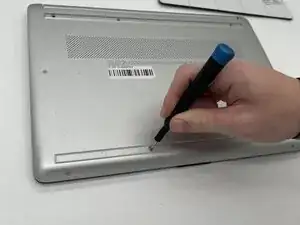
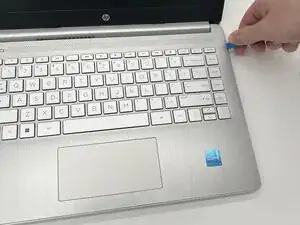
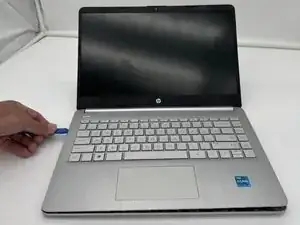
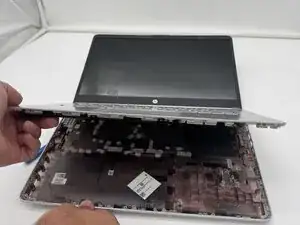
    • Use a plastic opening tool to separate the back case from the palmrest keyboard assembly. Gently pry the back cover from the device.

    • Start from a corner of the device and run the opening tool along the edge of the cover to release the clips before you separate them.

    • Be careful to not bend or crack the back cover.

  4. XPvoSwAgF1ZP13Xv
    XPvoSwAgF1ZP13Xv
    NZwXMEwO4nljLWnf
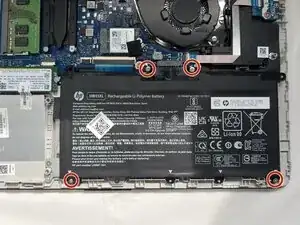
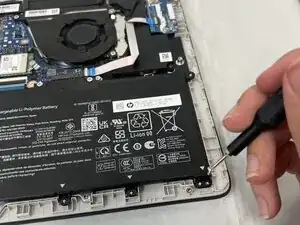
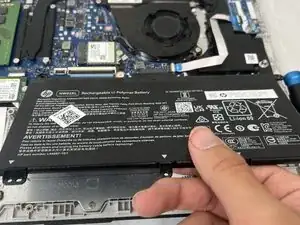
    • Use a Phillips #0 screwdriver to remove the four 3 mm screws that secure the battery to the chassis.

  5. y5Q4VtysyTK5Ashe
    y5Q4VtysyTK5Ashe
    VOmIdInMu6SkEejV
    EPgZPuiAoNv4raKc
    • Angle the battery up slightly and gently pull it from the socket on the motherboard.

  6. Xh33PjxAXMtOpeZc
    Xh33PjxAXMtOpeZc
    Zddh3E36QdotHPHP
    5jRaXxlDODmKnBUX
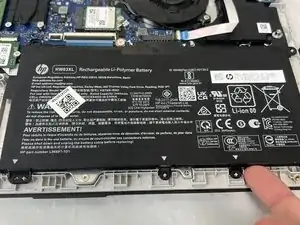
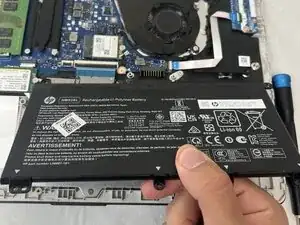
    • Use a spudger or a clean fingernail to flip up the black locking flap.

    • Use the widest tool possible to avoid damaging the delicate hinge pins.

    • Use tweezers or your fingers to gently pull the cable out of its socket.

    • If the cable has a pull tab, use it to grip the cable. You may damage the cable by gripping it directly.

    • Pull gently to avoid damaging the ribbon cable.

  7. fIBWAUlKgvFACUTu
    fIBWAUlKgvFACUTu
    xmuVVSHGqv3NmHDN
    • Use a Phillips #0 screwdriver to remove the two screws securing the daughterboard.

  8. uS4DKiGVJmiQpWyx
    uS4DKiGVJmiQpWyx
    KeANO4XYXULFDTrS
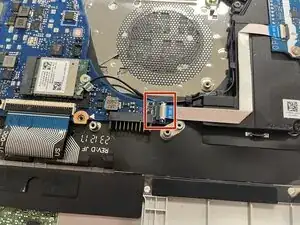
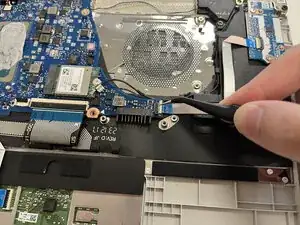
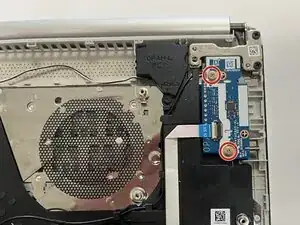
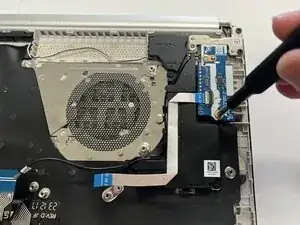
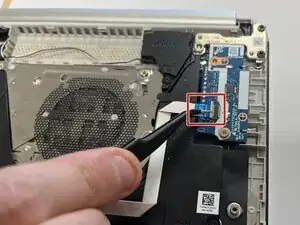
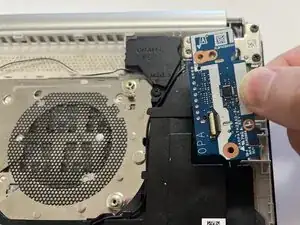
    • Use a spudger or a clean fingernail to flip up the locking flap on the ZIF connector on the daughterboard —this is the unlocked position.

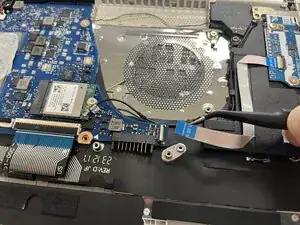
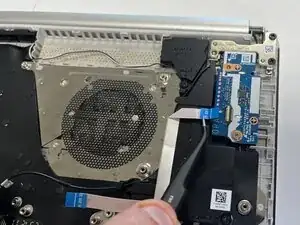
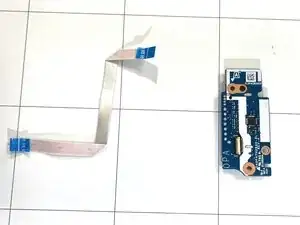
    • Use tweezers to gently pull the ribbon cable from the connector on the daughterboard.

  9. cKswC6afuW4eaNxM
    cKswC6afuW4eaNxM
    w3AdBvkhuU61yZtF
    • Remove the daughterboard from the laptop.

Conclusão

To reassemble your device, follow these instructions in reverse order. Take your e-waste to an R2 or e-Stewards certified recycler.

Geng Lin

Membro desde: 23/09/25

109 Reputação

0 comentários