Introdução
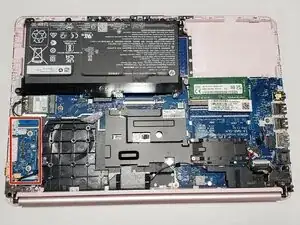
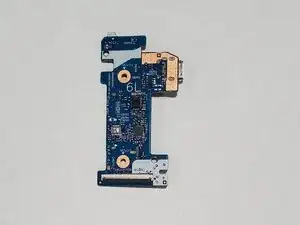
The daughterboard serves as a secondary circuit board that handles key input/output functions like the power button, USB ports, and SD card reader. It also communicates with the motherboard through a flex cable which ensures efficient data transfer. The daughterboard can stop working by wear from frequent use, physical damage on ports, or flex cable having issues.
This guide will help you to replace the daughterboard efficiently and safely. You will need an opening pick, Phillip's #1 screwdriver, and plastic opening tool.
-
-
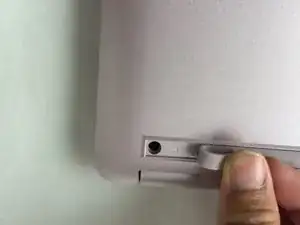
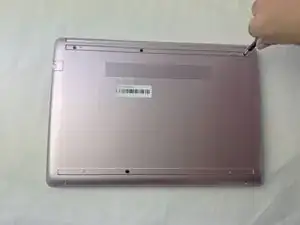
Use a spudger to pry under the end of the screw cover.
-
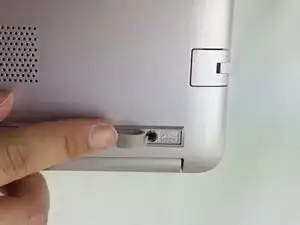
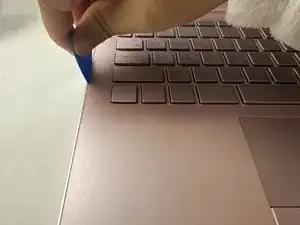
When the edge is lifted up, use your fingers to pull the rest of the strip off.
-
-
-
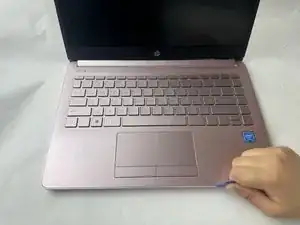
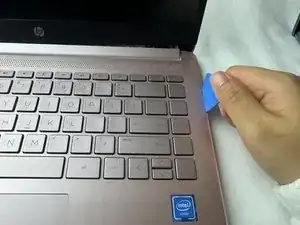
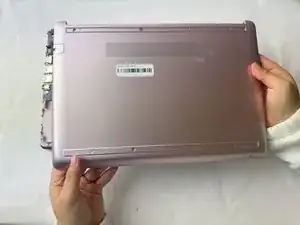
Use a pick or opening tool to pry along the edges of the back cover from the keyboard side of the laptop.
-
-
-
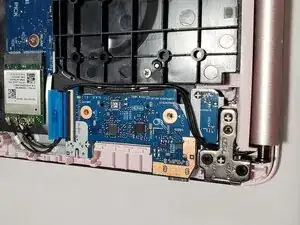
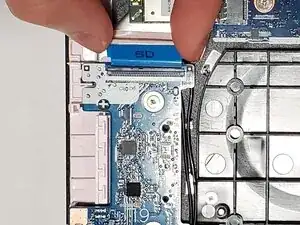
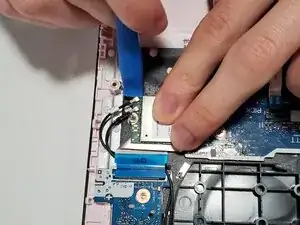
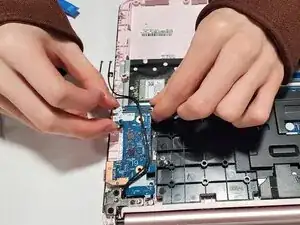
Flip up the black locking flap securing the ribbon cable to the daughterboard.
-
Disconnect the ribbon cable.
-
-
-
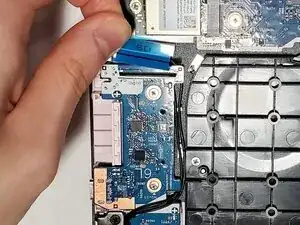
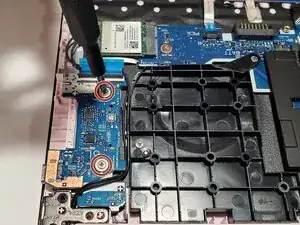
Remove the two 2 mm wide sliver screws securing the daughterboard with a Phillips #1 screwdriver.
-

To reassemble your device, follow these instructions in reverse order.