Introdução

Use this guide to access the back of the main interior assembly when replacing the heat sink in your Gourmia GMF600 mini refrigerator. The heat sink helps to dissipate the heat from the hot side of the Peltier module into the surrounding room air. Replacing the heat sink may improve cooling performance.

Before you begin, unplug the refrigerator from the power outlet and use caution when working around internal wiring and sharp metal edges.

  1. obHjxGNrjbKNNiKR
    obHjxGNrjbKNNiKR
    OSIg1TZXwRvuOjh3
    ay2VasqIovvlQVEh
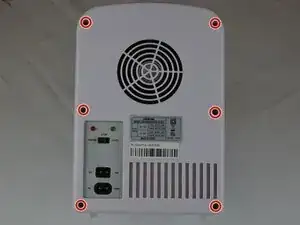
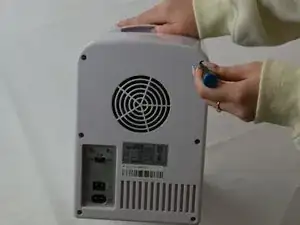
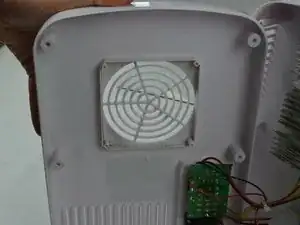
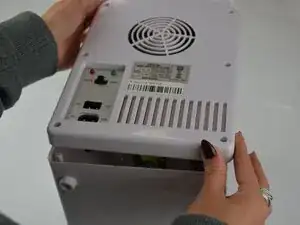
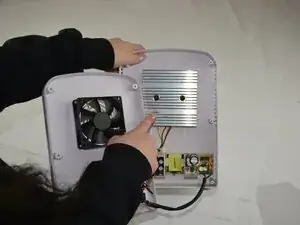
    • Orient the device so the back is facing you.

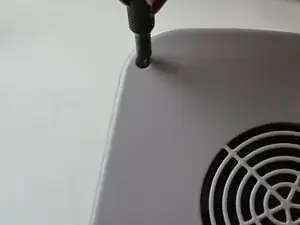
    • Use a Phillips #1 screwdriver to remove the six screws securing the back panel to the device.

  2. XXyCkqgRBaTtXtVu
    • Carefully remove the back panel from the device.

    • The back panel is still connected to internal wires and cables. Do not pull it away from the refrigerator.

  3. 12AZUbsDXkgOf3LJ
    12AZUbsDXkgOf3LJ
    MSKhrKn531wUiIQR
    AbaRdvPxmNi61iC6
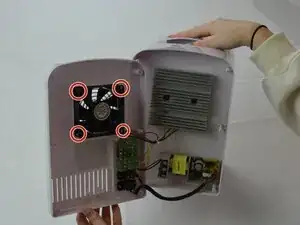
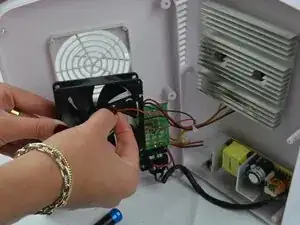
    • Use a Phillips #1 screwdriver to remove the four screws securing the fan.

    • Remove the fan and set it close to the refrigerator.

    • The fan is connected to the Peltier module behind the heat sink and capacitor assembly, so do not pull on it or you may damage the device.

  4. VmNASbmMrYERTBA1
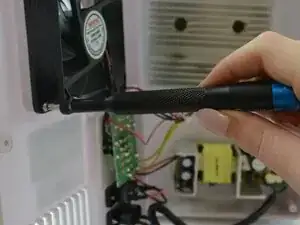
    • Carefully disconnect the cables from the fan to detach it from the board and thermoelectric cooler.

  5. TQRtRb3IIvp5wqcw
    TQRtRb3IIvp5wqcw
    FjKEPscPixycBPEf
    • Carefully lift the back panel off of the device.

    • The large silver box is a part of the evaporator plate/fins.

  6. G4kIcrvaML44lcnI
    G4kIcrvaML44lcnI
    G3hn66WrEgg6ZVPs
    gK4sG4xJnSR4WhTY
    • The large silver box is the heat sink on the outside of the Peltier module.

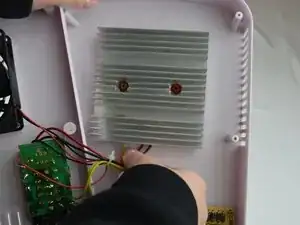
    • Use a Phillips #1 screwdriver to remove the two screws holding the heat sink to the outside of the Peltier module/thermoelectric cooler.

    • The heat sink screws may be tightly fastened. Apply steady pressure and use extra leverage if needed to avoid stripping them.

    • Gently remove the heat sink from the device.

    • There are cables connected to the capacitor assembly that need to be disconnected before further disassembly.

Conclusão

To reassemble your device, follow these instructions in reverse order. Take your e-waste to an R2 or e-Stewards certified recycler.

ayla bailey

Membro desde: 25/09/25

585 Reputação

0 comentários