Introdução
-
-
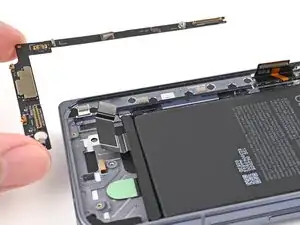
Remove any liners covering the lower board adhesive.
-
Place the lower board into its slot on the frame.
-
-
-
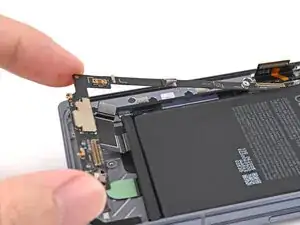
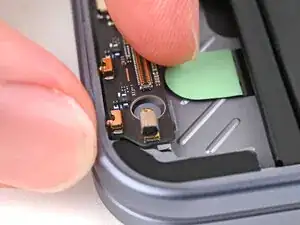
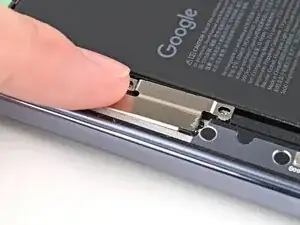
Use your finger to press down the bottom left corner of the lower board and slot it into its alignment peg.
-
-
-
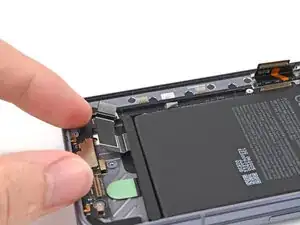
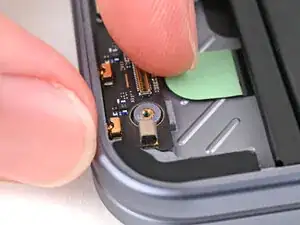
Use your fingers to press down the bottom right corner of the lower board to engage its grounding clips and thread it through its screw post.
-
-
-
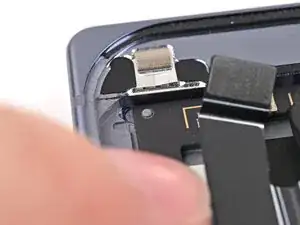
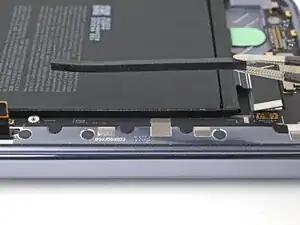
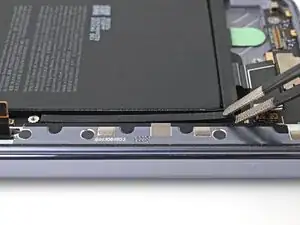
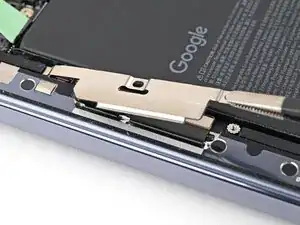
Use the point of a spudger to press the lower board conductive fabric onto the left edge of the frame.
-
-
-
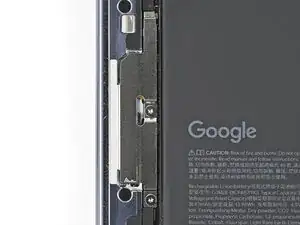
Place the rubber spacer onto its spot on the lower board, making sure it sits between its gold outlines on the board.
-
-
-
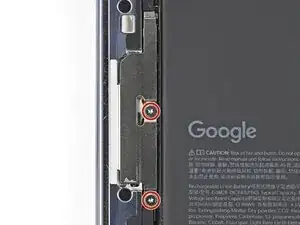
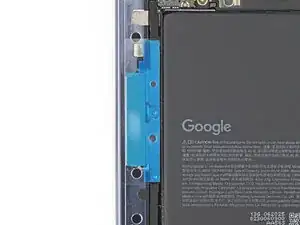
Use a Torx Plus 3IP driver to install the two 2.8 mm‑long screws securing the interconnect cable bracket.
-
-
-
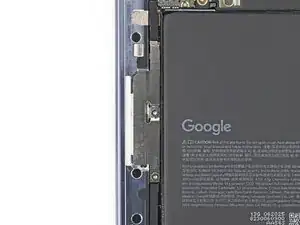
Before removing any liners, check that both of your conductive fabric matches the size and shape of the interconnect cable bracket.
-
-
-
If there's adhesive residue on the interconnect cable bracket, use isopropyl alcohol (>90%) and a lint-free cloth to remove it.
-
-
-
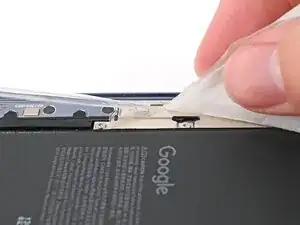
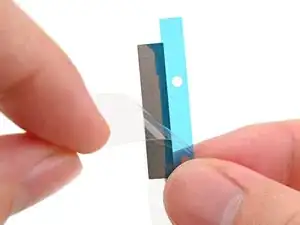
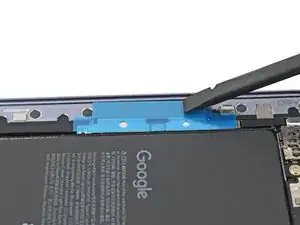
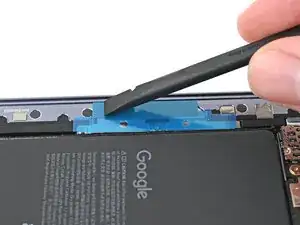
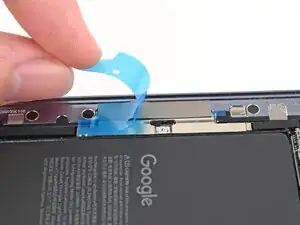
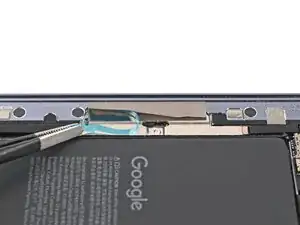
Peel off the conductive fabric from its clear liner.
-
Align the fabric with the outer edge of the interconnect cable and the white outline on the frame.
-
Press the fabric to the bracket, making sure it overlaps onto the frame.
-
-
-
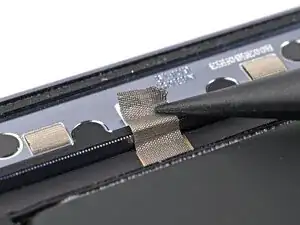
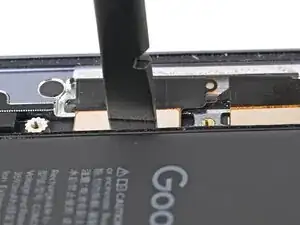
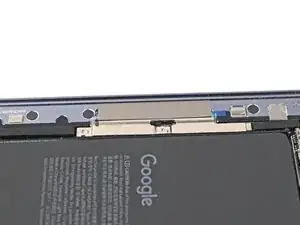
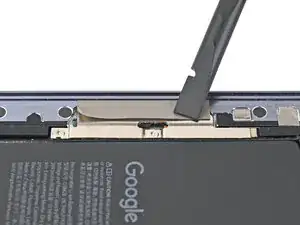
Use the flat end of a spudger, or your fingers, to press down the conductive fabric and adhere it to the frame.
-
-
-
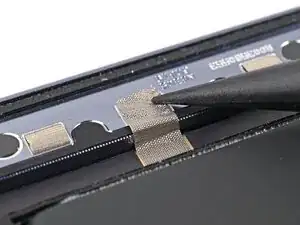
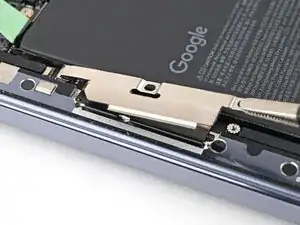
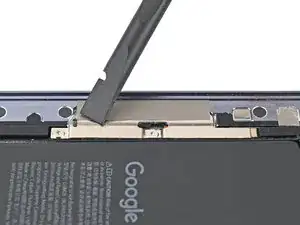
Use the flat end of a spudger, or your fingers, to press down the conductive fabric and adhere it to the interconnect cable bracket.
-


To reassemble your device, follow these instructions in reverse order.
