Introdução
-
-
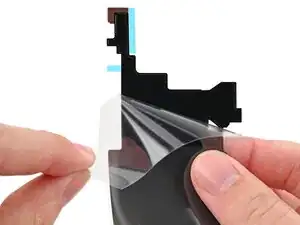
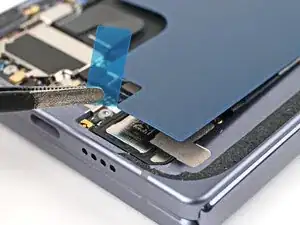
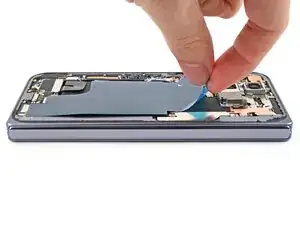
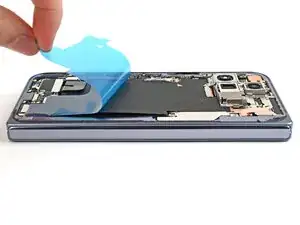
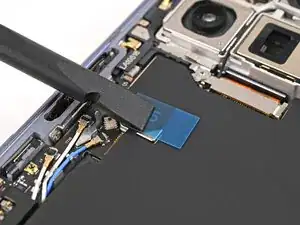
Peel the clear liner off your replacement graphite sheet to expose the adhesive on the upper half.
-
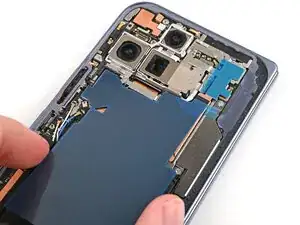
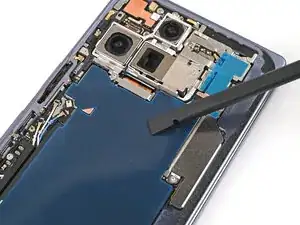
Align the upper half of the graphite sheet over the logic board and lay it down.
-
-
-
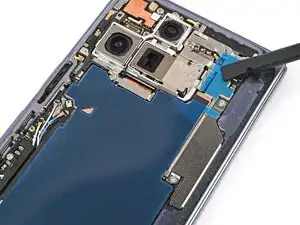
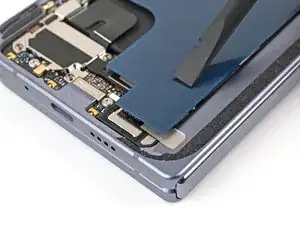
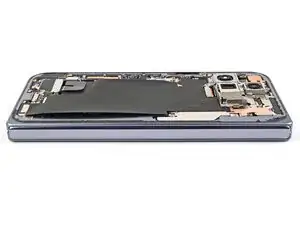
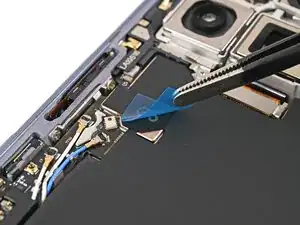
Use the flat end of your spudger or your finger to press down the upper half of the graphite sheet and secure it to the logic board.
-
-
-
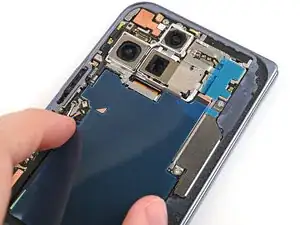
Drag a spudger or your finger from the middle section of the graphite sheet to the adhesive section over the loudspeaker to flatten the graphite sheet and adhere it.
-
-
-
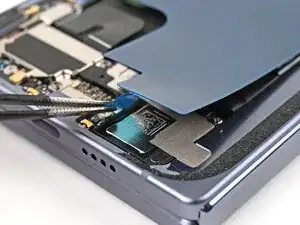
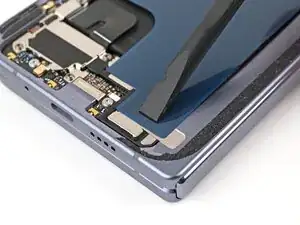
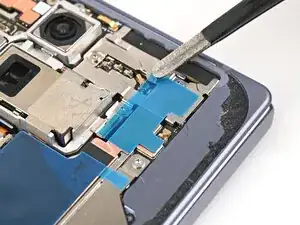
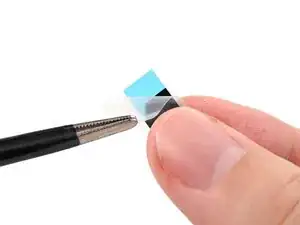
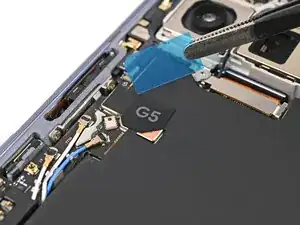
Remove the clear liner from the G5 sticker.
-
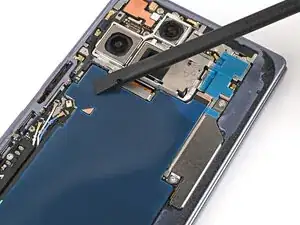
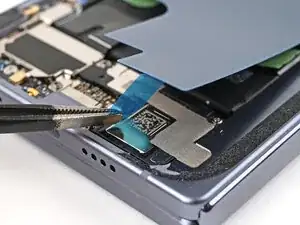
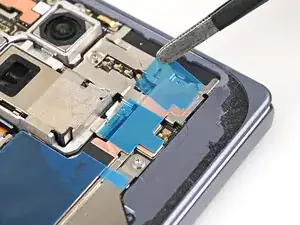
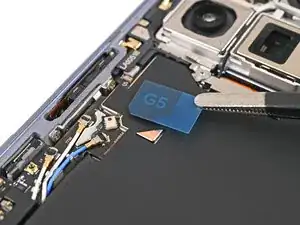
Place the G5 sticker over the graphite sheet so its slanted edge lines up with the small copper triangle.
-
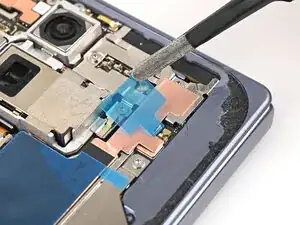
Use a spudger or your finger to press down the sticker and adhere it.
-
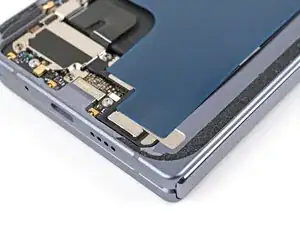
To reassemble your device, follow these instructions in reverse order.
