Introdução

  1. eOp4TX53X5fDVmvo
    eOp4TX53X5fDVmvo
    QKABwTpHFZtQpZCC
    ymXMsepmrFnw5QJb
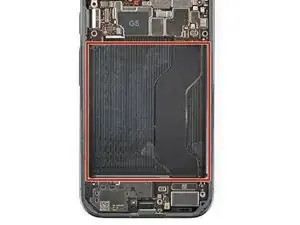
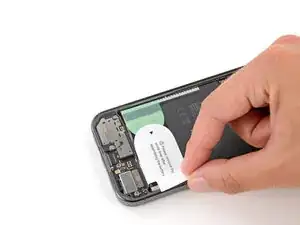
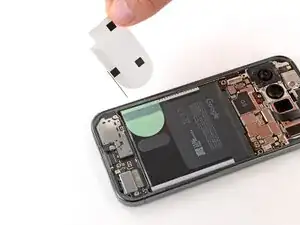
    • Before installing a new battery, check the recess for leftover bits of plastic, as well as adhesive residue from the battery sleeve.

    • If the battery came out cleanly, you can skip this step.

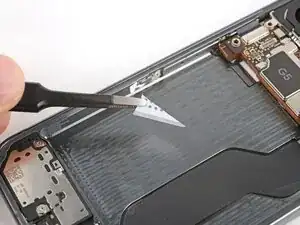
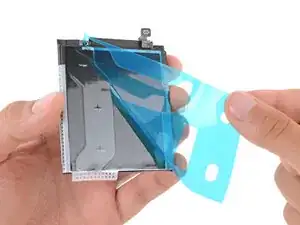
    • Remove any bits of plastic from the old battery sleeve.

    • Use one or two drops high‑concentration (>90%) isopropyl alcohol and a microfiber or lint‑free cloth to clean up any adhesive residue.

    • Be careful not to get alcohol in the cutouts in the battery recess—the bottom of the screen is exposed and may get damaged.

    • Allow the alcohol to dry completely before continuing.

  2. lDDxqKTpPPVgMQDE
    • Remove the large, colored liner from the battery to expose the adhesive.

  3. FKfOfsy6fbOBPMJN
    FKfOfsy6fbOBPMJN
    CYPZVTndA6BcSkZ1
    jbRRSjVEm2M3EC5Z
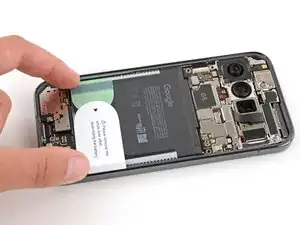
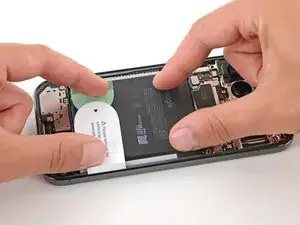
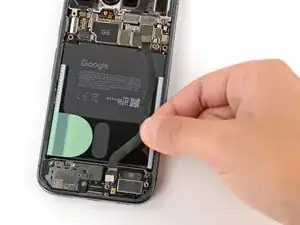
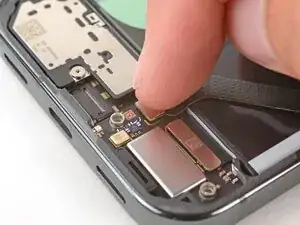
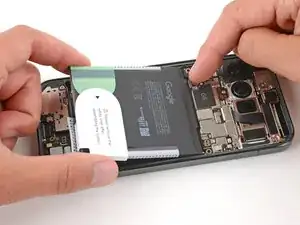
    • Hold the battery above its recess and use your finger to push down and reconnect the battery press connector.

    • Temporarily reconnecting the battery ensures that it's sitting properly in its recess.

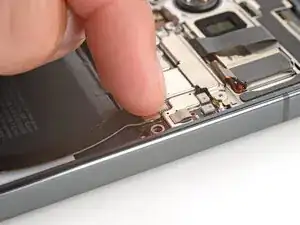
    • Lay the battery into its recess and press down firmly to secure it.

  4. MhmZbnsQuIdGoEvV
    MhmZbnsQuIdGoEvV
    pWyHtOGUSeKpXUCu
    • Use a spudger to pry up and disconnect the battery.

  5. Zwicp4cDqqy1TKBC
    Zwicp4cDqqy1TKBC
    jHhkwPgmnKRRrgOR
    • Use your fingers to remove any remaining stickers or liners from the battery.

  6. wPauPiCVkxhVqTWp
    wPauPiCVkxhVqTWp
    2D1sQfhwBDxirtSM
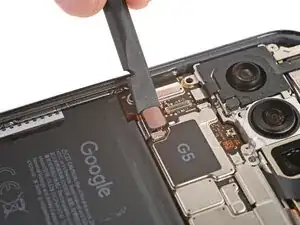
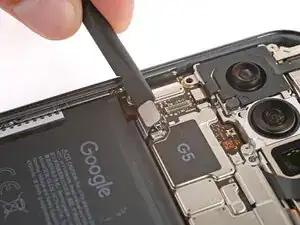
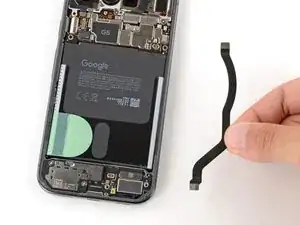
    • Lay the interconnect cable back in place, making sure the connectors line up with their sockets.

  7. iQLMh6xM1lCRCGKD
    iQLMh6xM1lCRCGKD
    iaNxjkaKg6gV1ZCS
    UVRSsI1MhNnQrAEj
    • Use your finger to press down and connect the both interconnect cable press connectors.

  8. AIRJmmqd11tHTmqB
    AIRJmmqd11tHTmqB
    tjDSy5KiUZIecTLS
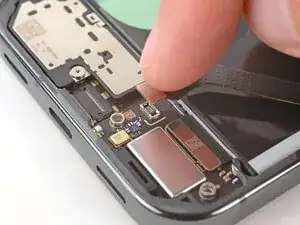
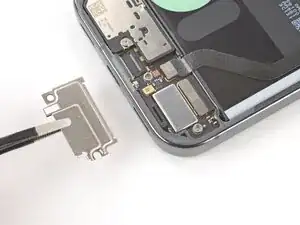
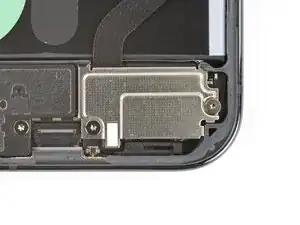
    • Put the lower interconnect cable cover back into place, sliding the tabs on the top corners under their hooks.

  9. 3ALjQ3hNSjSFnqPi
    3ALjQ3hNSjSFnqPi
    Gs161siAgQUOEybZ
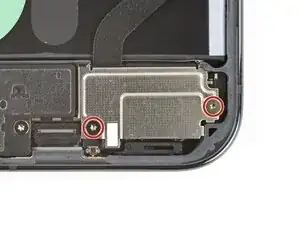
    • Use a Torx Plus 3IP screwdriver to install the two 5.0 mm‑long screws securing the lower interconnect cable cover.

  10. CNFWLpjURnWMX42w
    CNFWLpjURnWMX42w
    rOiXbHi1XOkX6EiS
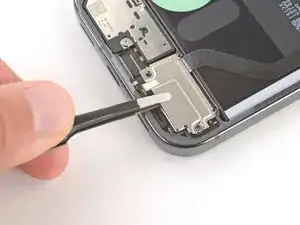
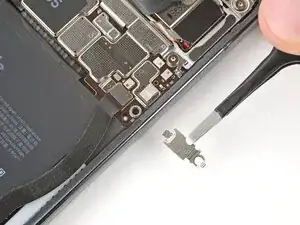
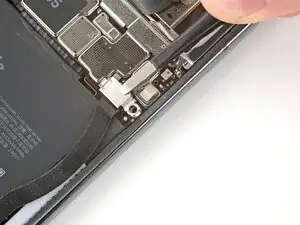
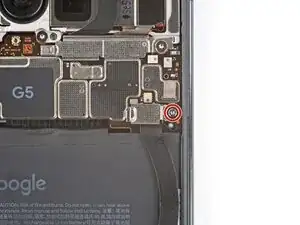
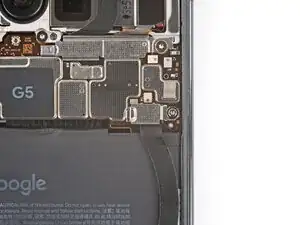
    • Put the upper interconnect cable cover back into place, sliding the tab on the left side into its slot.

  11. WlEPsHW3MUjhxNNv
    WlEPsHW3MUjhxNNv
    HRl5ClVAbiMWl5O2
    • Use a Torx Plus 3IP screwdriver to install the 5.8 mm‑long screw securing the upper interconnect cable cover.

Spencer Day

Membro desde: 14/09/22

165254 Reputação

0 comentários