Introdução
Replacing the Google Nest Doorbell (GWX3T) battery is possible, but the process is tricky and delicate. The battery is glued, so take your time and use care to avoid damage. Most of the time and difficulty in this repair comes from removing the heavily glued battery. Be patient and work slowly to avoid damage.
Peças
-
-
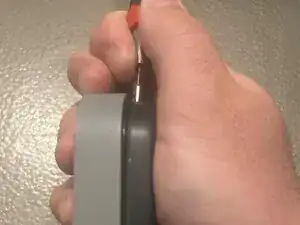
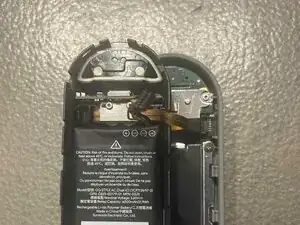
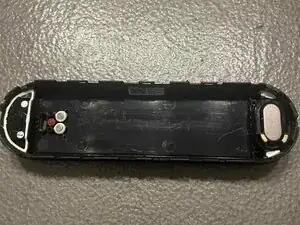
Insert a flathead screwdriver into the top edge of the doorbell and gently pry to begin separating the housing.
-
-
-
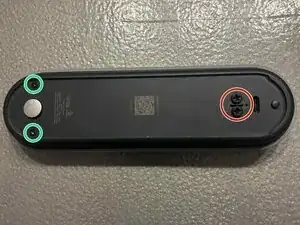
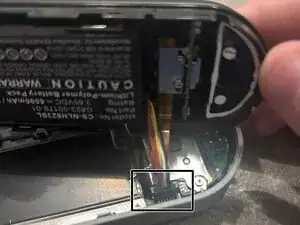
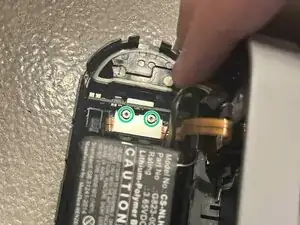
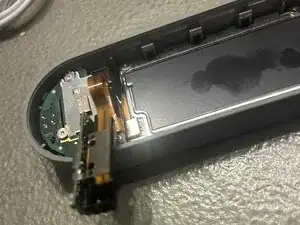
Remove the two screws with a T5 Torx driver. Then, use tweezers to carefully lift out the USB-C connector assembly.
-
-
-
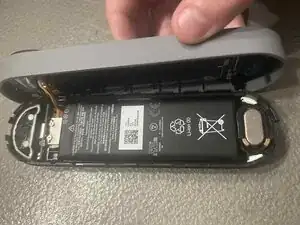
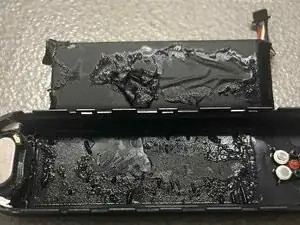
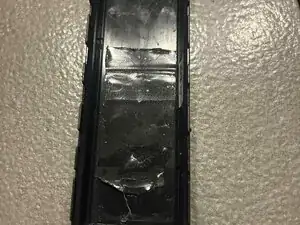
Apply isopropyl alcohol 99% around the casing to weaken the adhesive. The battery is held with a lot and strong glue, so be patient. Once loosened, gently pry the battery out.
-
Clean the housing with the isopropyl alcohol
-
-
-
Place a piece of double-sided tape in the battery compartment, then press the new battery firmly into place.
-
To reassemble your device, follow these instructions in reverse order.
-
To reassemble your device, follow these instructions in reverse order.
